


Preset components
A preset is a saved group of components (for example an address block or signature row) you reuse across forms.
Use a preset
- Open Components.
- Find your preset in the palette (search by name).
- Drag it onto the canvas like any component.
Create a preset step by step
This walkthrough saves Street, City, and ZIP / Postal fields as an Address block preset.
Step 1: Select two or more components
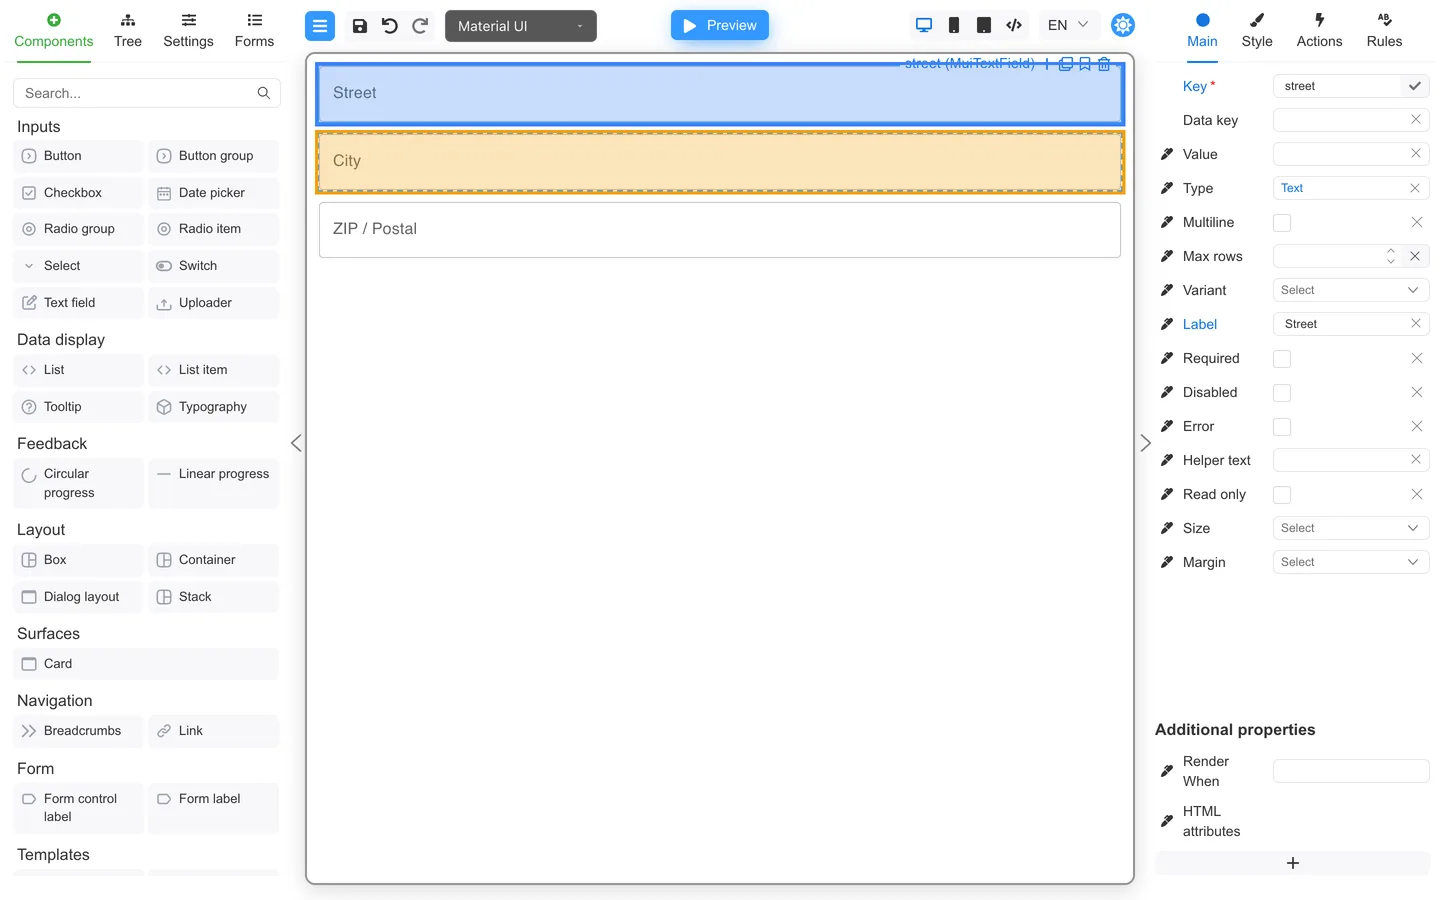
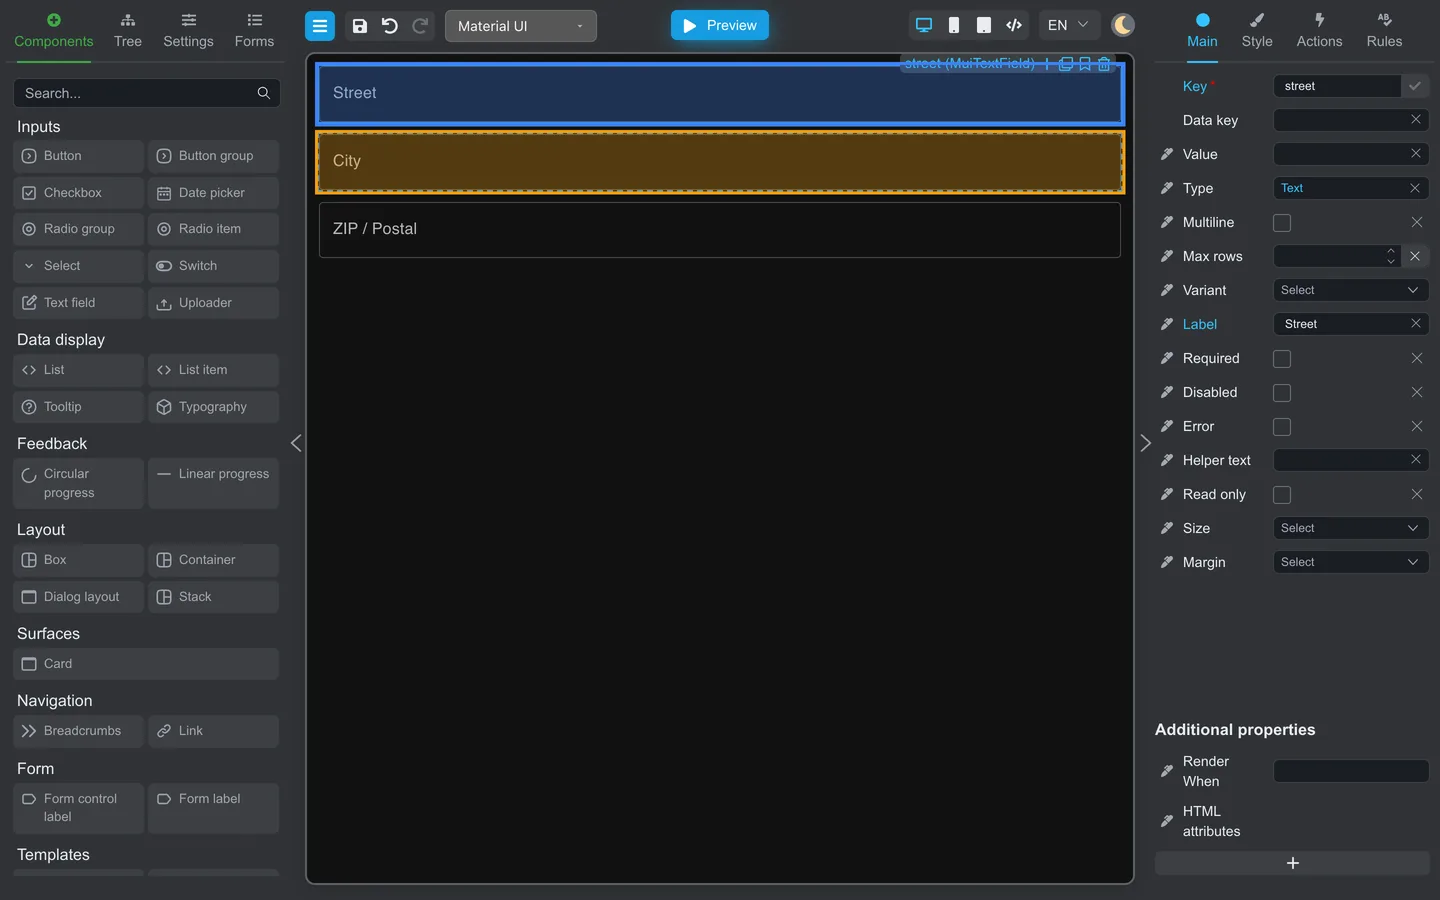
- Click the first field on the canvas.
- Hold Ctrl (Windows/Linux) or ⌘ (macOS), then click additional fields. For example, add Street, City, and ZIP / Postal to the selection.
- The floating toolbar appears on the selection.
Step 2: Click the preset button on the toolbar
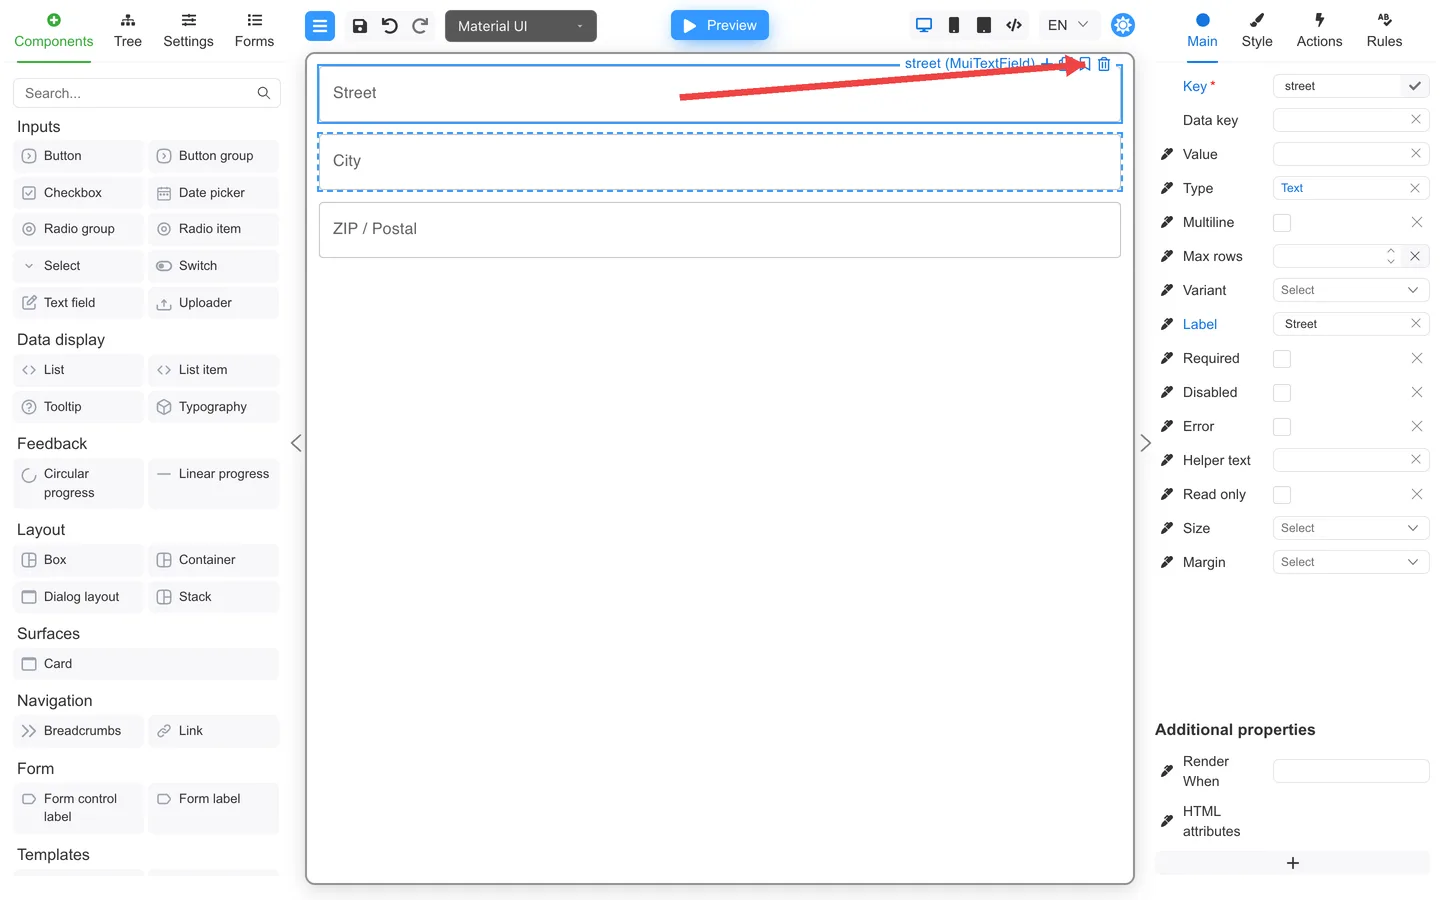
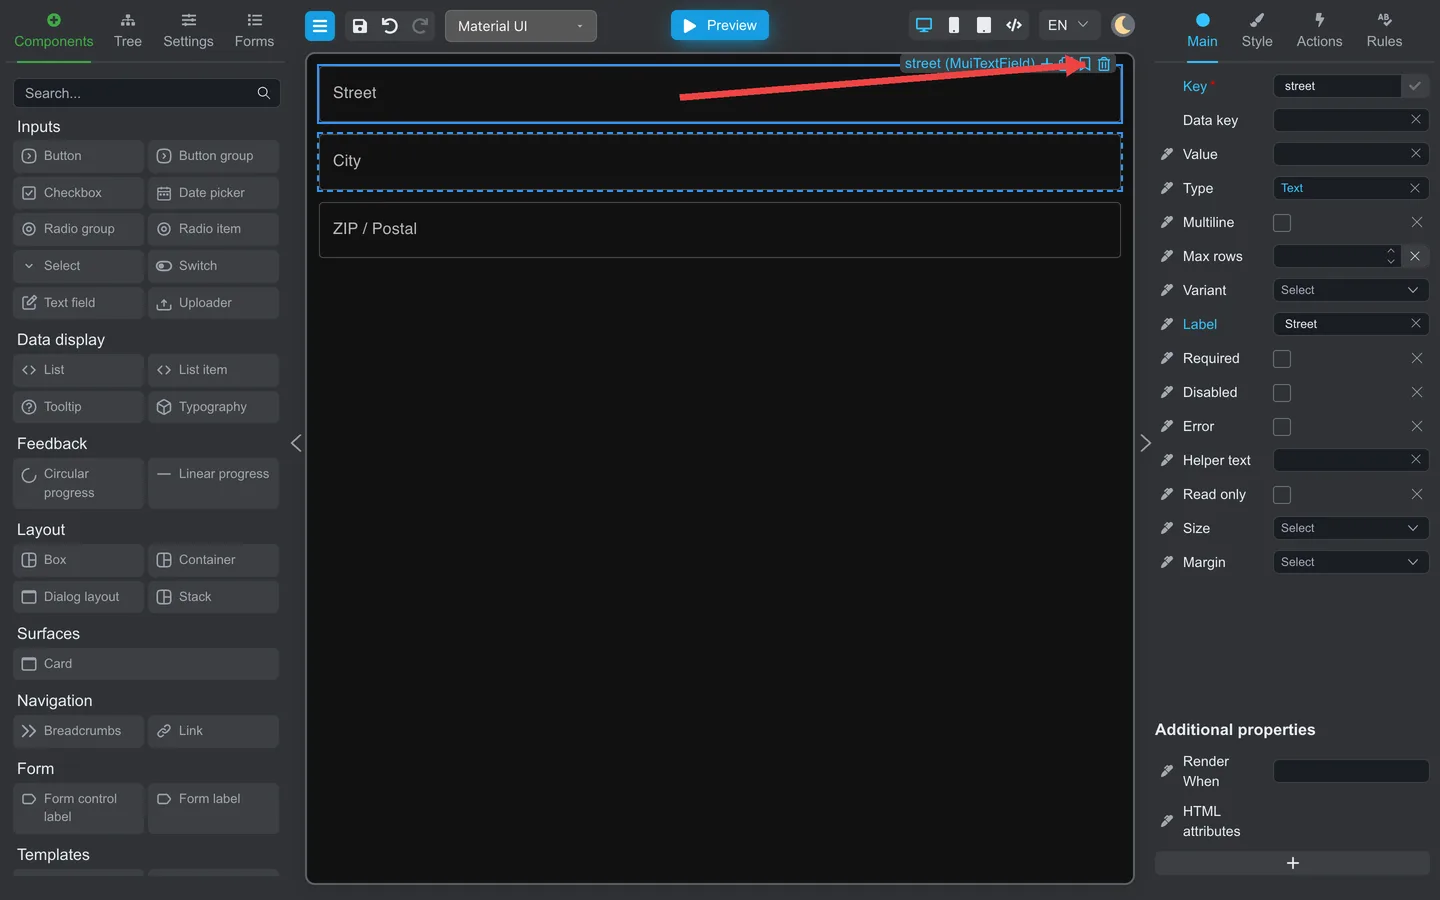
- If the toolbar only shows Open actions, hover that control to expand the strip.
- Click the preset (bookmark) button.
Step 3: Set options in the popup
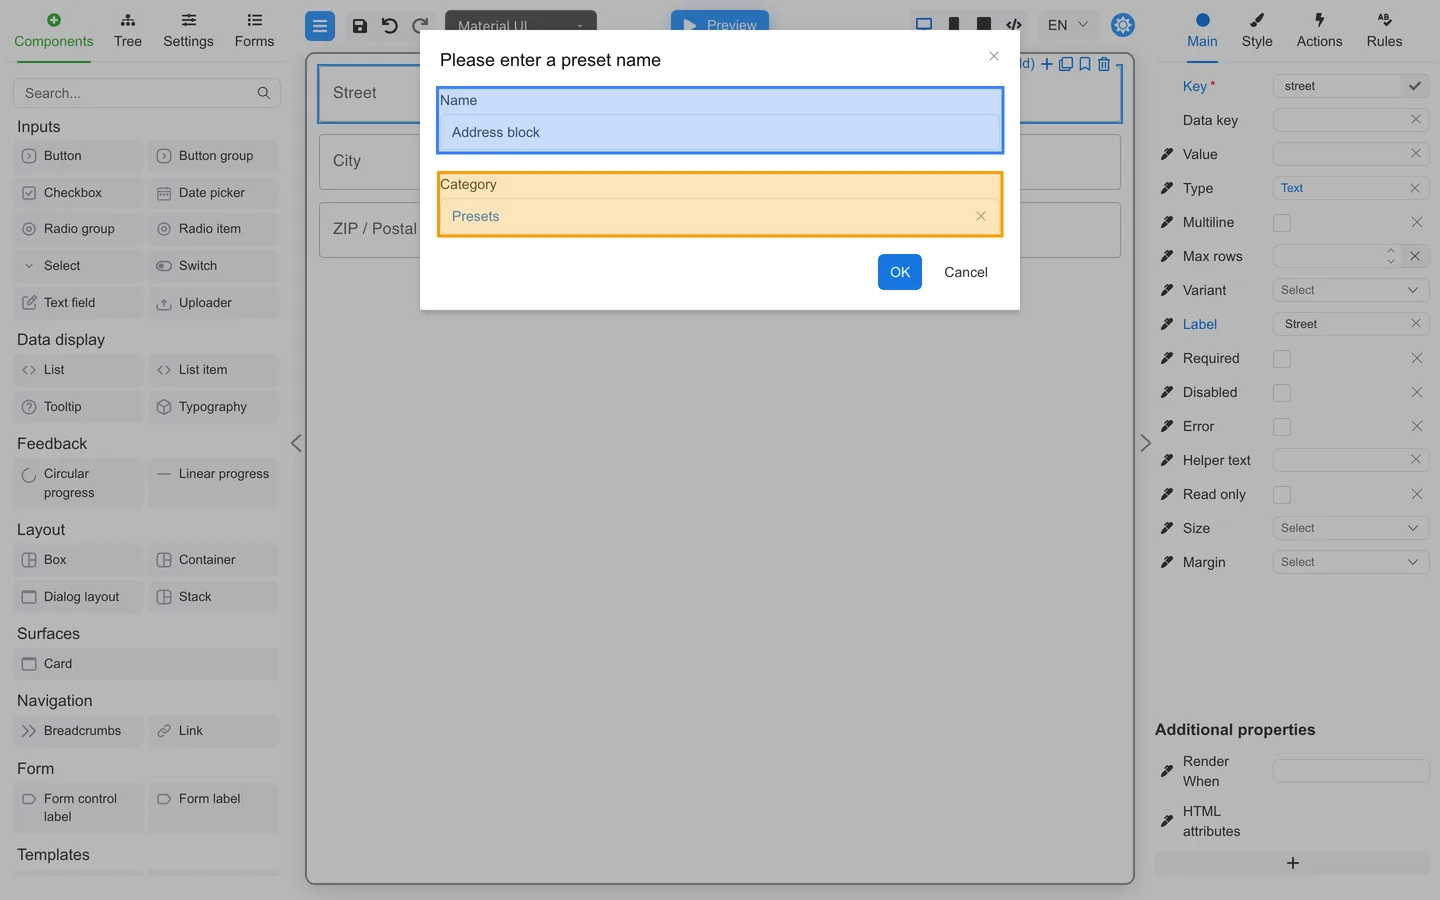
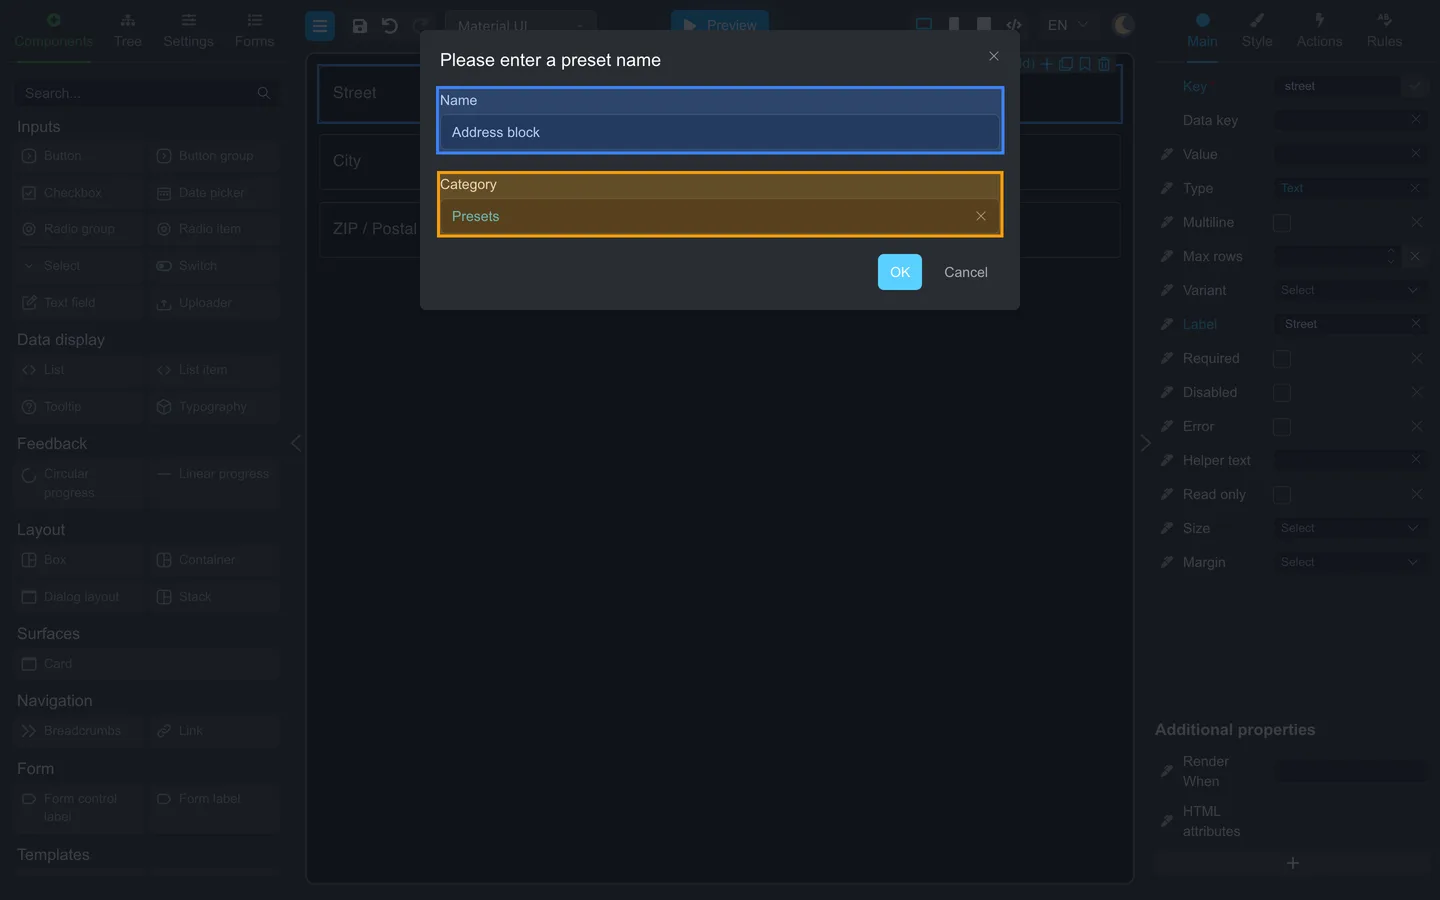
- Enter a Name (for example Address block).
- Choose or create a Category so the preset is easy to find.
- Click OK.
Step 4: Locate the preset in Components
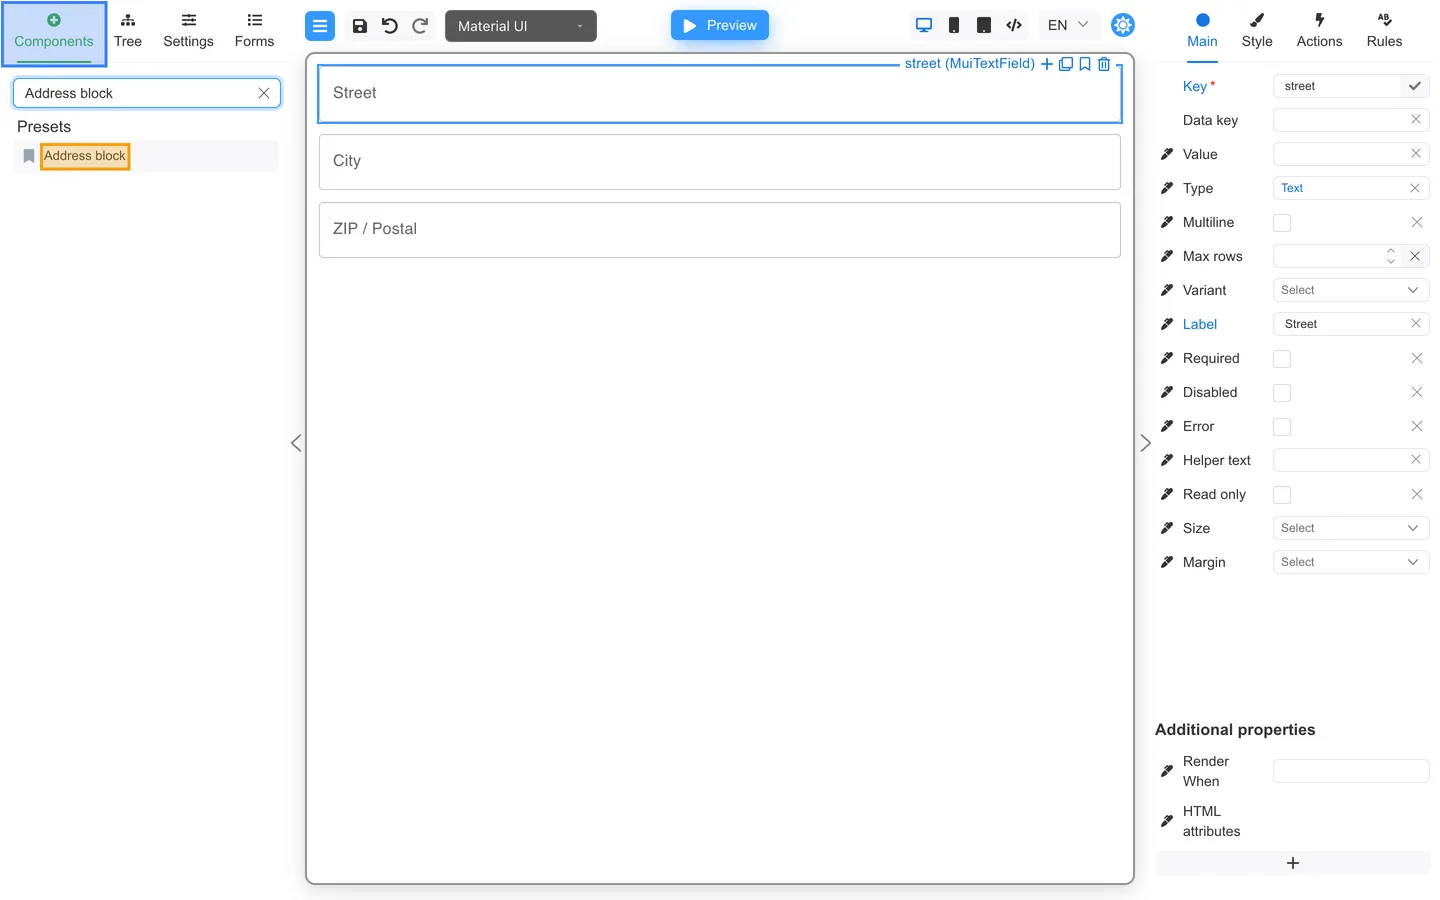
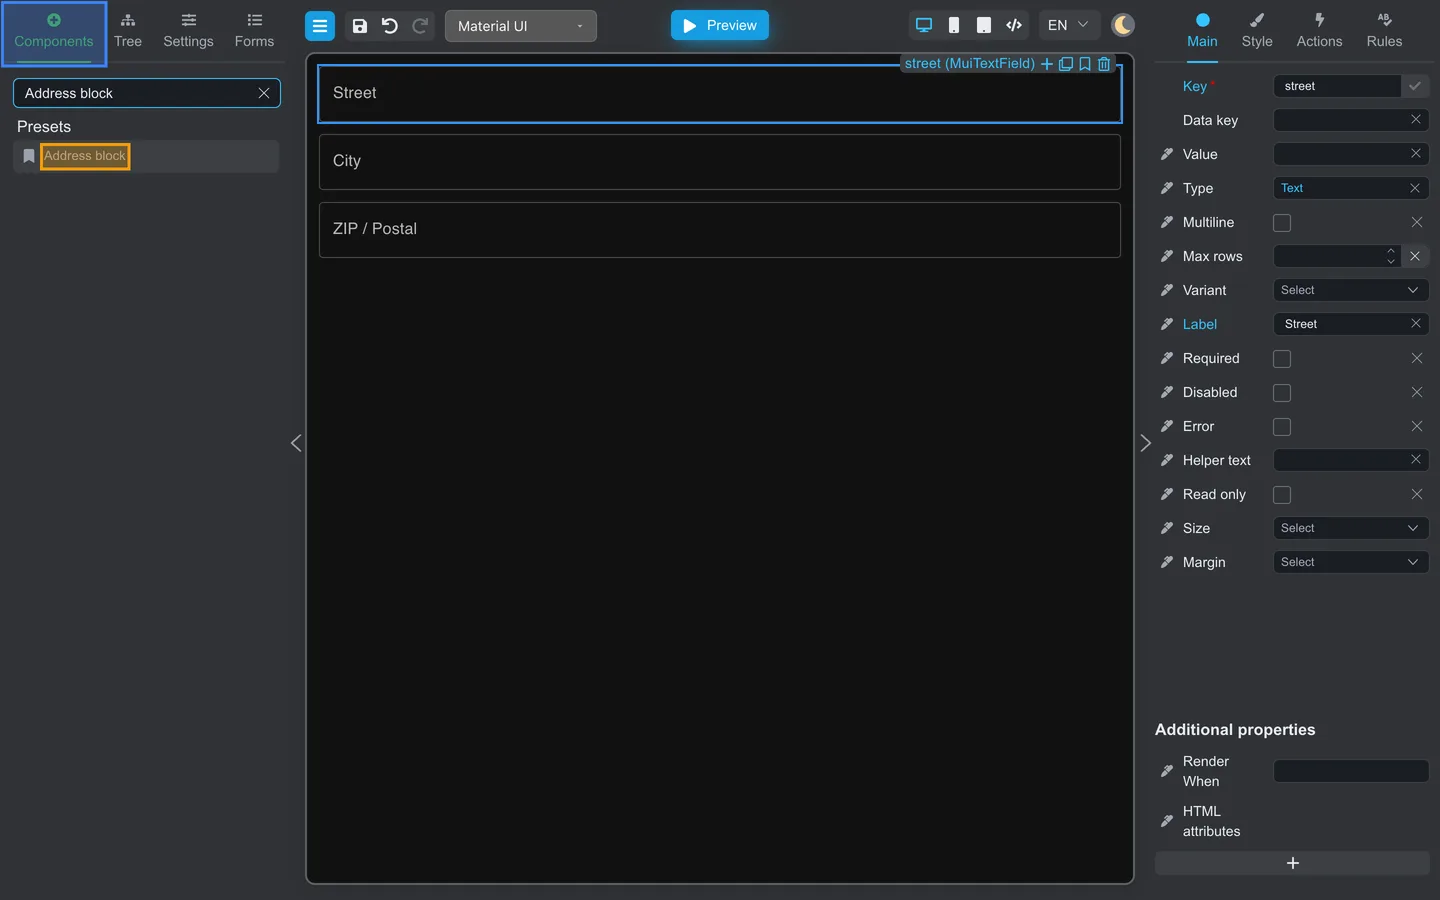
- Open Components.
- Search for your preset name.
- Drag Address block onto another form when needed.
Availability depends on license and deployment.
Developers: See Preset components.
Summary
Presets speed up repeated layouts. Select multiple components, save from the floating toolbar, then reuse from Components.