


Wizard and multi-step flows
A wizard walks users through a form one step at a time. Previous and Next buttons control movement; the last step shows a Finish button (here labeled Submit onboarding).
For the same Employee onboarding example built with horizontal tabs instead, see Tabs and multi-step layouts.
When to use a wizard
- Users should complete sections in order
- Each step should validate before moving on
- You want built-in Previous / Next / Finish controls
- A progress indicator (step numbers) helps orientation
Example: employee onboarding
This walkthrough builds the same Employee onboarding form as the tabs guide, but with three wizard steps: Profile, Job details, and Documents. A single Wizard component holds the step navigation. Each step is a Wizard step container with fields.
How wizard steps combine components
| Layer | Component | Role |
|---|---|---|
| Screen | Screen | Root container for the whole form |
| Navigation | Wizard | Step indicator, Previous / Next / Finish buttons |
| Step | Wizard step | One step block (Profile, Job details, Documents) |
| Input | Input / Checkbox | Fields nested inside each Wizard step |
Build each step the same way: select the step in Wizard properties → drag fields into the active Wizard step on the canvas.
Step 1: Select the RSuite component library
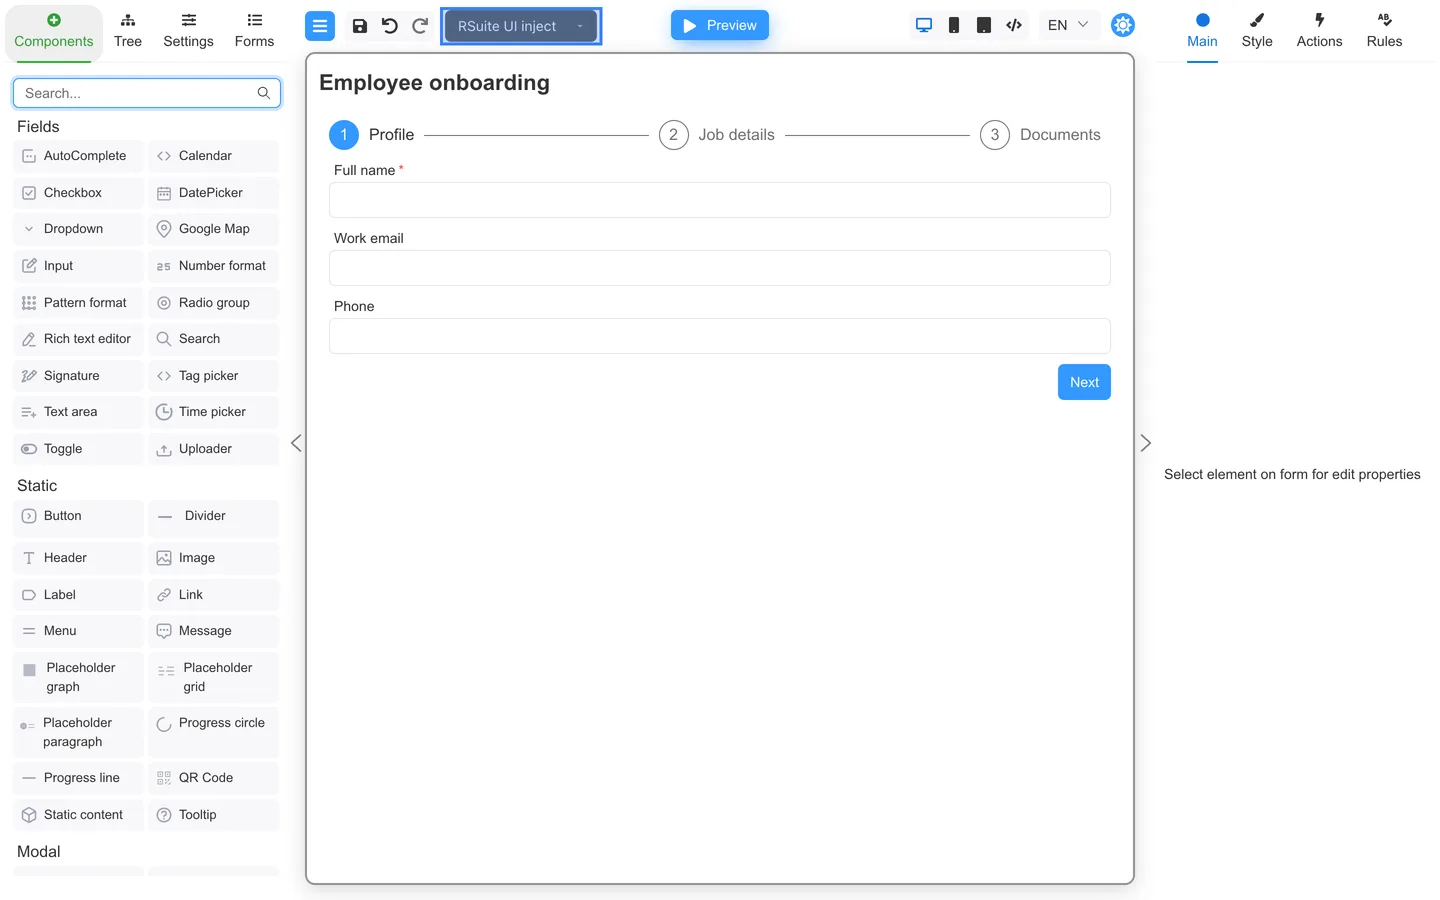
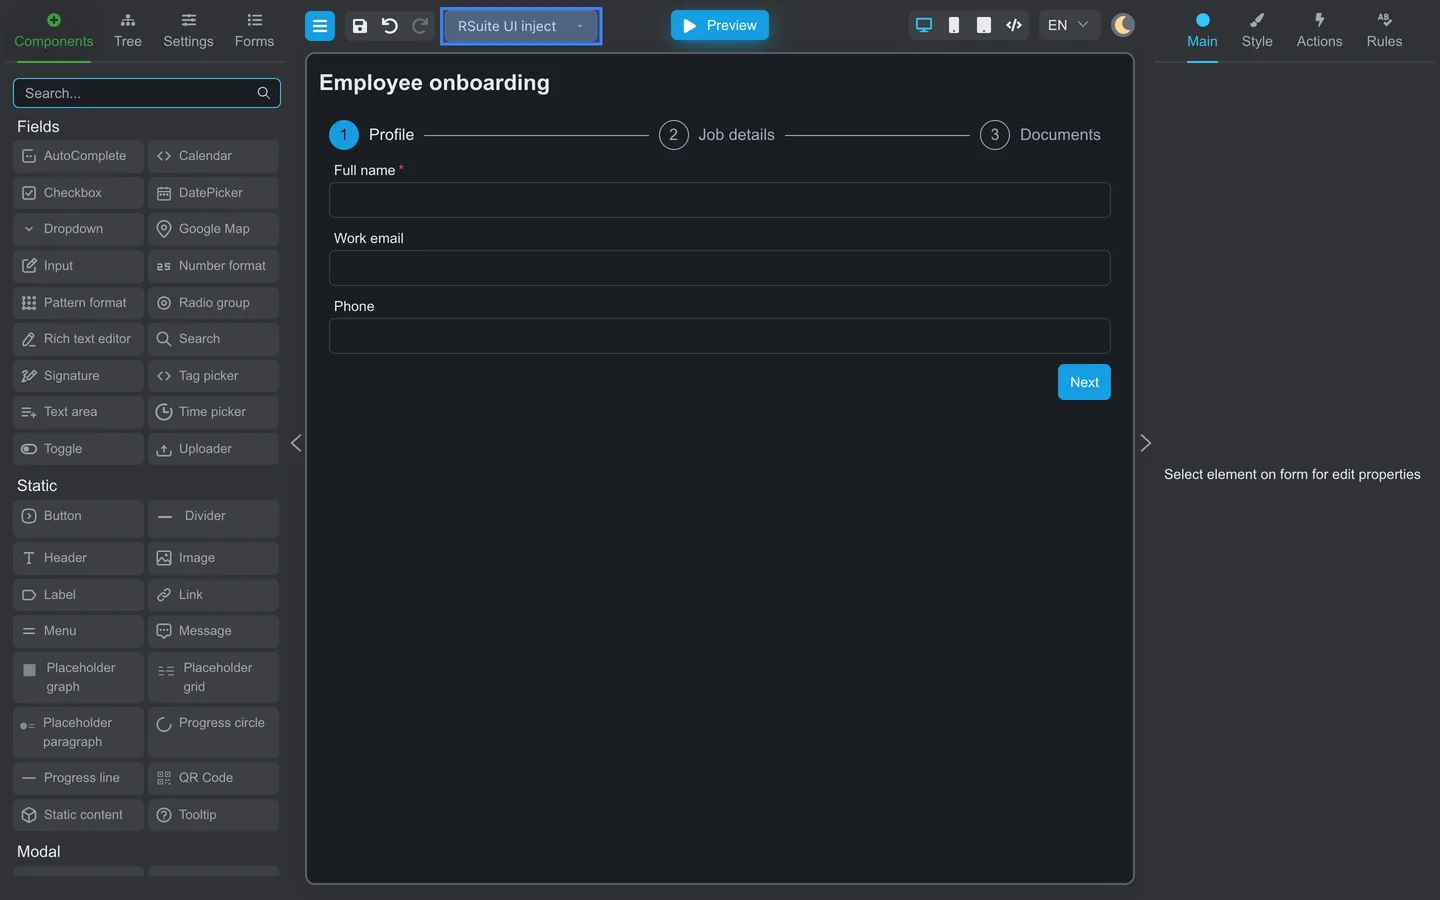
- Open the Component library menu in the top toolbar.
- Choose RSuite UI inject (or RSuite UI).
- The palette and canvas now show RSuite components.
Step 2: Add a Wizard component
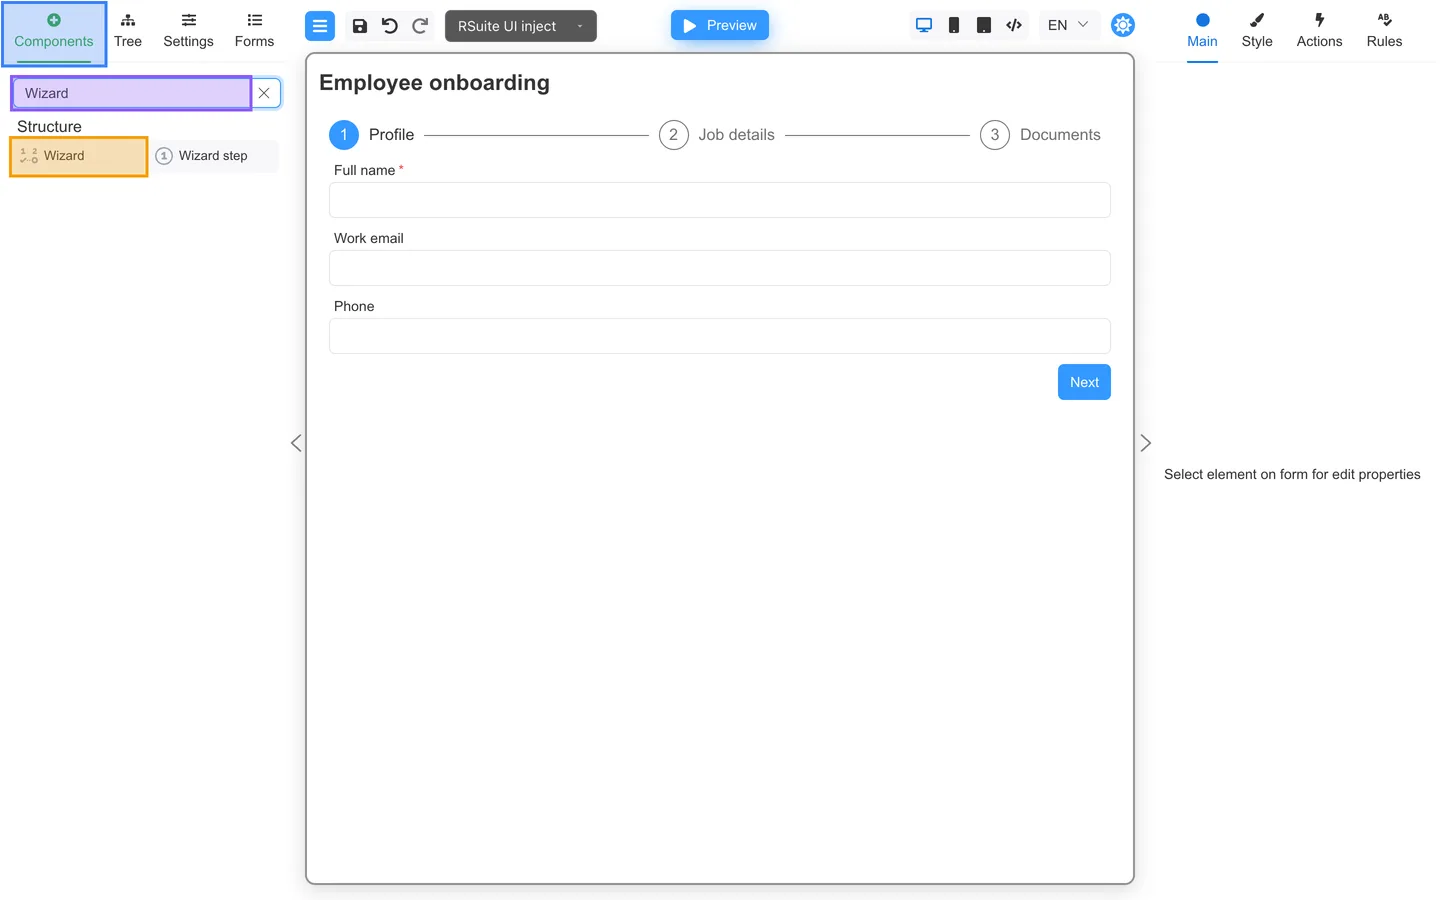
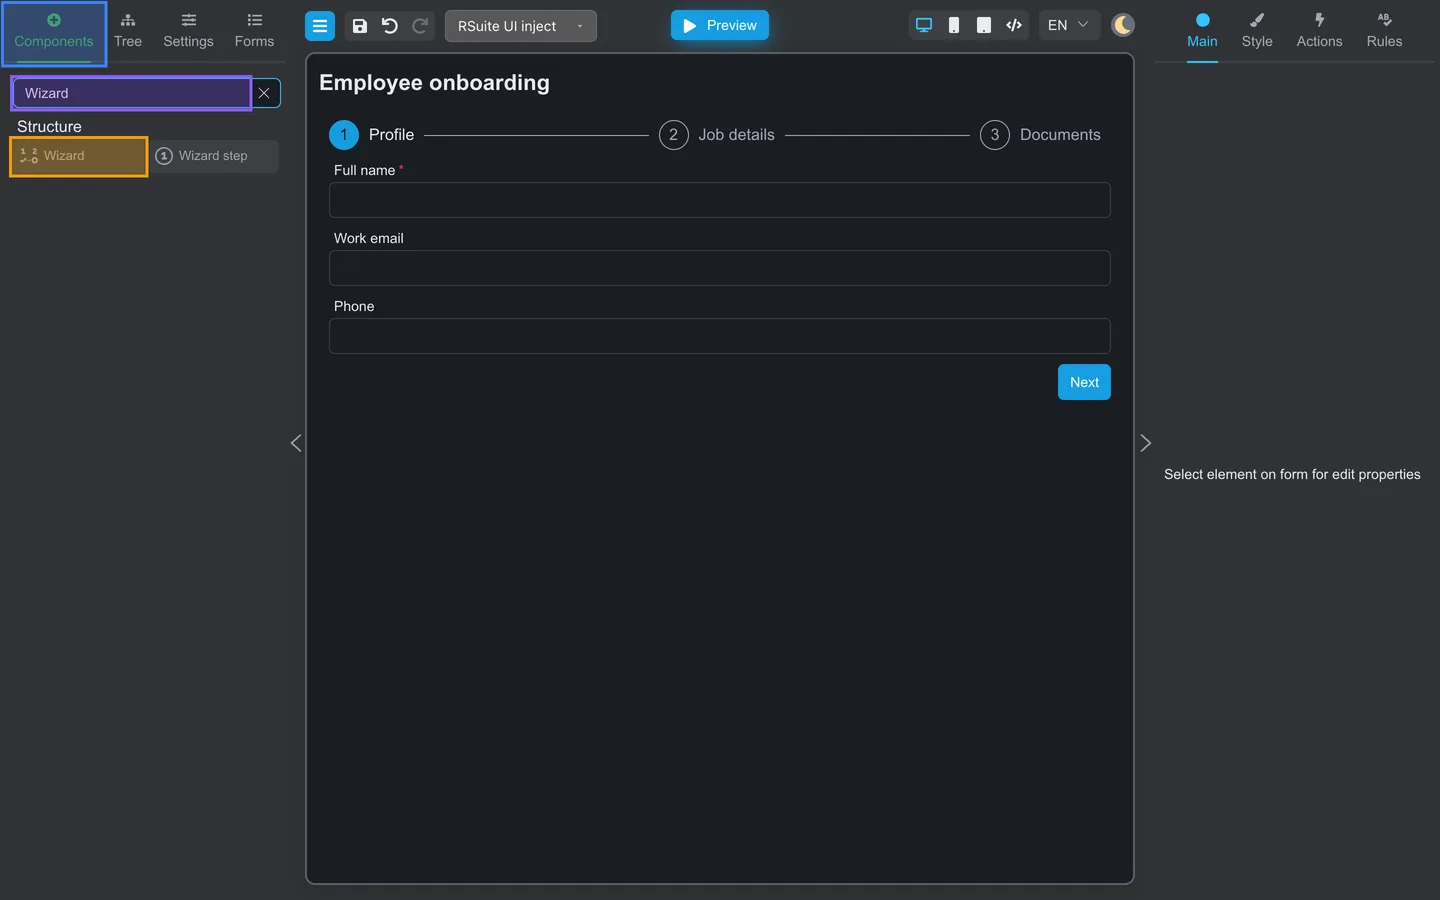
- Open Components.
- Search for Wizard.
- Drag Wizard onto the canvas below the form title.
- The wizard starts with three default steps you can rename.
Step 3: Configure steps and add fields to Profile
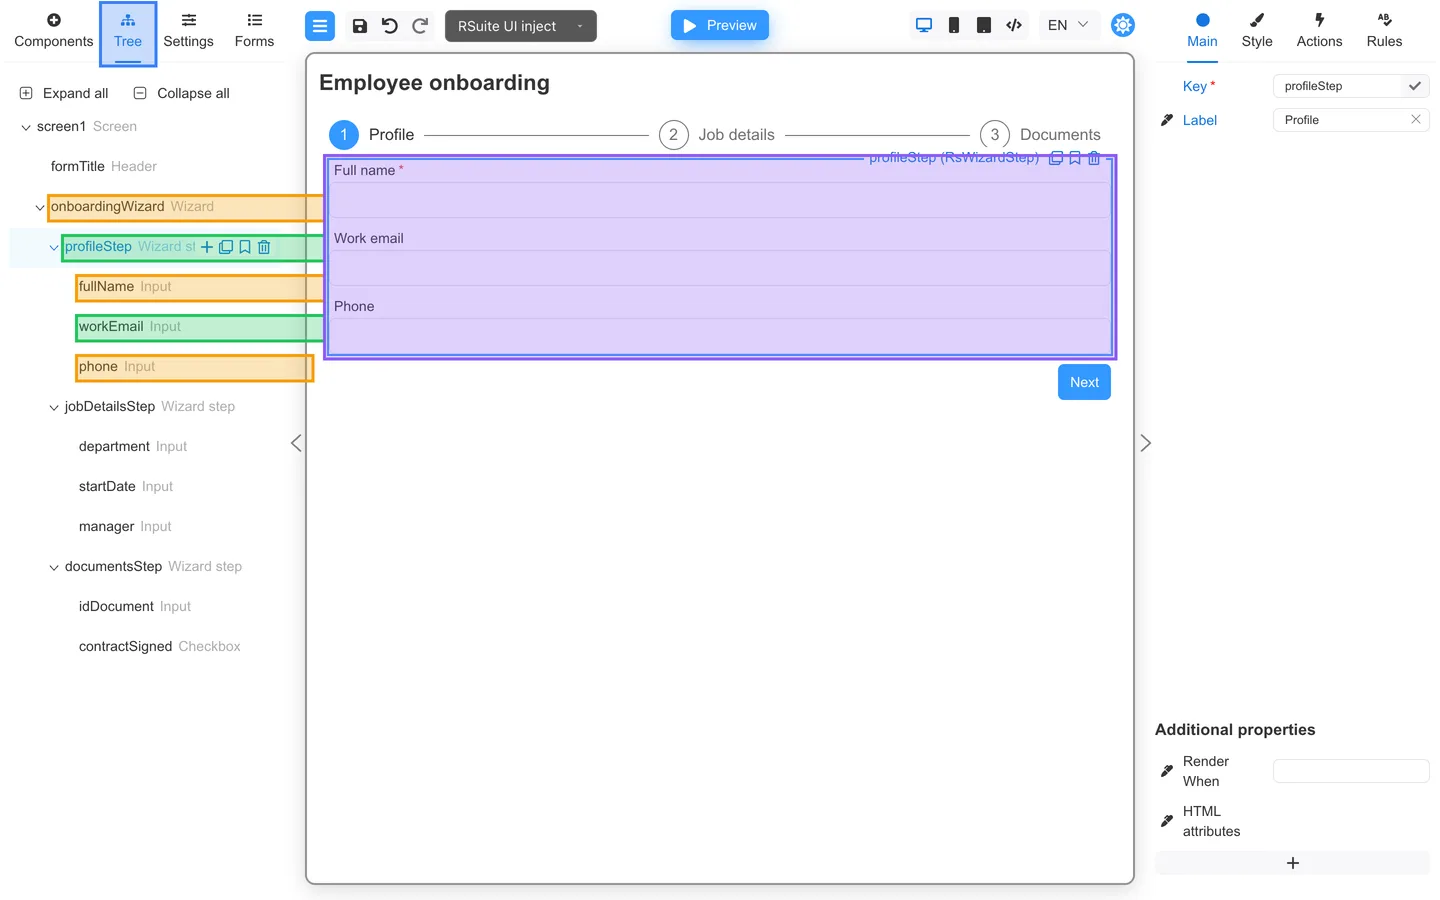
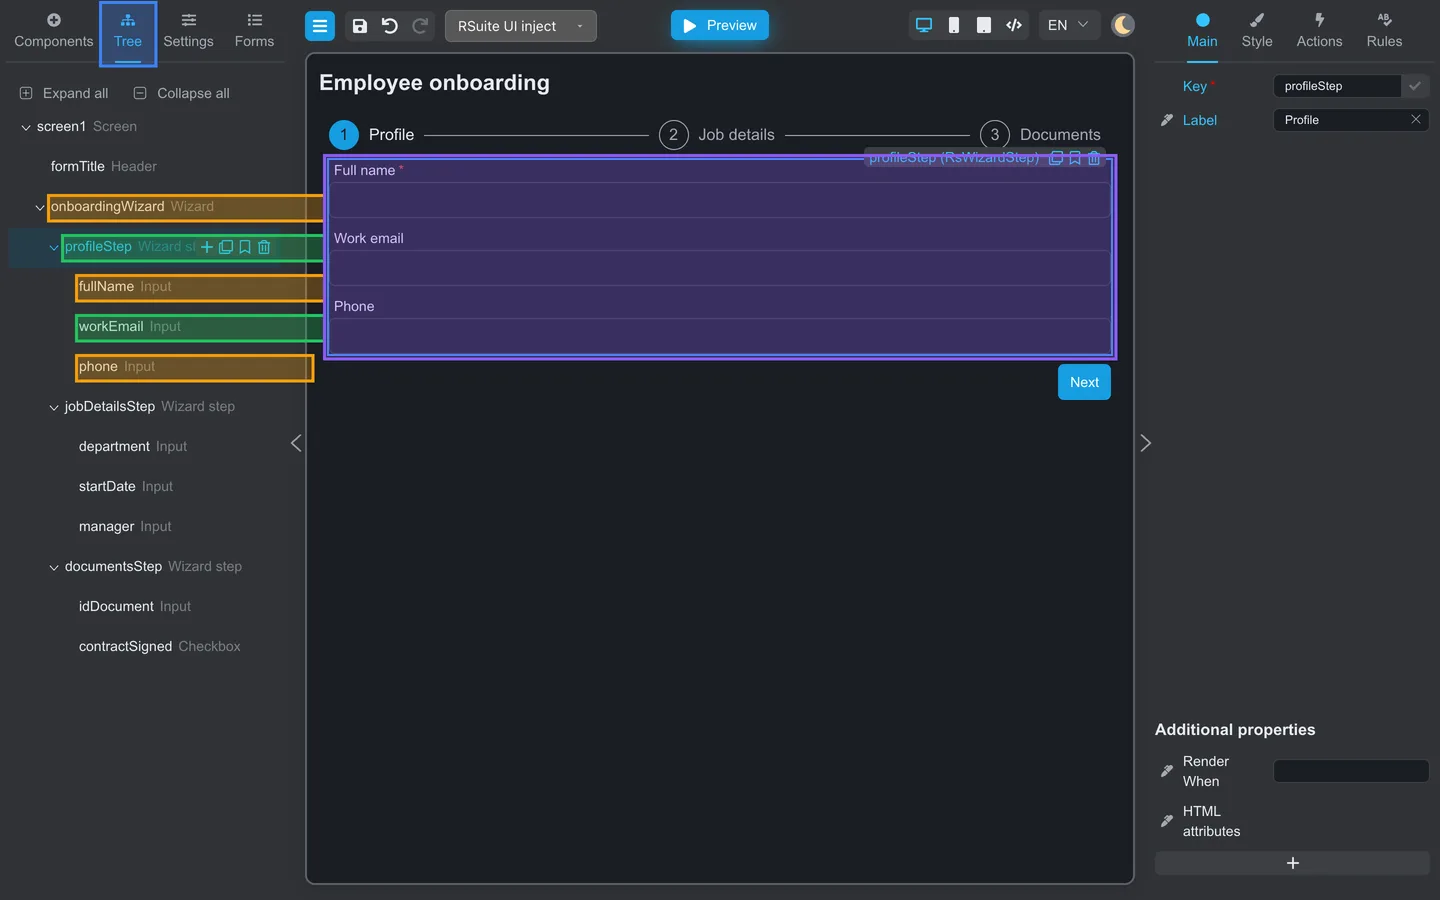
- Select the Wizard on the canvas.
- In Main properties, rename Steps to Profile, Job details, and Documents.
- Set Finish button label to Submit onboarding.
- Click circle 1 in the Wizard step indicator to open Profile.
- Drag Input fields into the Profile step (Full name, Work email, Phone).
- Open Tree → Expand all to confirm nesting:
onboardingWizard→profileStep→ fields.
Step 4: Repeat for other steps
- Click circle 2 in the Wizard step indicator to open Job details.
- Add Department, Start date, and Manager fields inside the Job details step.
- Click circle 3 in the Wizard step indicator to open Documents directly on the canvas.
- Add ID document number and Employment contract signed checkbox inside the Documents step.
Step 5: Add field rules and enable wizard validation
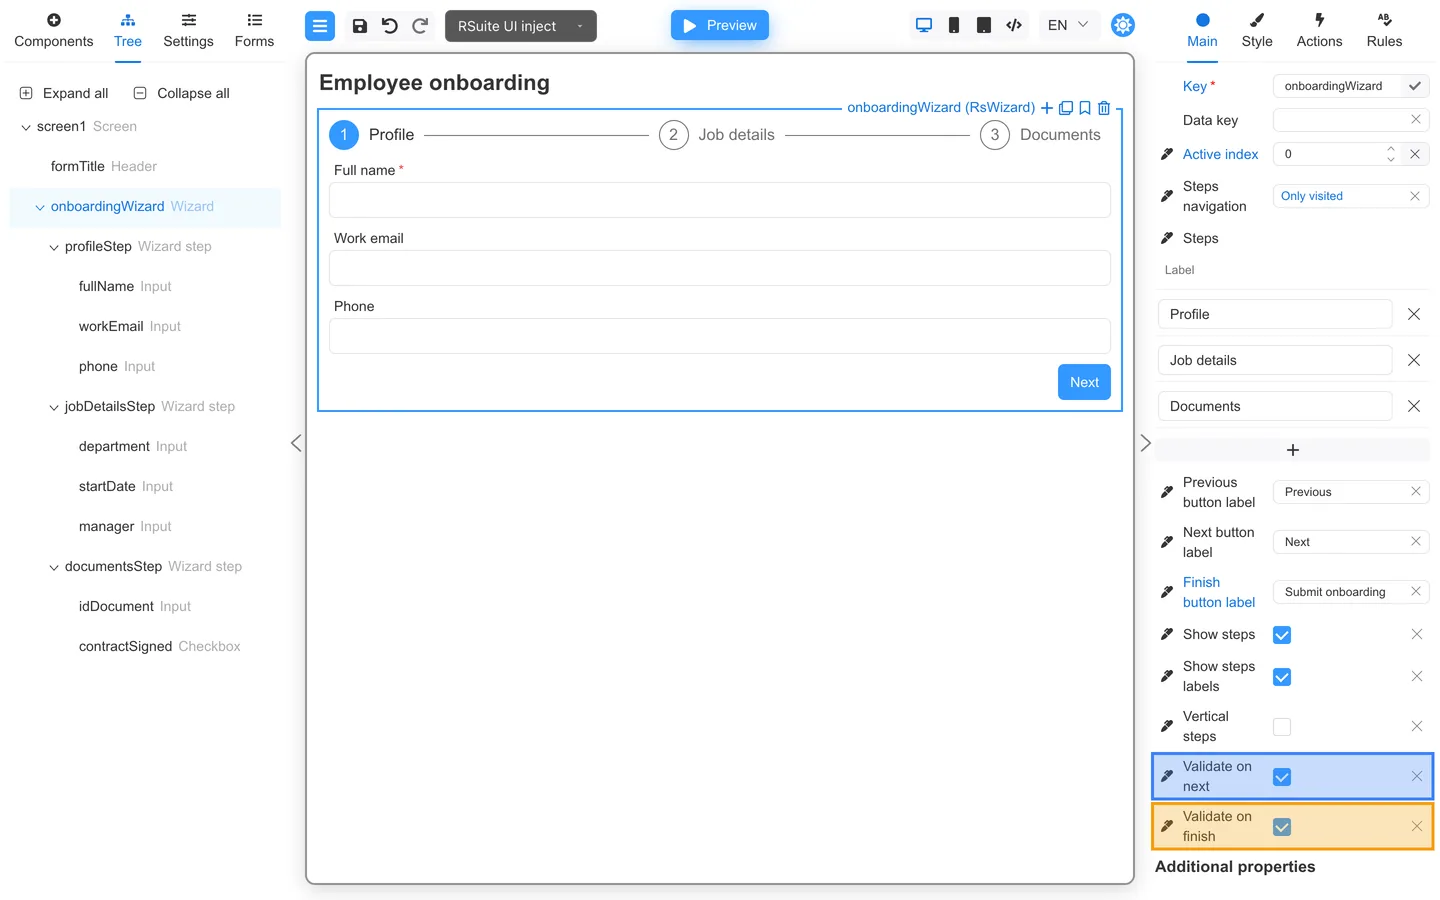
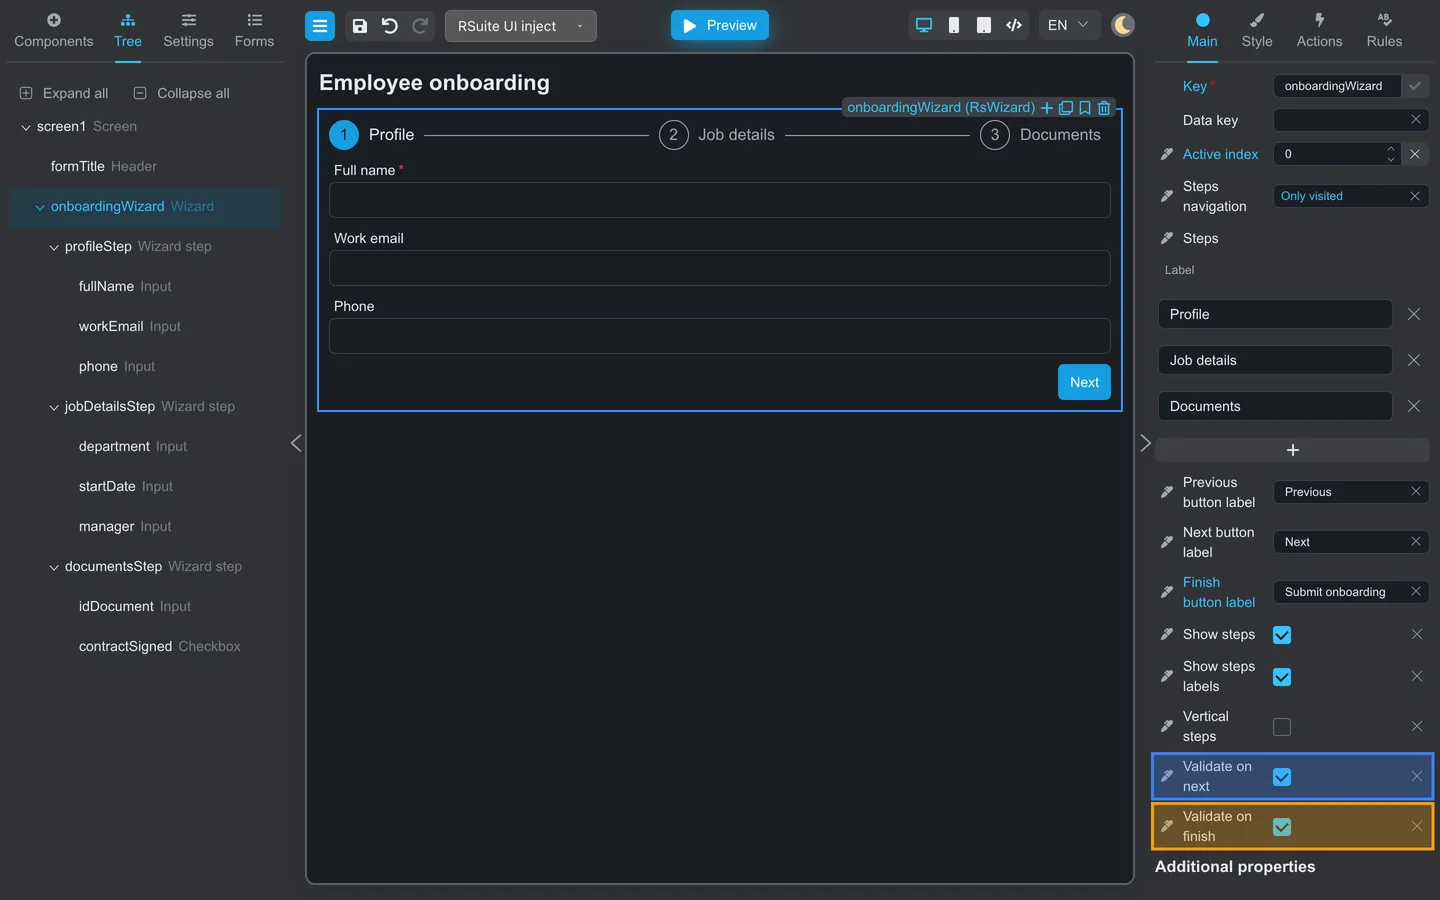
- Select Full name, open Main, and enable Required. The same
requiredrule is now listed on Rules. - Repeat for Department and ID document number so every step has a rule to validate.
- Select Onboarding wizard and return to Main.
- Enable Validate on next so an invalid current step cannot advance.
- Enable Validate on finish so the whole wizard is checked before Submit onboarding runs.
The two Wizard settings do not make fields required by themselves. They run the rules that you add to fields inside the Wizard.
Step 6: Check the canvas
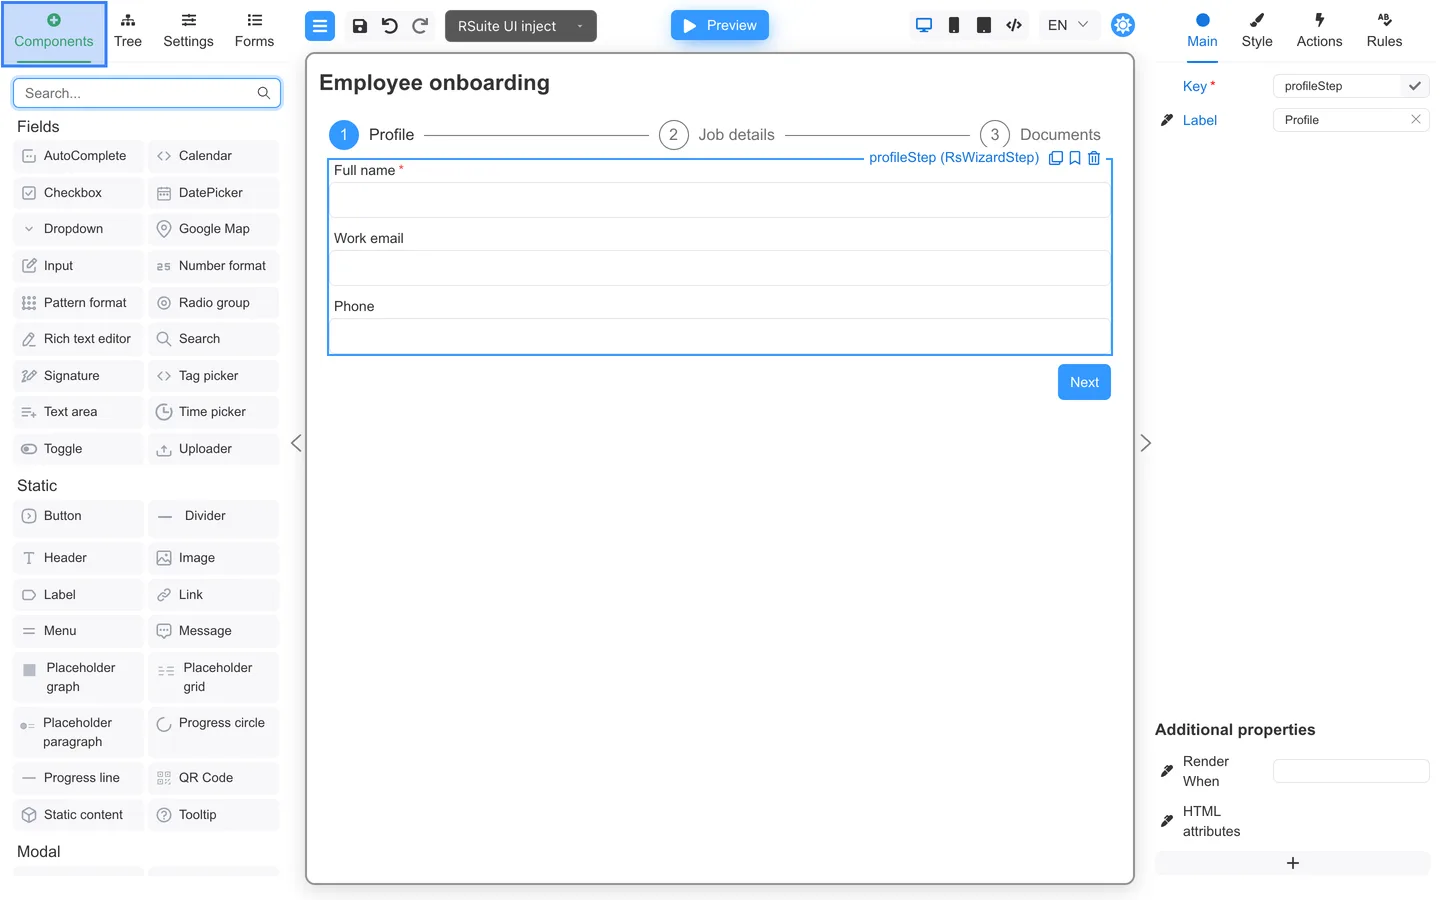
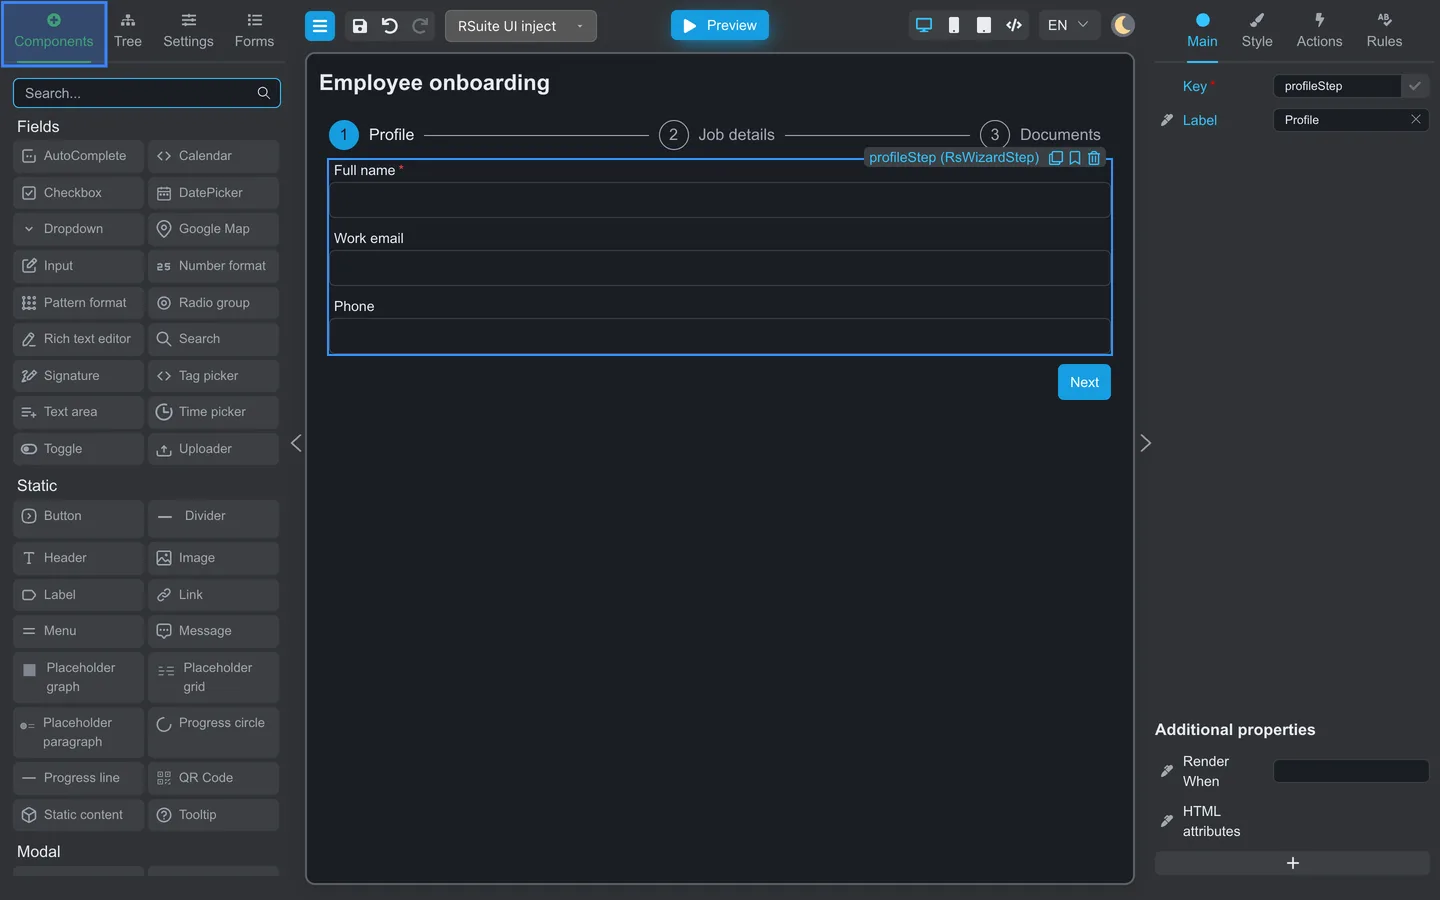
- Stay on Components or switch to the canvas.
- Confirm the step indicator shows Profile, Job details, and Documents.
- Click the numbered step circles in Designer to check each step’s fields.
- Confirm Next appears on early steps and Submit onboarding on the last step.
Step 7: Verify the component tree
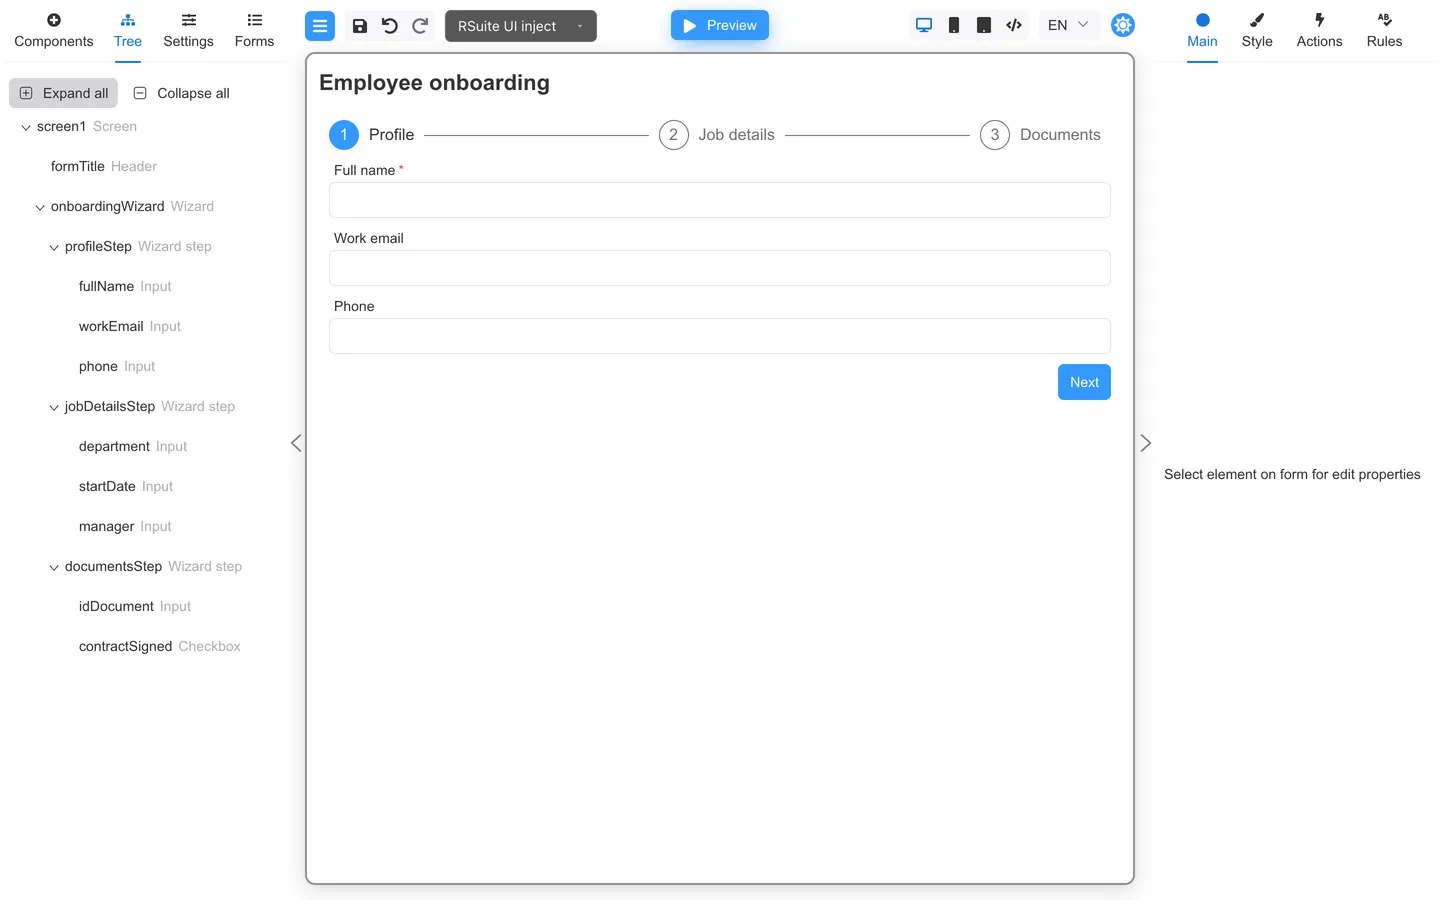
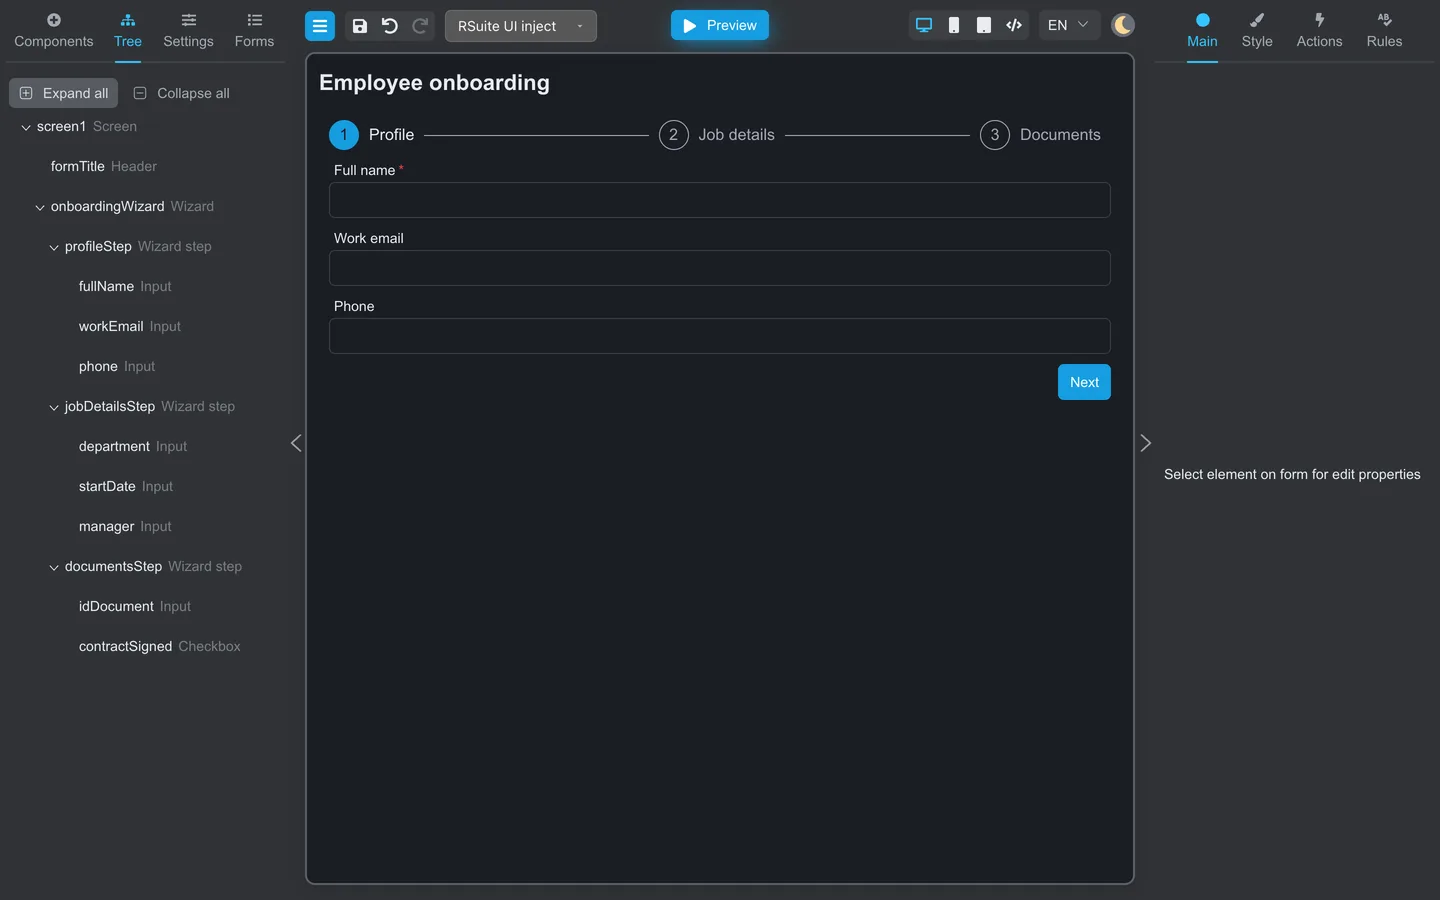
- Open Tree → Expand all.
- The tree should list
formTitle, thenonboardingWizardwithprofileStep,jobDetailsStep, anddocumentsStepbranches and their child fields indented underneath.
Test the flow
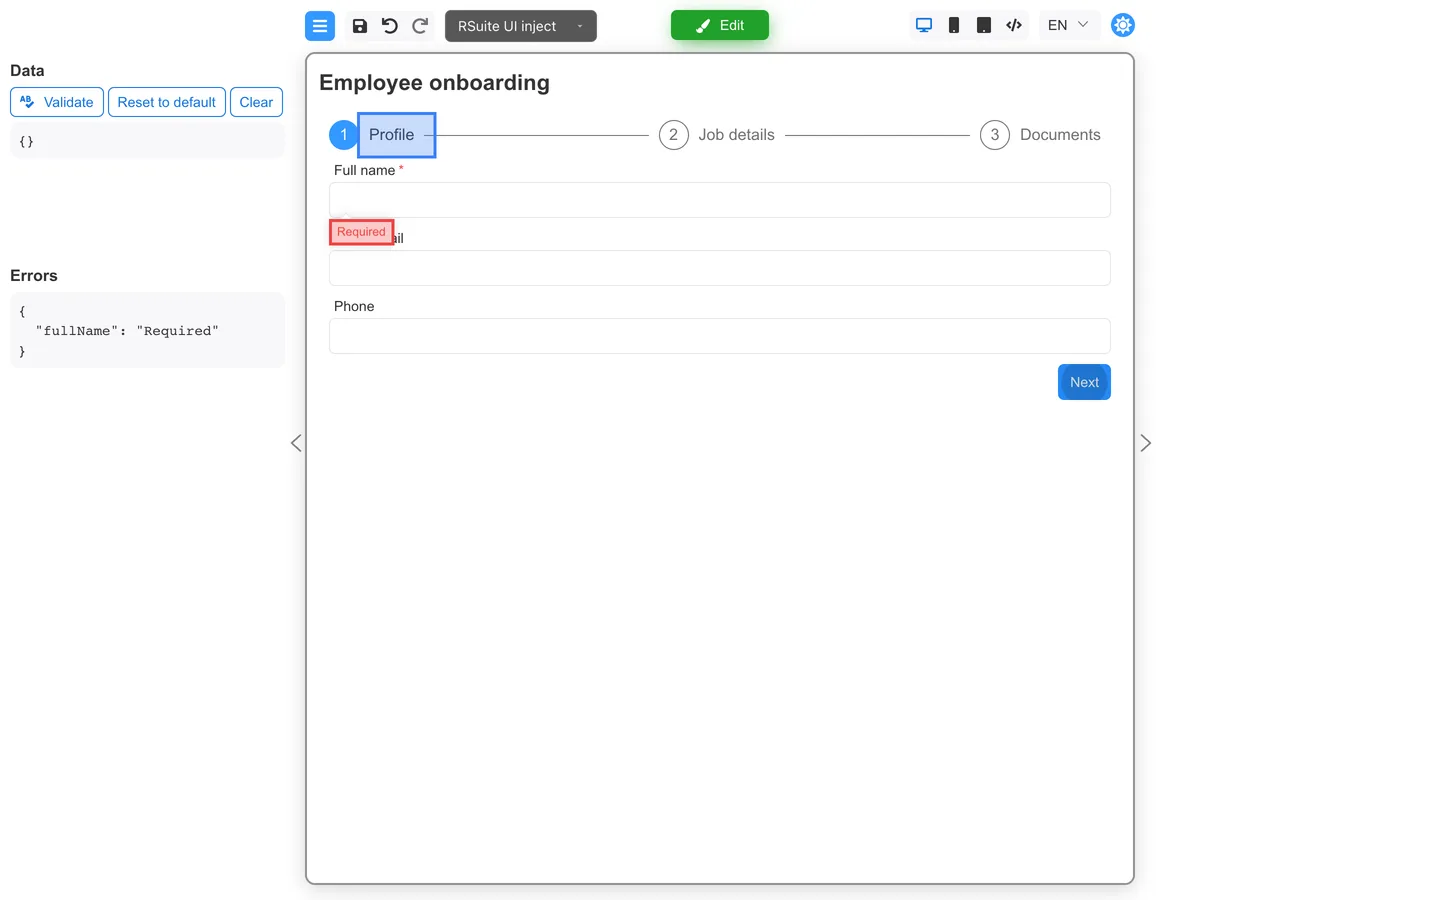
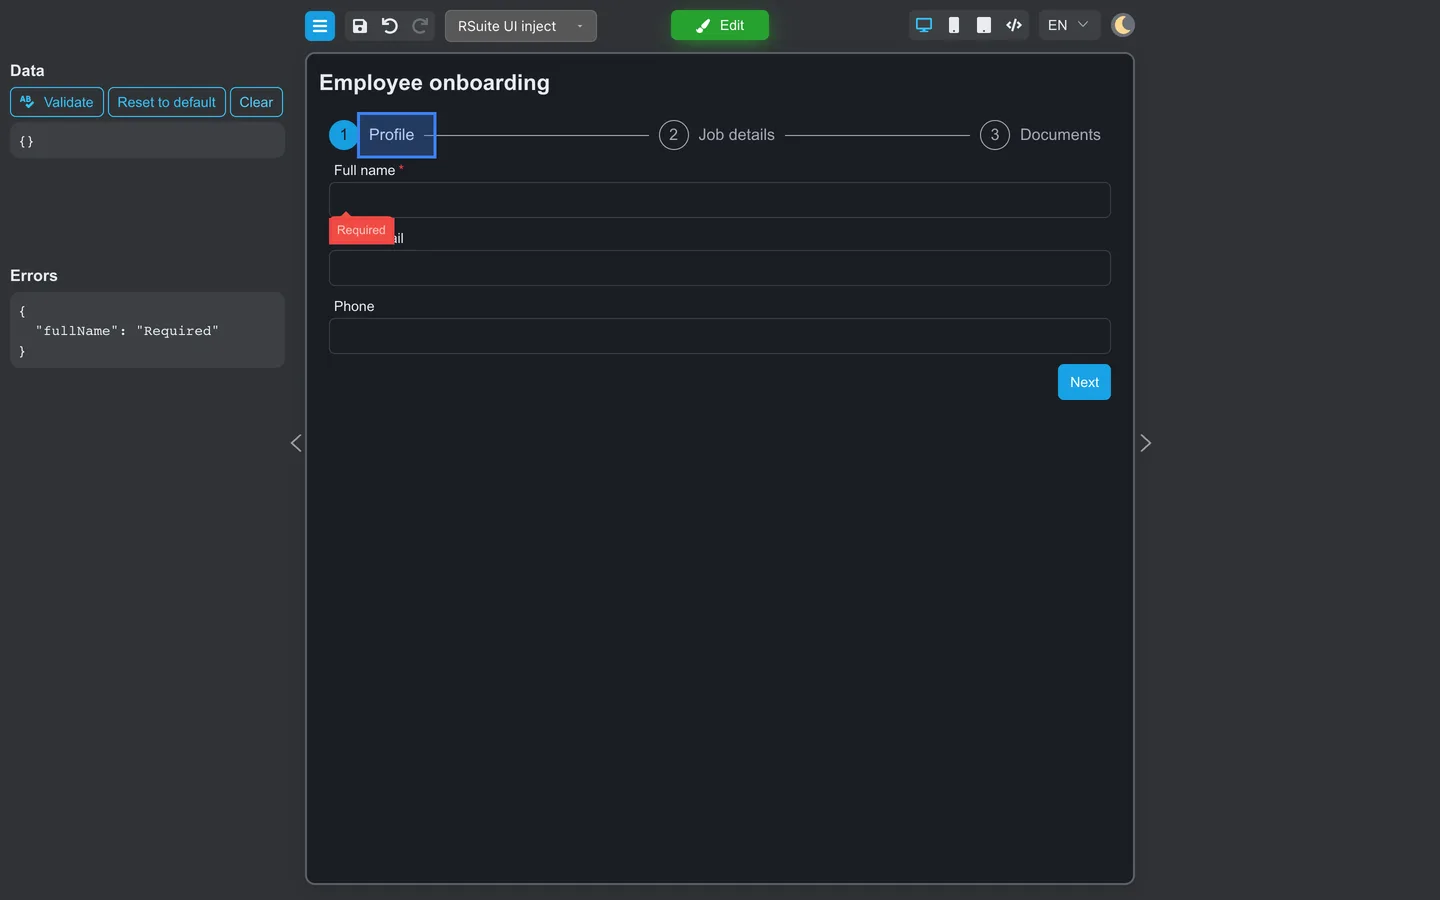
- Click Preview.
- Leave Full name empty and click Next.
- Confirm that Required appears under Full name and the Wizard stays on Profile.
- Enter a full name and click Next. The Wizard can now open Job details.
- Leave Department empty and click Next. Confirm that Required appears and the Wizard stays on Job details.
- Enter a department and continue to Documents.
- Leave ID document number empty and click Submit onboarding.
- Confirm that Required appears and the Wizard stays on Documents. Enter an ID document number to clear the error.
Summary
Select RSuite UI in the component library, then guide users through long forms with the Wizard component. Add field rules, enable Validate on next and Validate on finish, and test that invalid steps cannot advance or finish. Use Tree to verify the hierarchy before you preview.