


Tabs and multi-step layouts
Long forms can be easier to complete when split into tabs or steps. Each tab holds a group of fields, and users can move between sections before submitting.
For the same Employee onboarding example built as a step-by-step wizard, see Wizard and multi-step flows.
When to use tabs or steps
- More than one logical section (profile / job details / documents)
- Optional advanced sections that users may skip
- Wizards where each step validates before the next
Example: employee onboarding
This walkthrough builds an Employee onboarding form with three tabs: Profile, Job details, and Documents. A single Tab component holds the navigation. Each tab pane is a Container with fields.
How tabs combine components
| Layer | Component | Role |
|---|---|---|
| Screen | Screen | Root container for the whole form |
| Navigation | Tab | Tab bar and pane slots (Profile, Job details, Documents) |
| Layout | Container | Groups fields inside each tab pane |
| Input | Input / Checkbox / Button | Fields and actions nested in the pane Container |
Build each tab the same way: select the tab in Tab properties → drag a Container into the pane → add fields.
Step 1: Select the RSuite component library
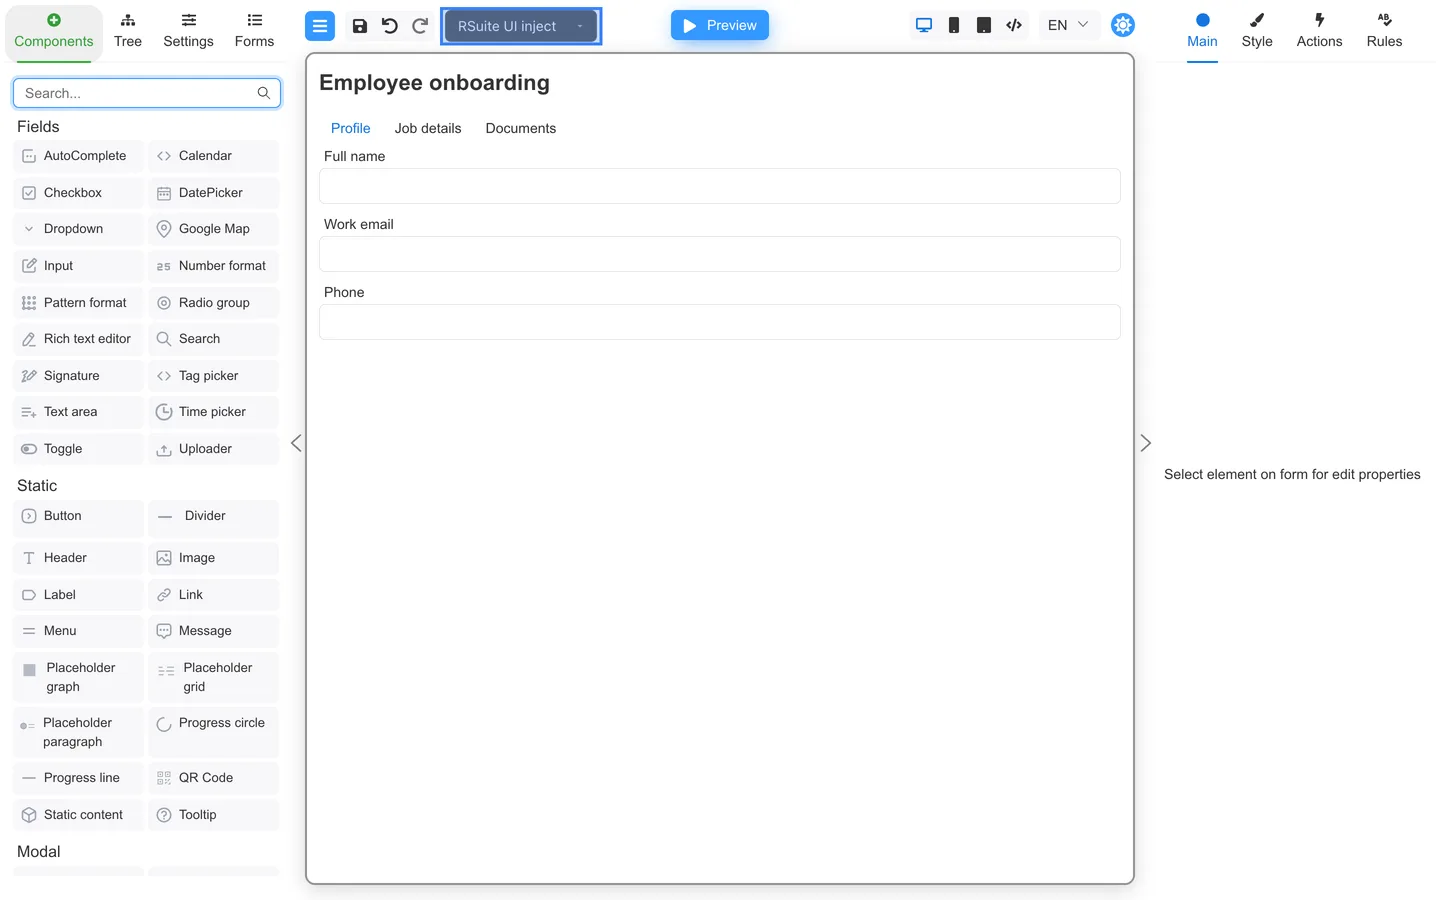
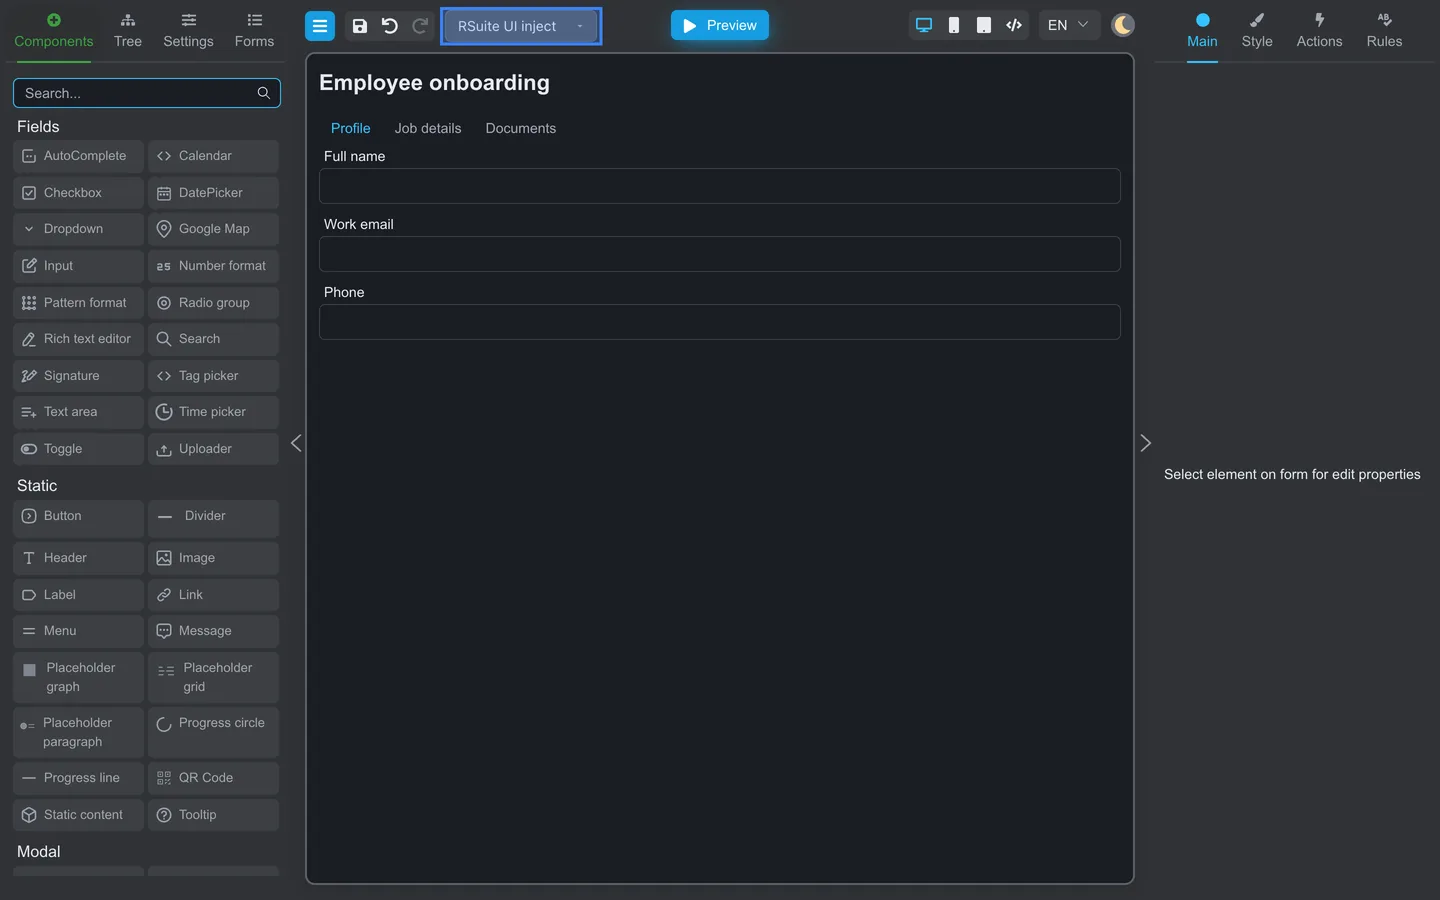
- Open the Component library menu in the top toolbar.
- Choose RSuite UI inject (or RSuite UI).
- The palette and canvas now show RSuite components.
Step 2: Add a Tab component
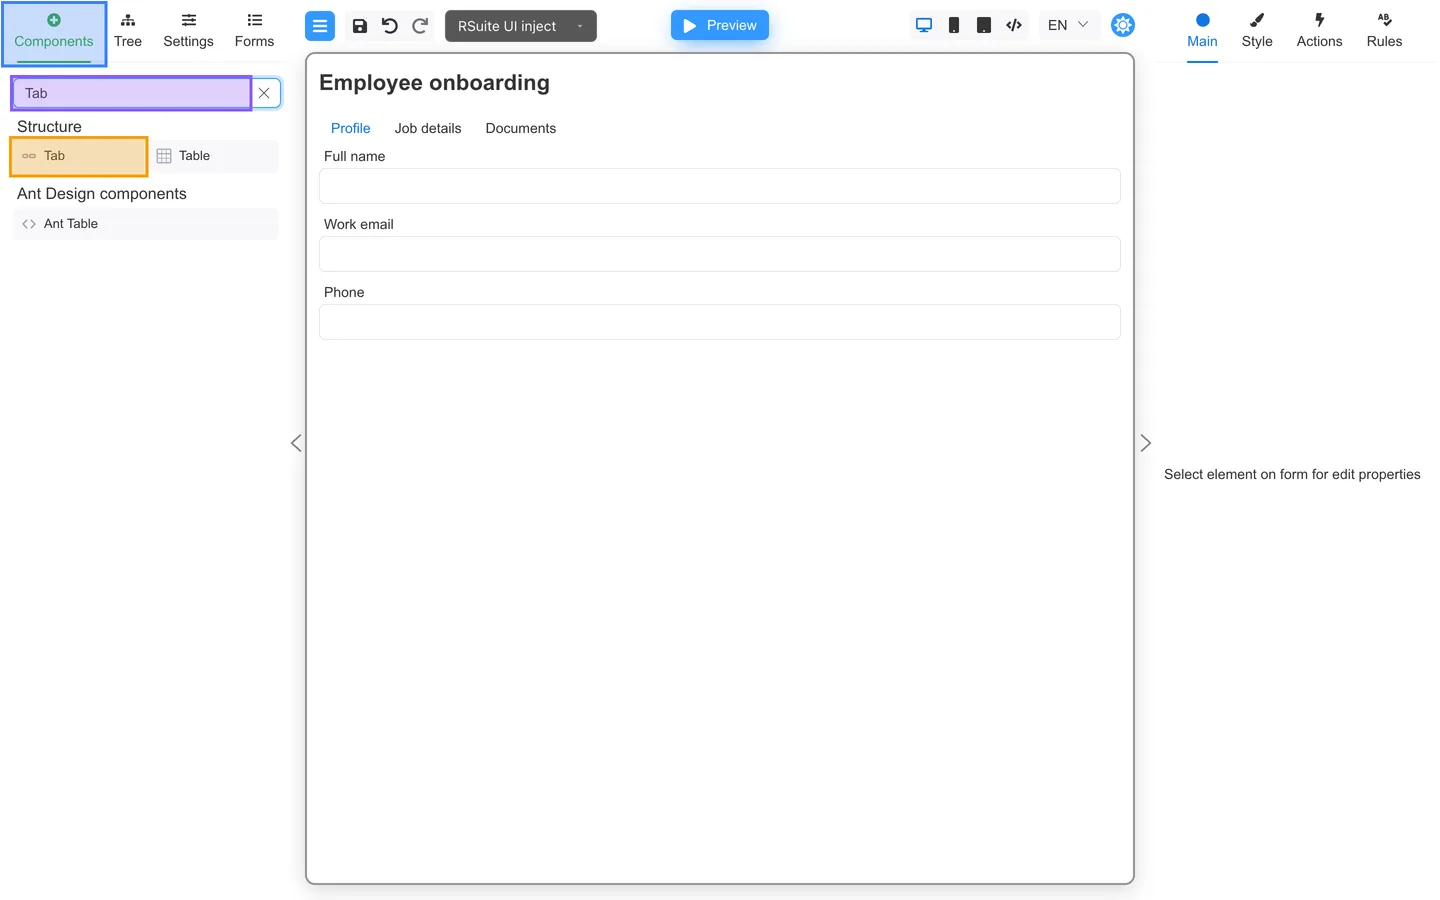
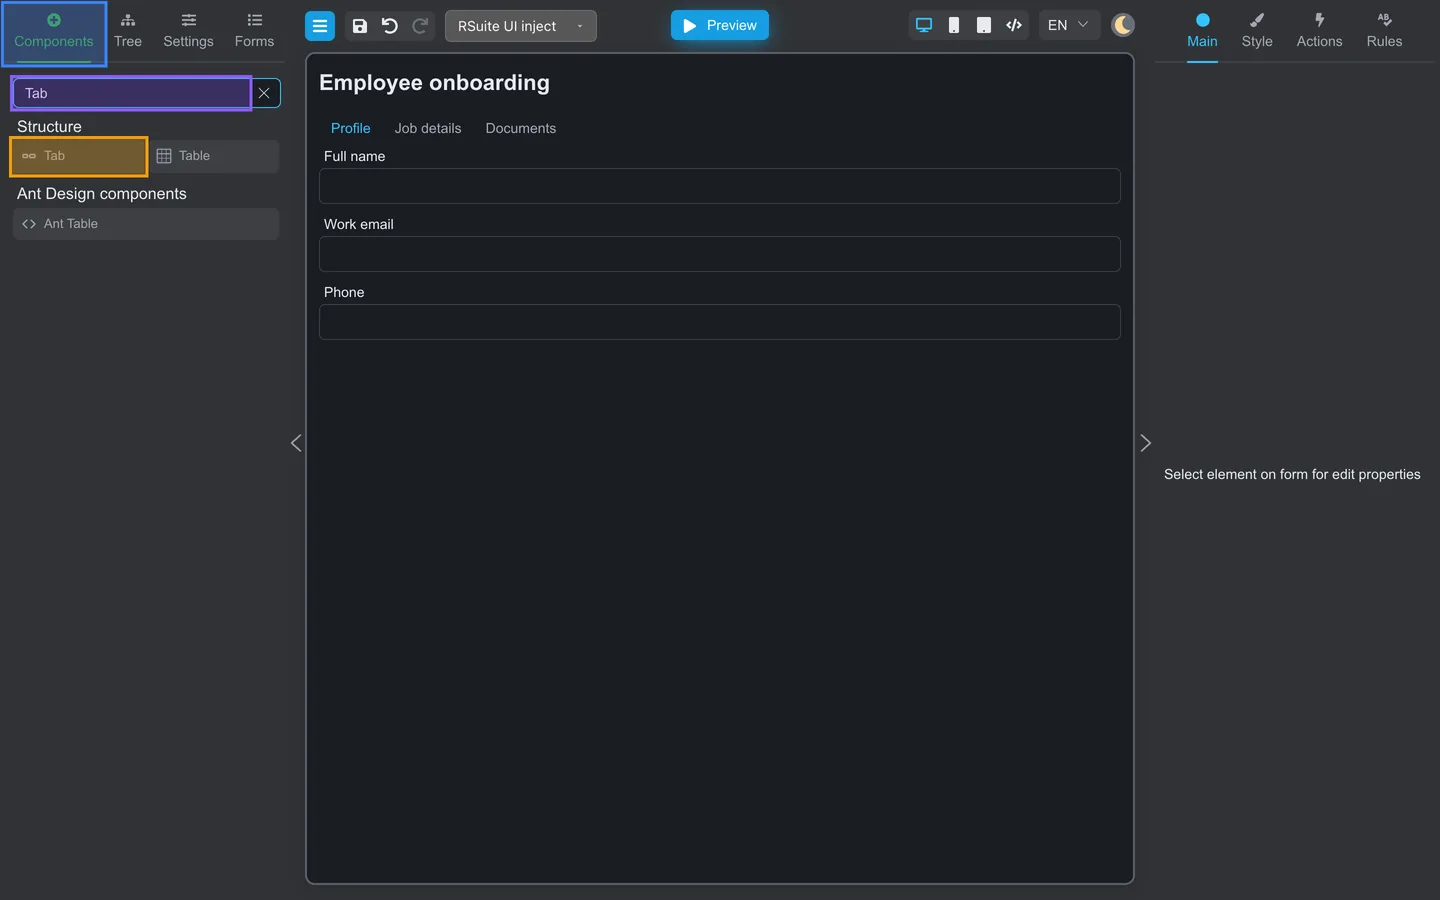
- Open Components.
- Search for Tab.
- Drag Tab onto the canvas below the form title.
Step 3: Add fields to the first tab pane
- Select the Tab on the canvas.
- In Main properties, set Items to Profile, Job details, and Documents.
- Make sure Profile is the active tab.
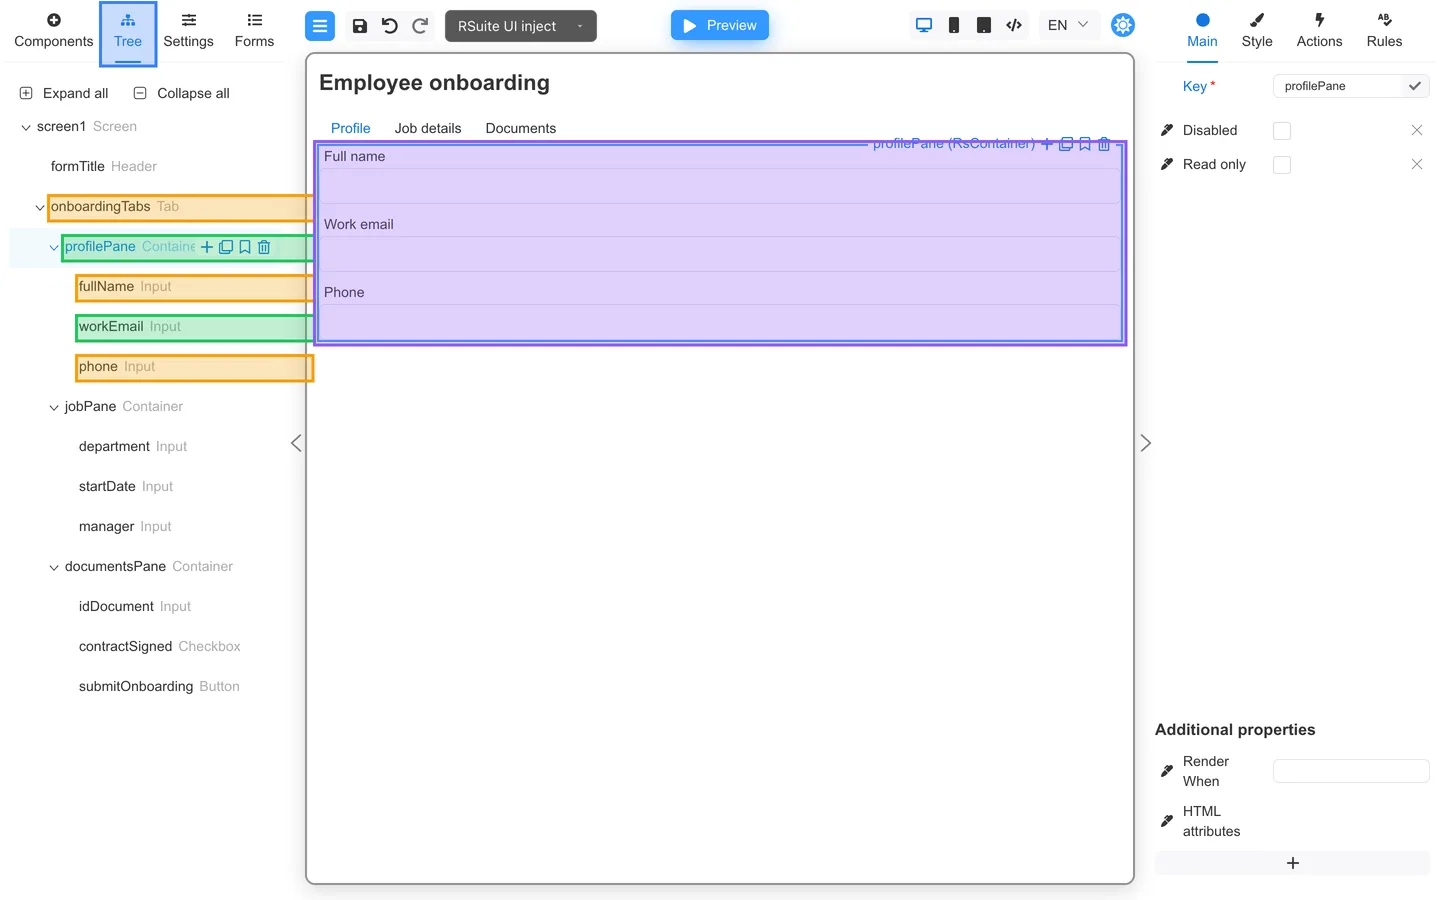
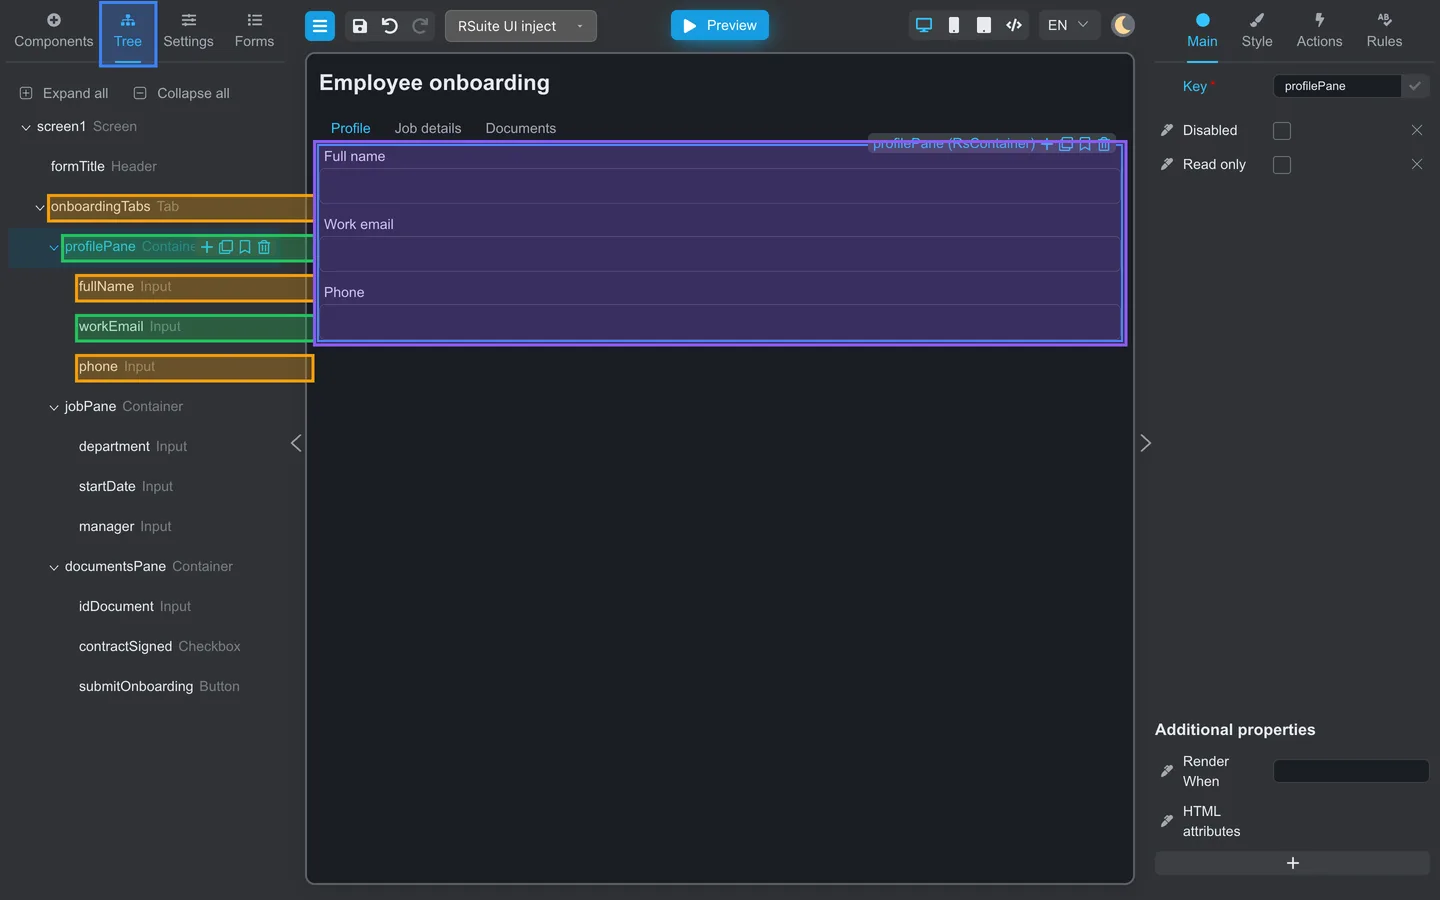
- Drag Container from Components into the tab pane.
- Drag Input fields into the Container (Full name, Work email, Phone).
- Open Tree → Expand all to confirm nesting:
onboardingTabs→profilePane→ fields.
Step 4: Repeat for other tabs
- Select the Tab and switch the active tab to Job details.
- Add Container → Department, Start date, and Manager fields.
- Switch to Documents and add Container → ID document number, Employment contract signed checkbox, and Submit onboarding button.
Step 5: Check the canvas
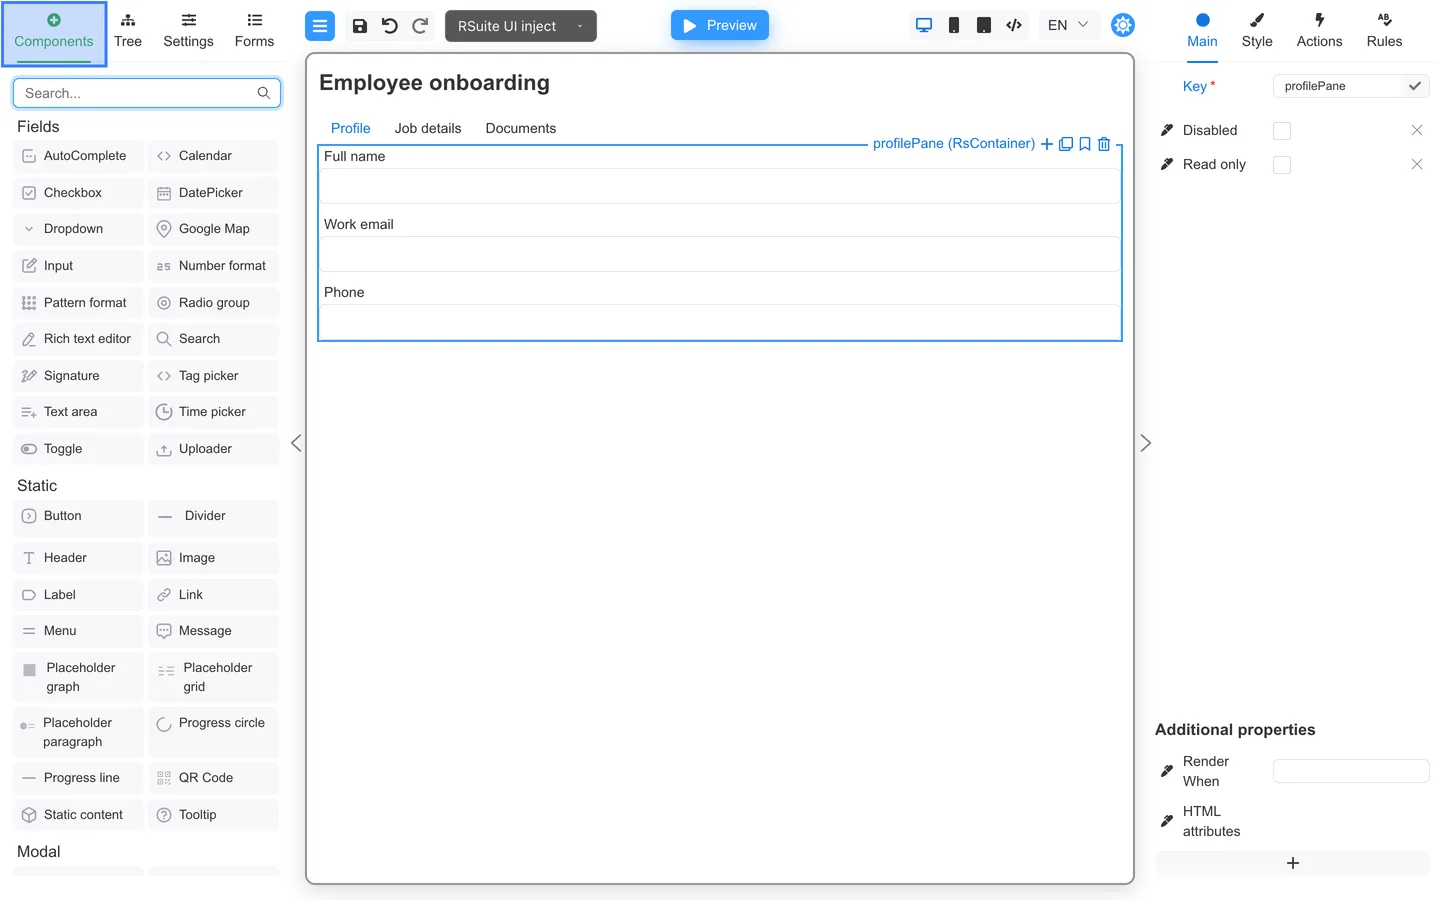
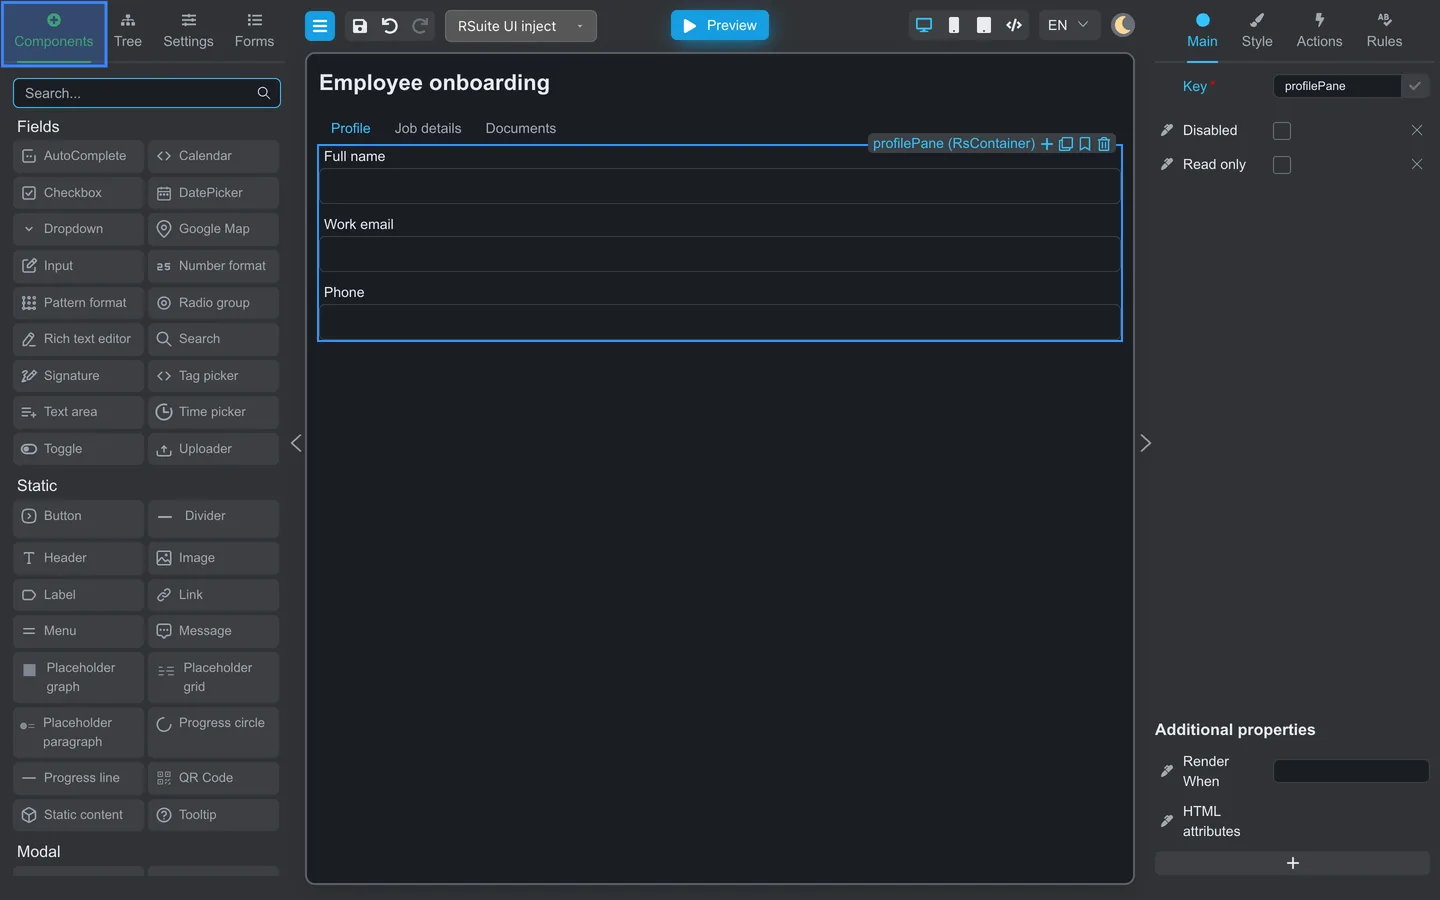
- Stay on Components or switch to the canvas.
- Click each tab label and confirm the matching fields appear in the pane.
Step 6: Verify the component tree
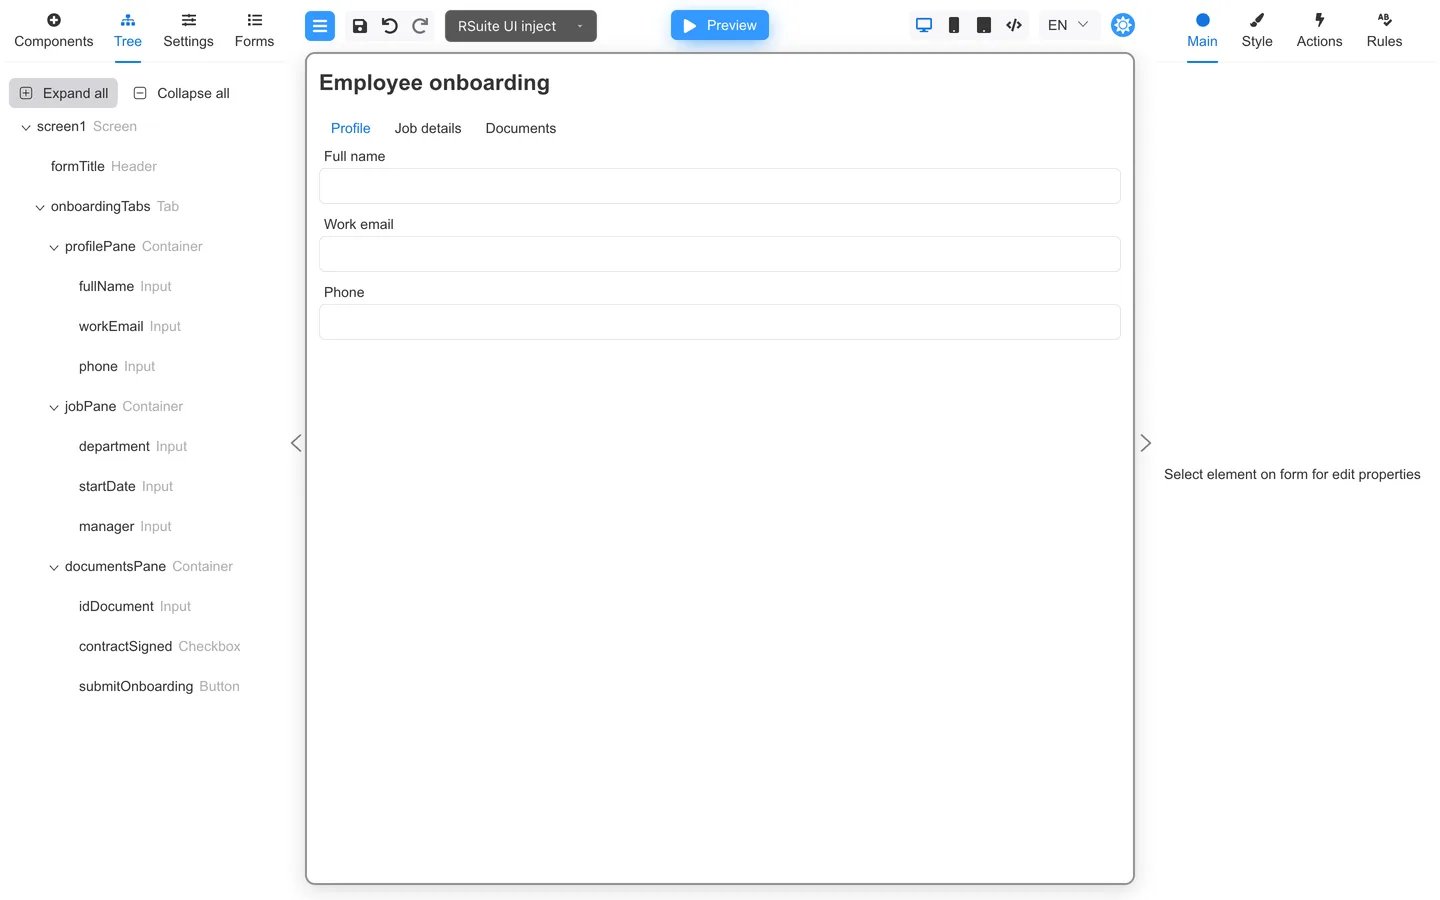
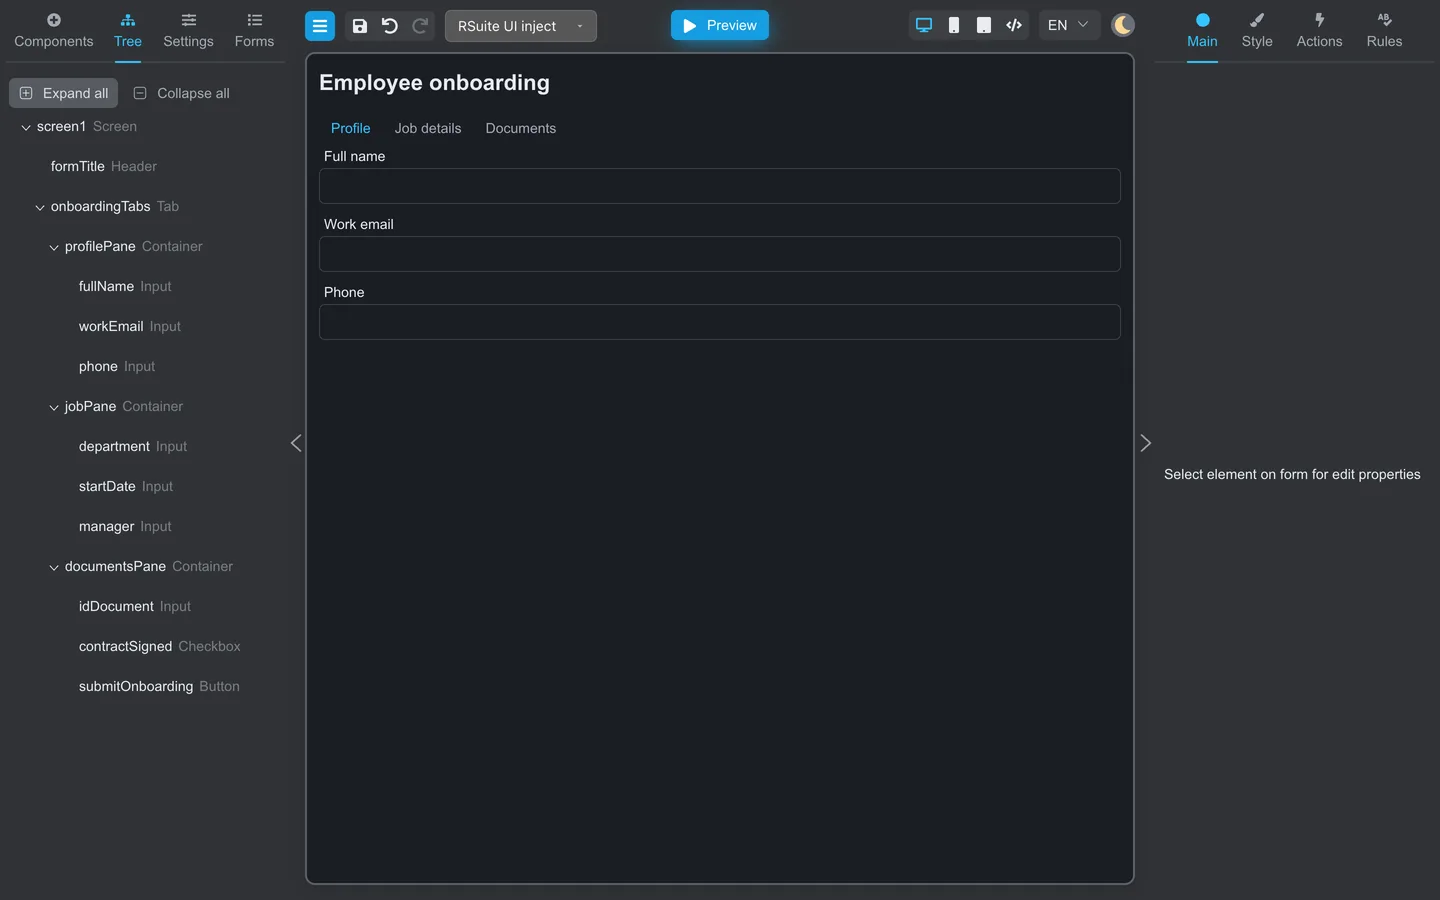
- Open Tree → Expand all.
- The tree should list
formTitle, thenonboardingTabswithprofilePane,jobPane, anddocumentsPanebranches and their child fields indented underneath.
Test the flow
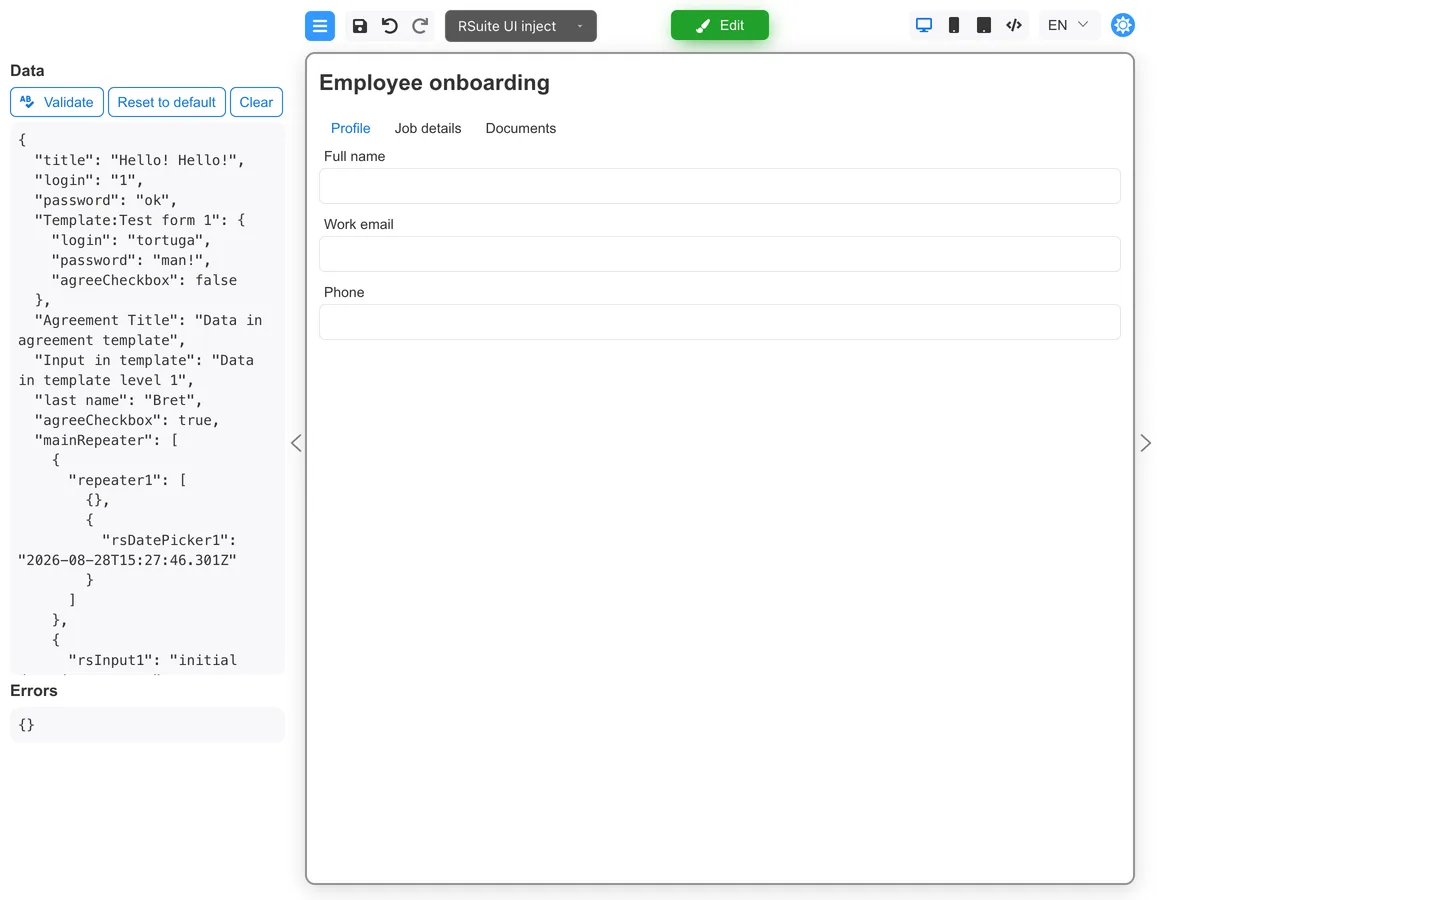
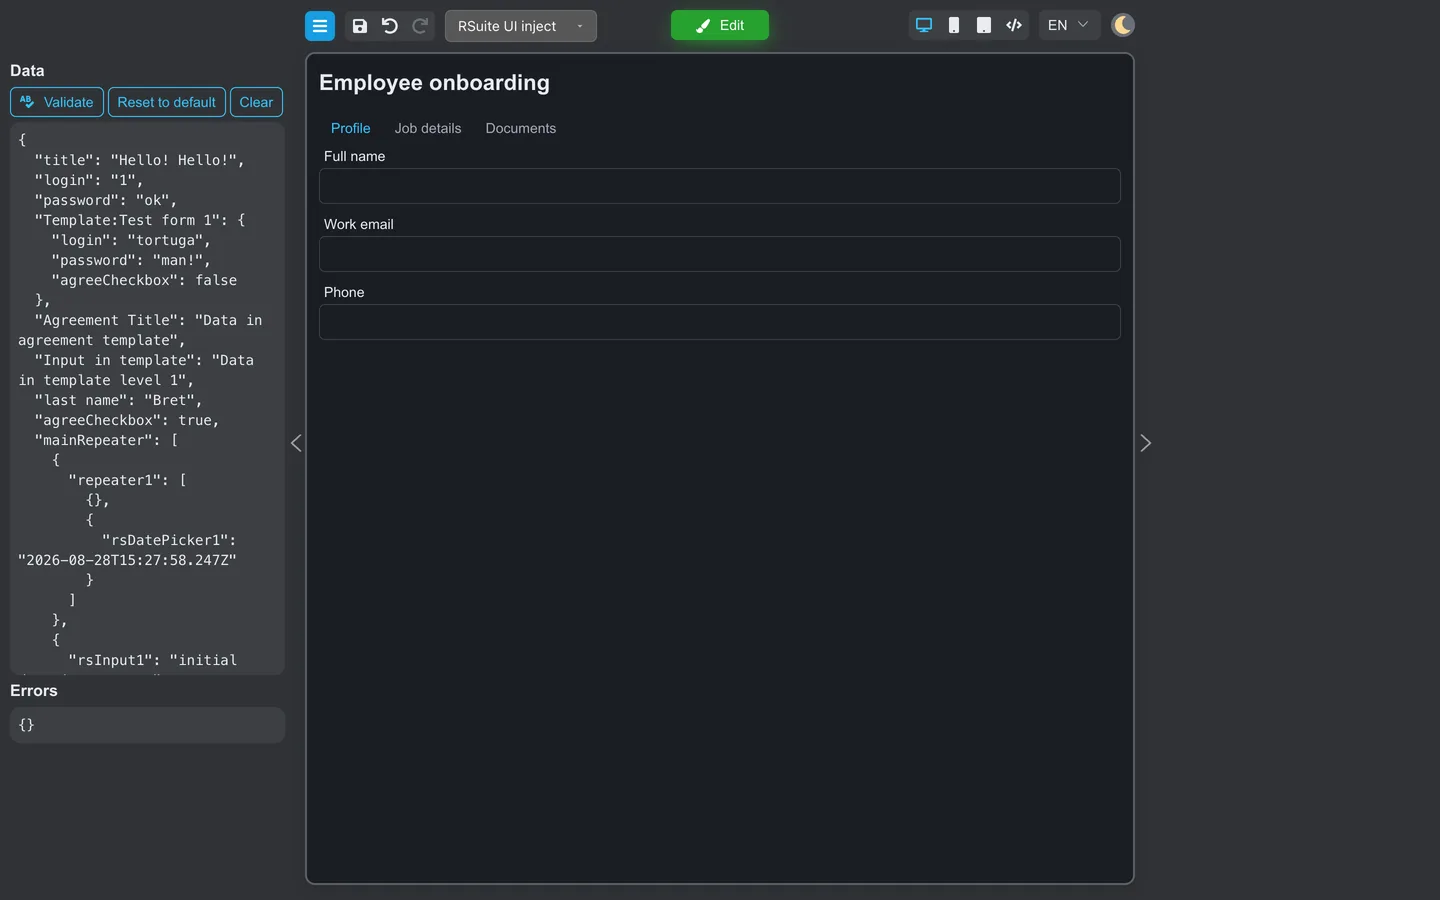
- Click Preview.
- Switch tabs and fill required fields in each section.
- Run Validate from Preview mode tools.
Developers: Tab slots, conditions, and JSON structure are covered in Using tabs.
Summary
Select RSuite UI in the component library, then split long forms with the Tab component. Nest Container → fields inside each tab pane. Use Tree to verify the full hierarchy before you preview.