


Labels and help text
Clear labels and help text reduce errors. Most text fields expose these settings on Main when the field is selected.
Example: work email field
Step 1: Select the field
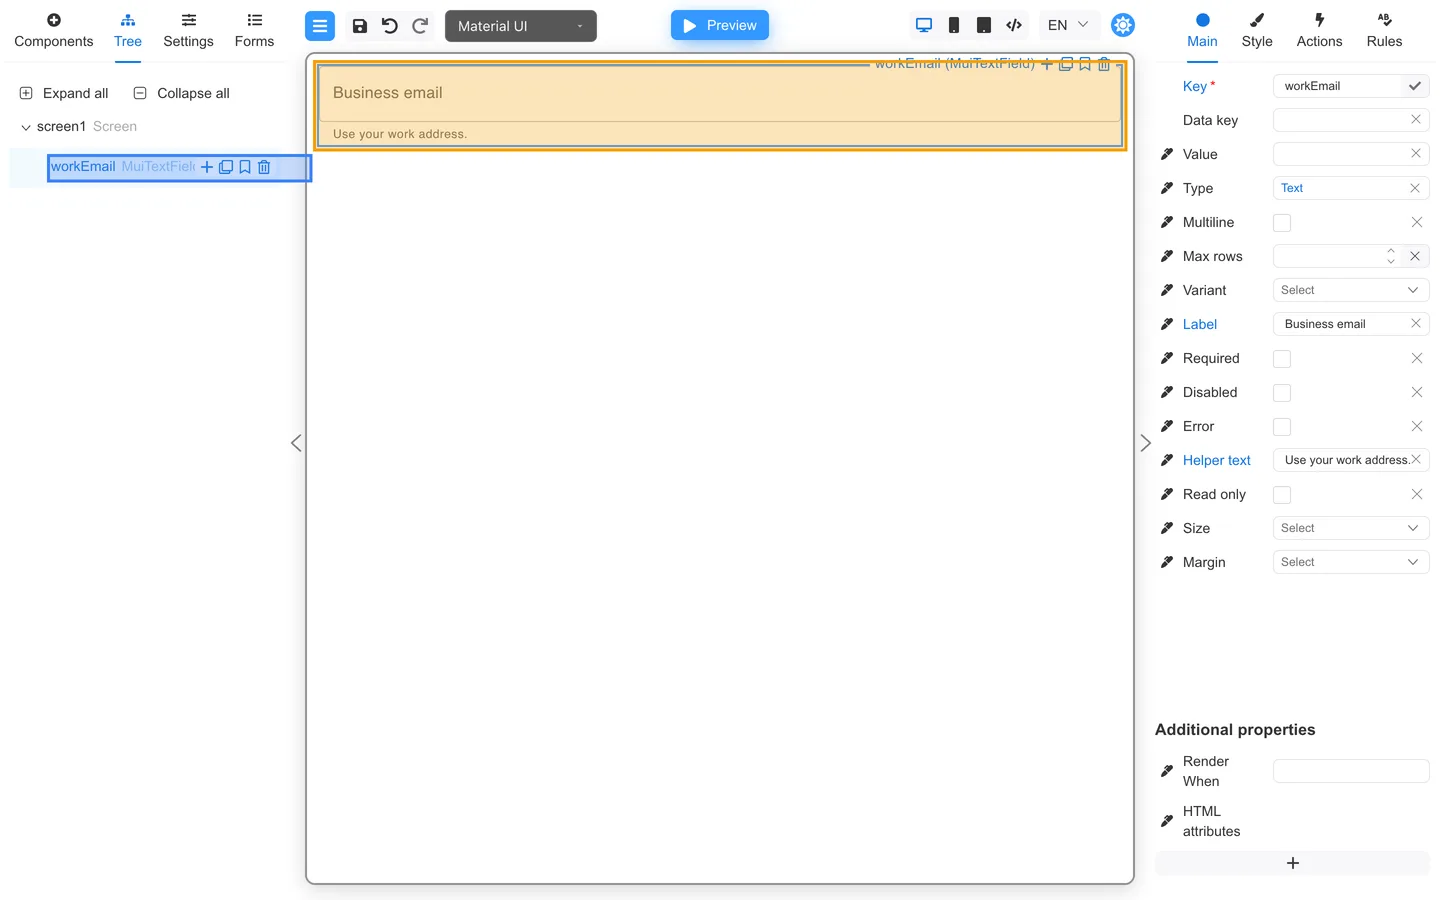
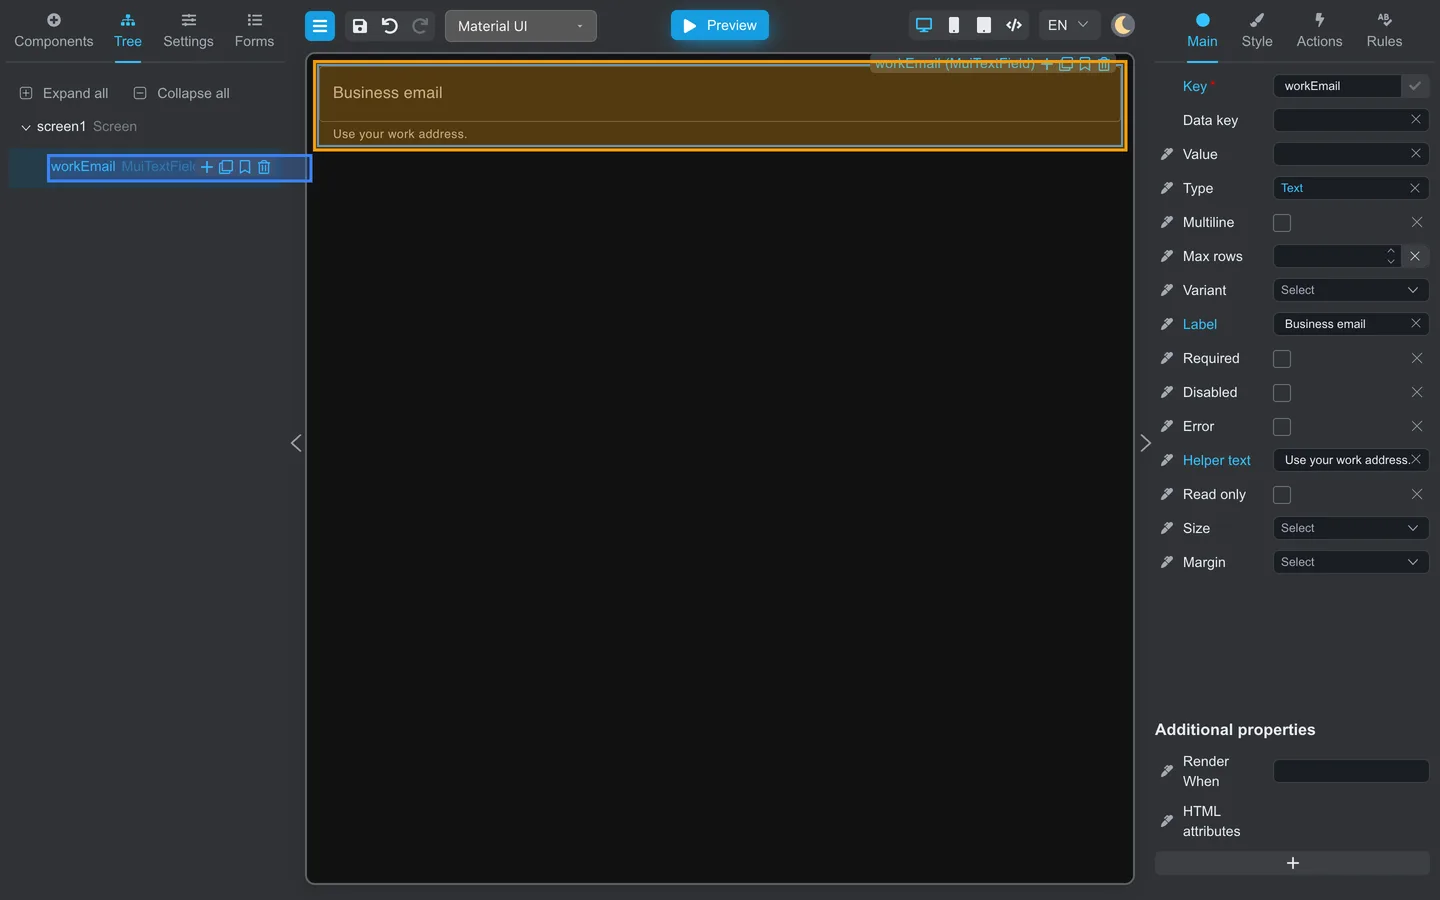
- Click the field on the canvas, or select it in Tree (key
workEmailin the finished example).
Step 2: Edit on Main
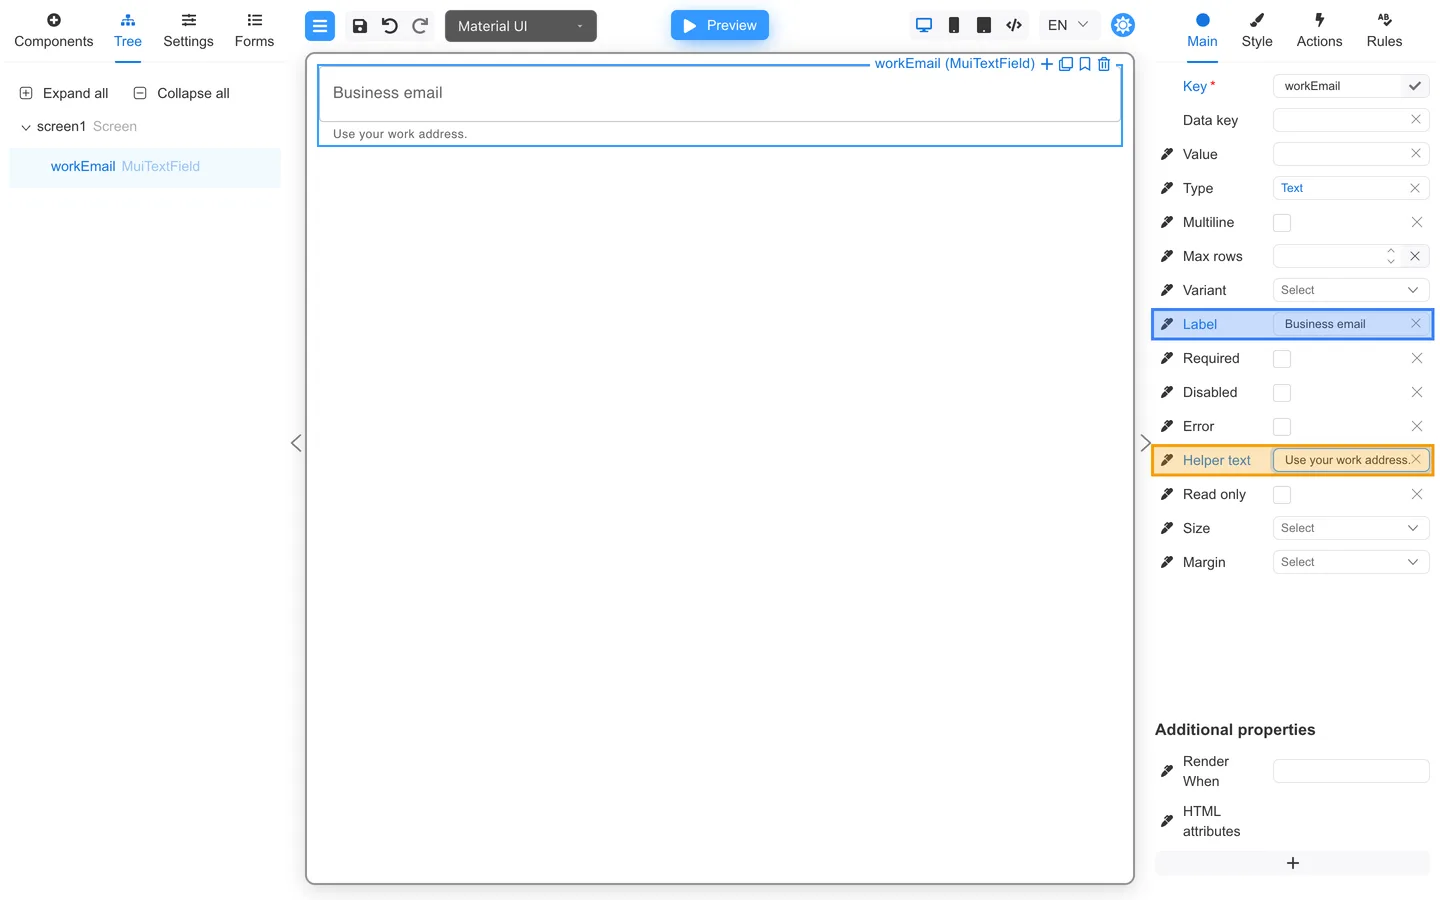
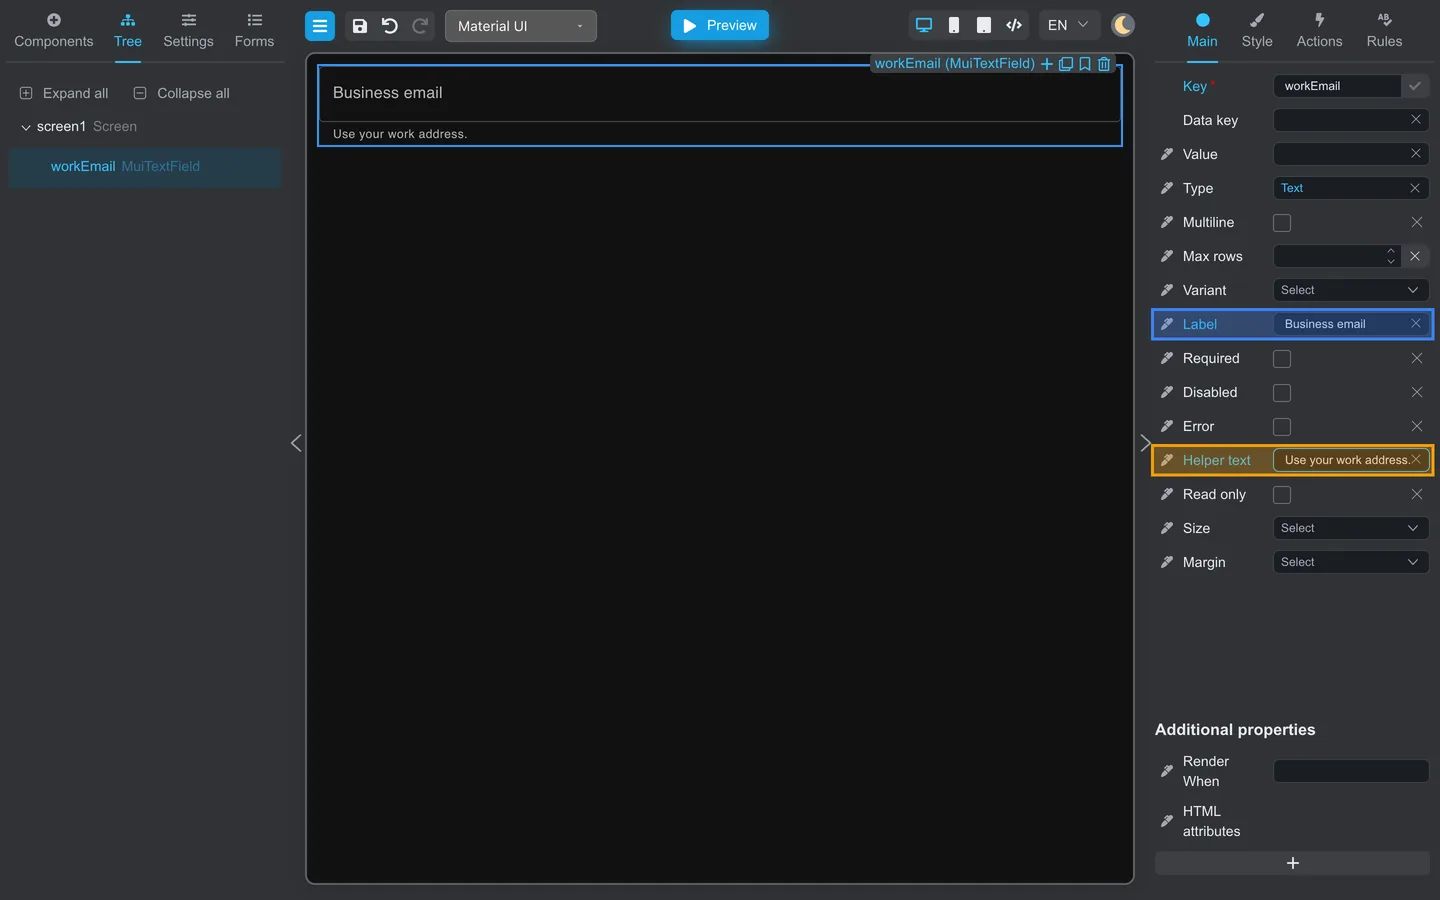
- Open Main on the right.
- Update Label (or Title) to the text users should see (for example Business email).
- Set Placeholder for gray hint text inside empty inputs (for example
name@company.com). - Set Helper text or Description when the component offers it (for example Use your work address.).
Step 3: Check in Preview
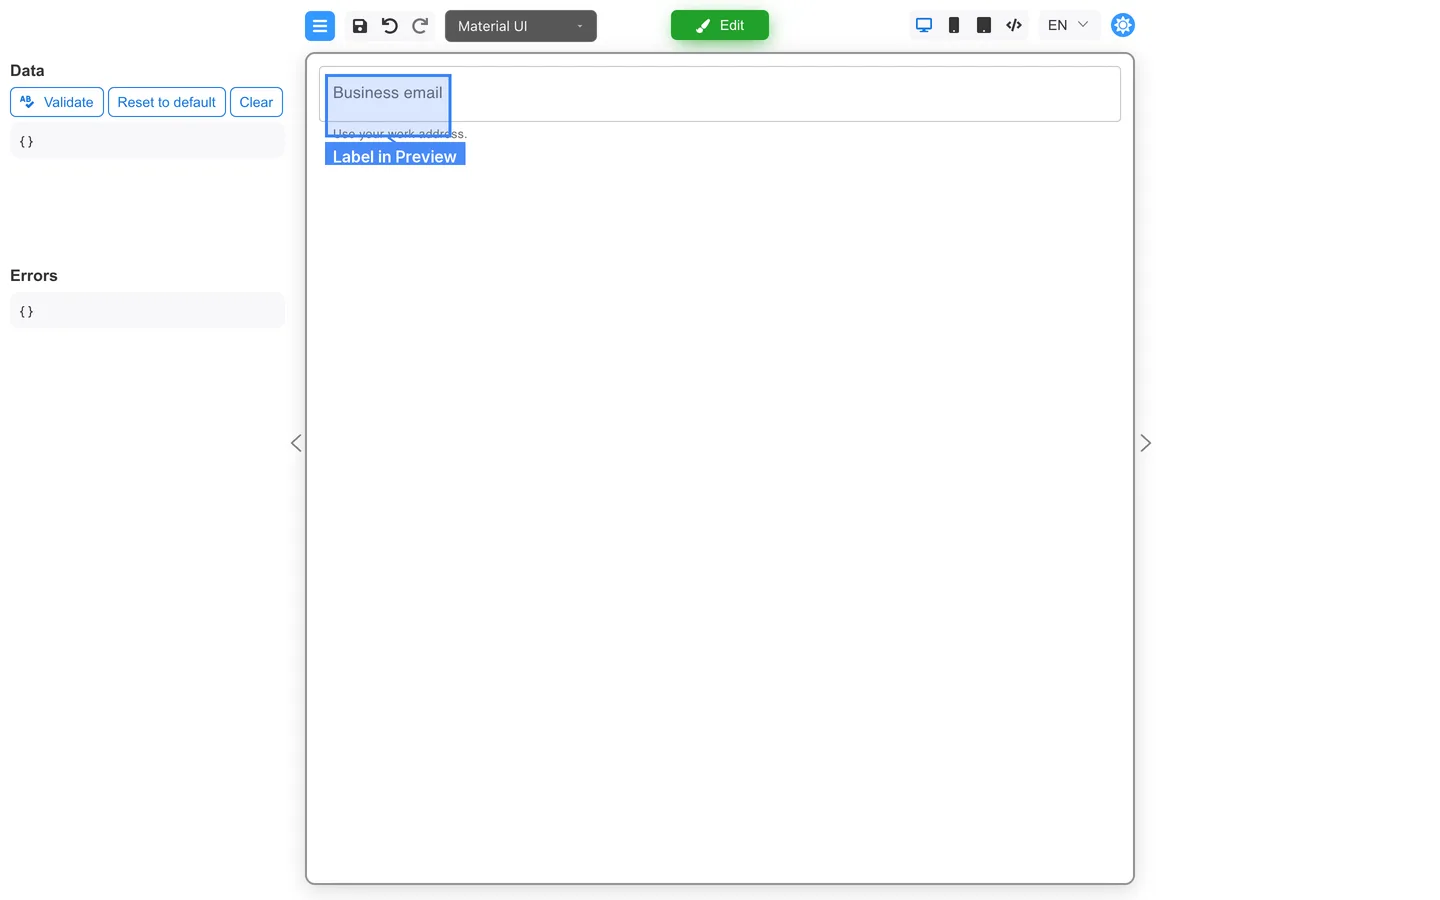
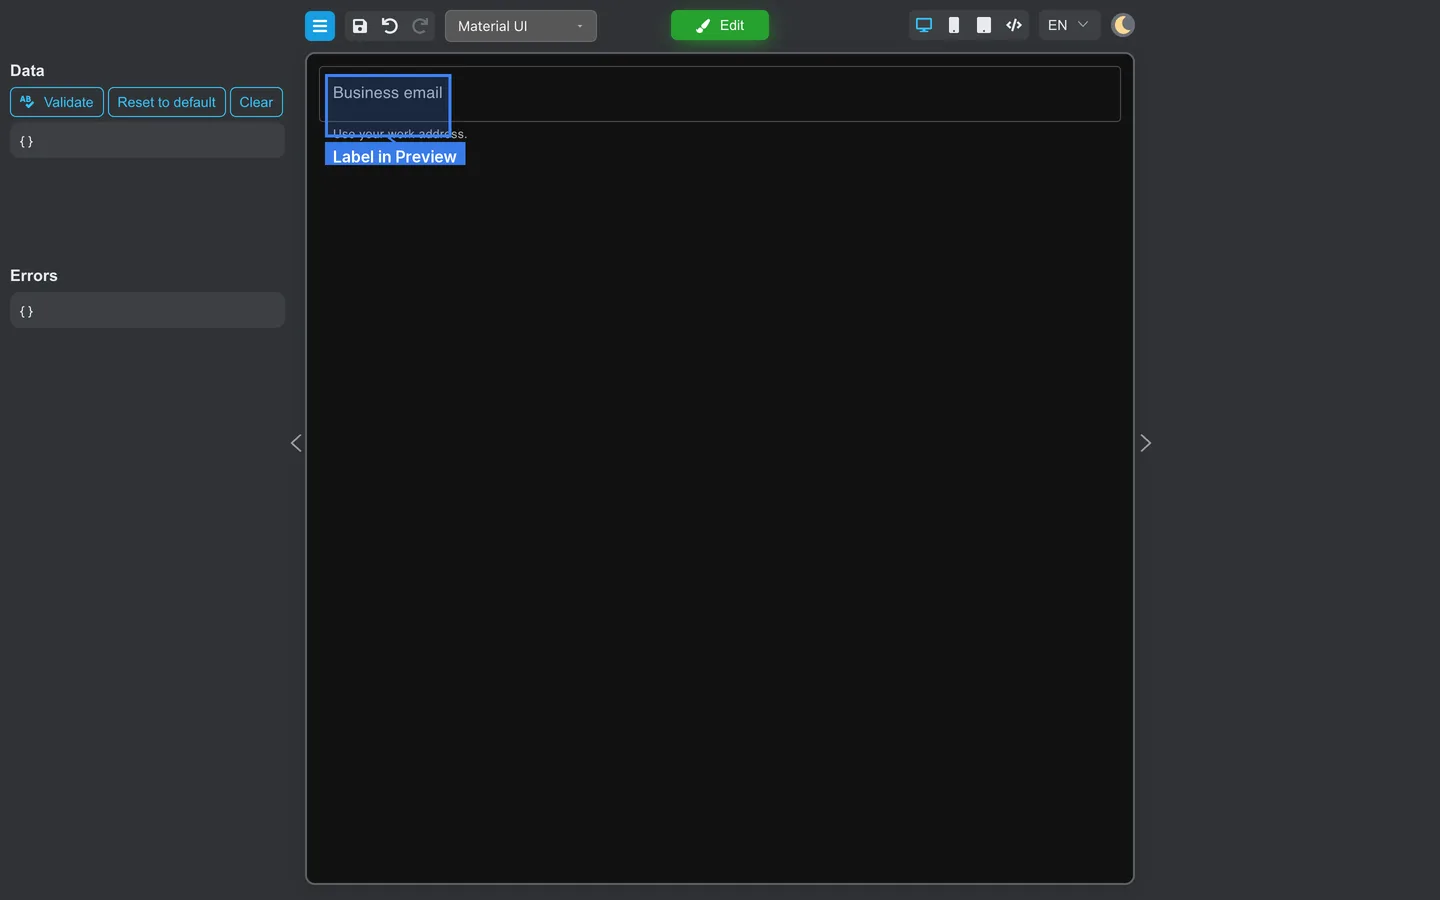
- Click Preview.
- Confirm the label and helper text read naturally and are not cut off on narrow widths.
Multiple languages
If your project enables localization, labels may come from translation files. Depending on the configuration, authors may also be able to edit localized strings in Designer. Ask your administrator how your team manages translations.
Summary
Labels and hints live on Main for the selected field. Verify the wording in Preview, and coordinate with your team for non-English locales.