


Tables and repeating rows
When users add multiple similar entries (line items, dependents, addresses), use Repeater, List, or table components from the palette.
Lists and repeaters
| Pattern | Typical use |
|---|---|
| Repeater | Dynamic rows users add or remove (invoice lines, guests) |
| Sortable list | Like Repeater, plus users reorder rows by drag or keyboard (guide) |
| List / List item | Structured repeated blocks with a fixed layout |
| Table | Column grid when your library provides a table component (see below) |
Search Components for Repeater or List.
Choose a pattern
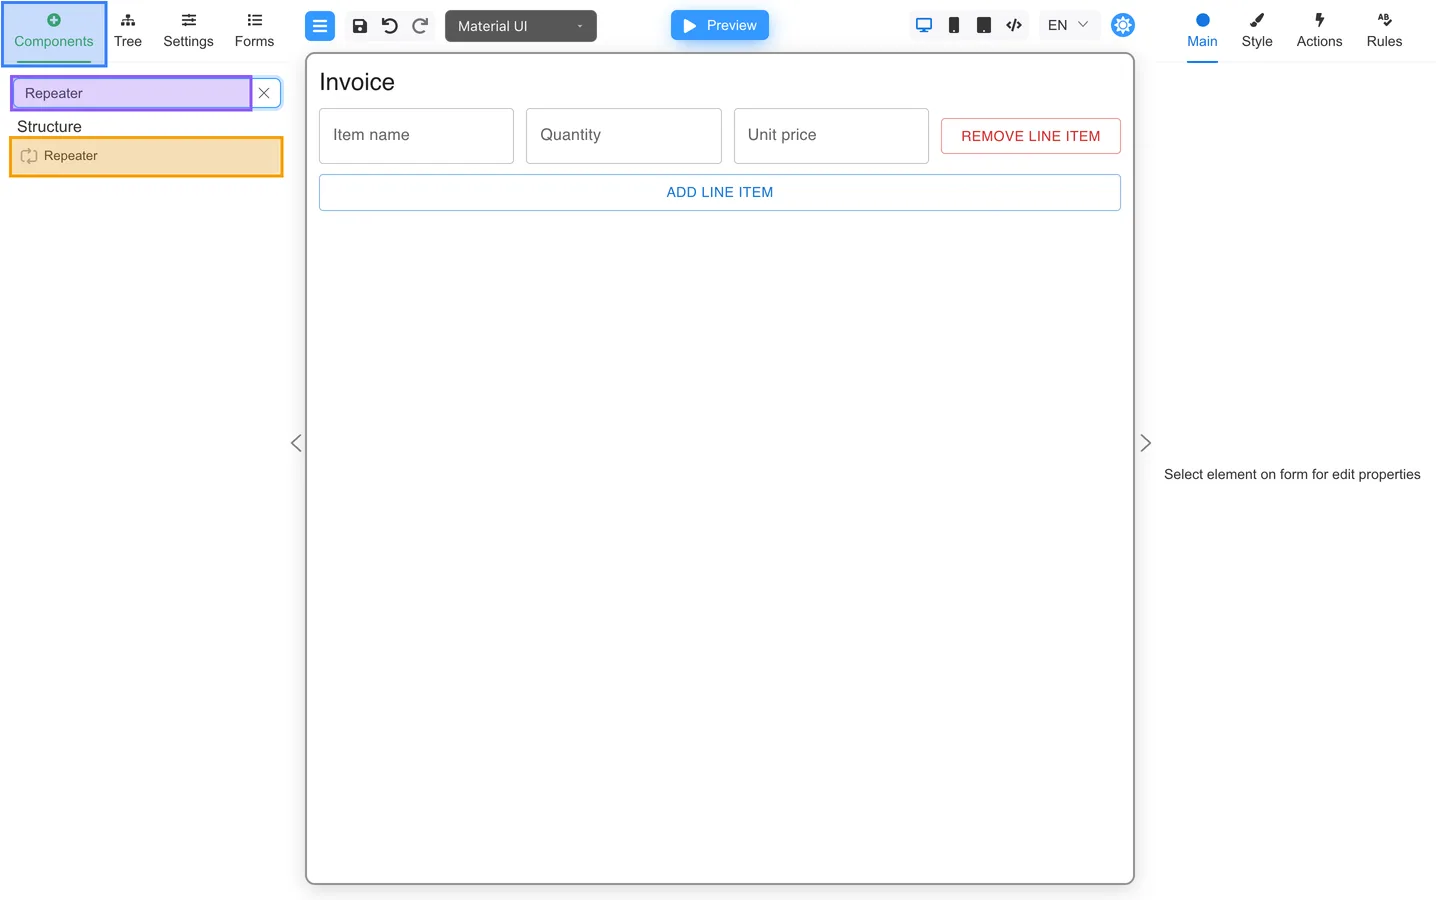
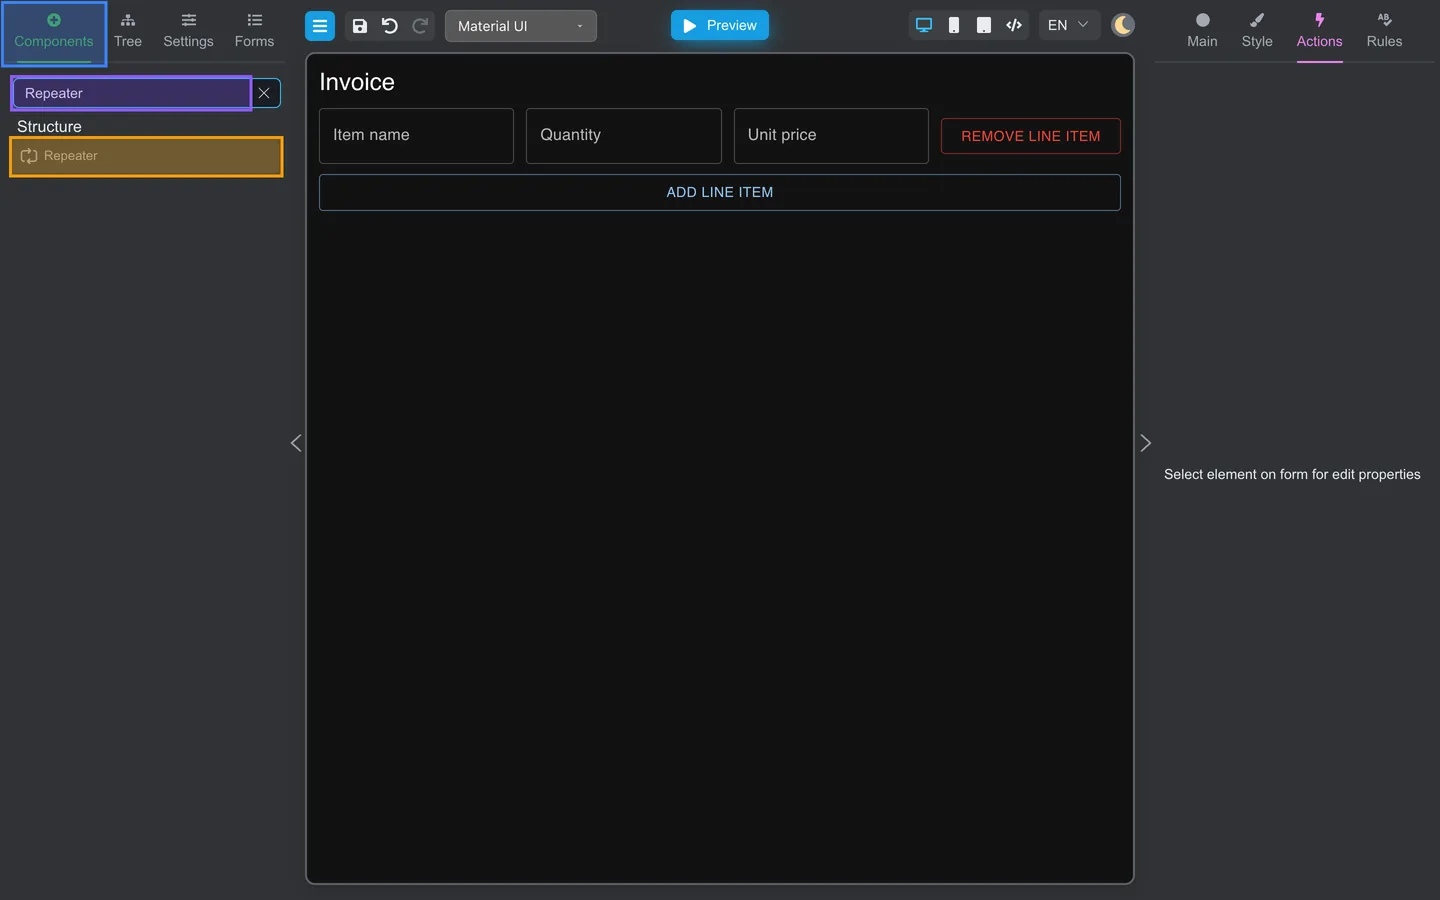
- Open Components.
- Search for Repeater or List.
- Pick Repeater when users should add or remove rows at runtime.
Example: invoice line items (repeater)
This walkthrough builds an Invoice form where each line item has Item name, Quantity, and Unit price. One Repeater holds the row template, an Add line item button appends rows, and a Remove line item button inside each row removes that row.
How a repeater combines components
| Layer | Component | Role |
|---|---|---|
| Screen | Screen | Root container |
| Rows | Repeater | Repeating array of line items |
| Row layout | Stack | Horizontal group inside each row |
| Fields | Text field | Item name, Quantity, Unit price |
| Row action | Button | Remove line item with the removeRow action |
| Form action | Button | Add line item with the addRow action |
Step 1: Add a Repeater
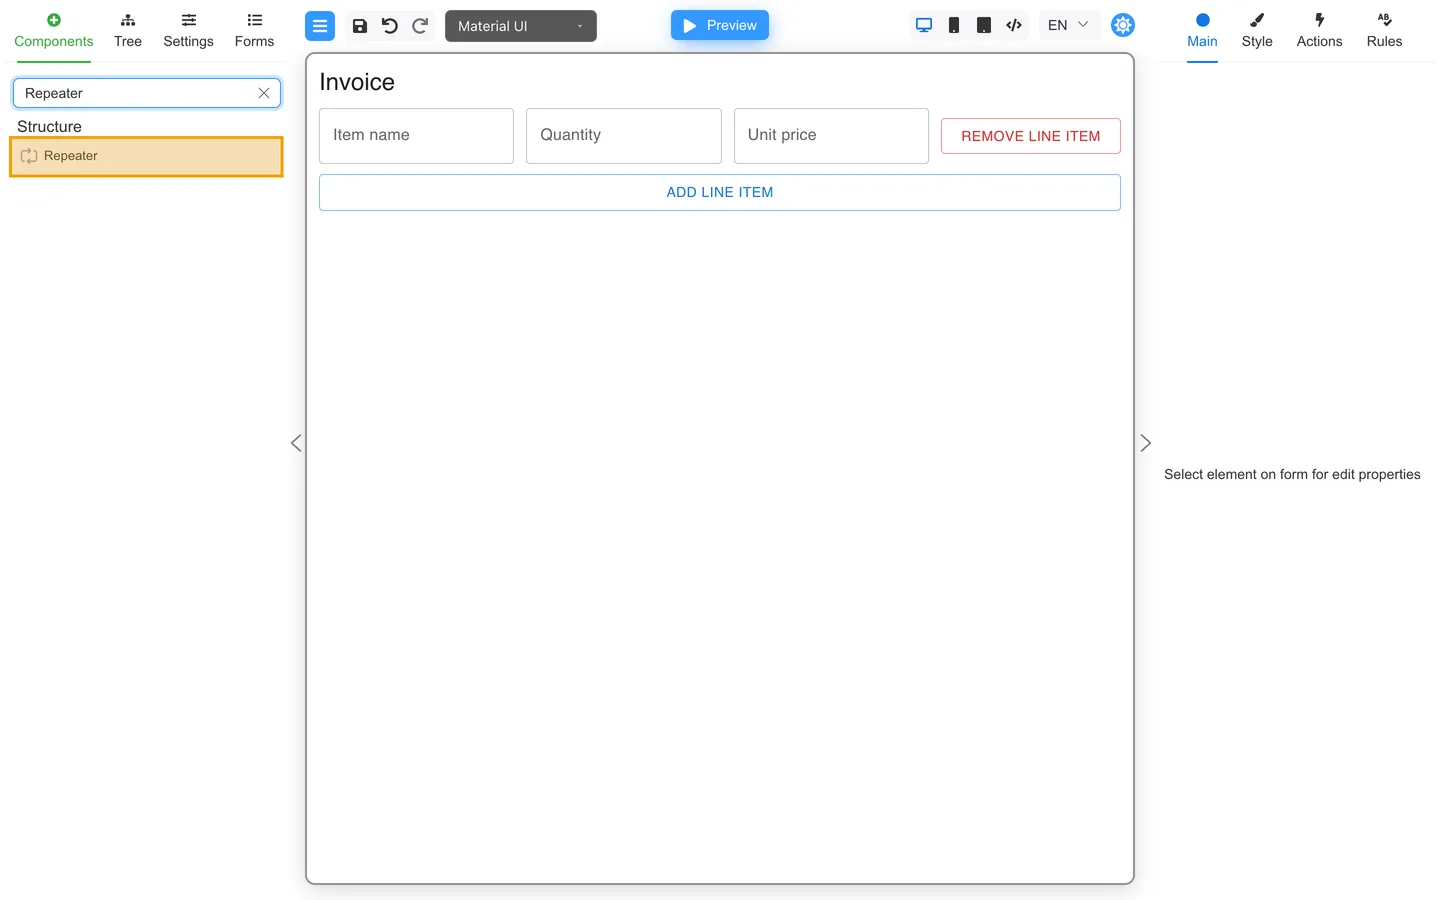
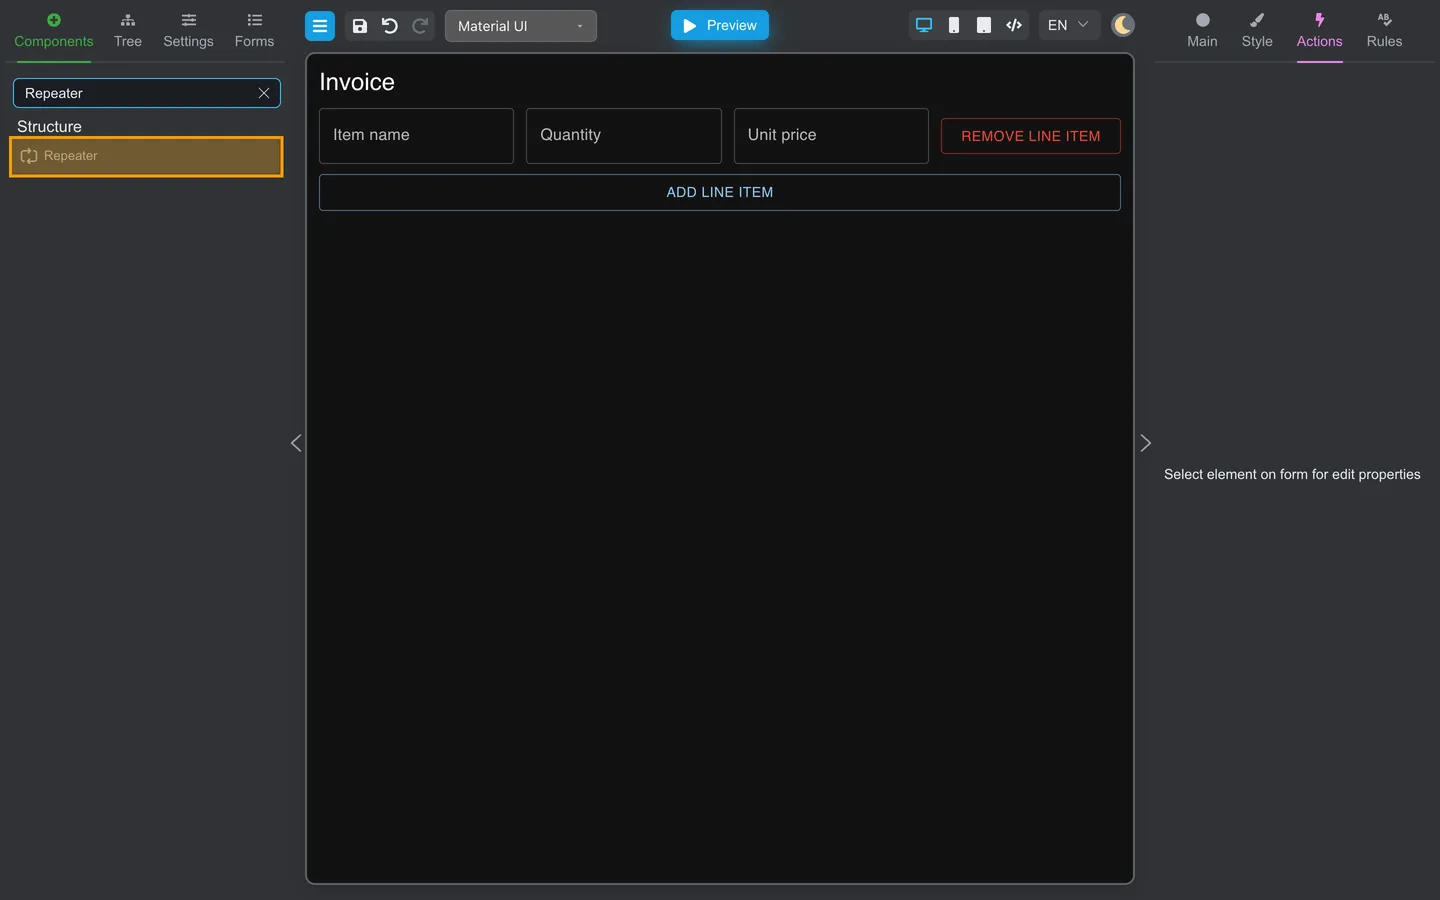
- Open Components.
- Search for Repeater.
- Drag Repeater onto the canvas below the form title.
- On Main, set Key to
lineItemsRepeater.
Step 2: Add a row layout inside the repeater
- Drag Stack from Components into the Repeater.
- Set Direction to row on the Stack so fields sit side by side.
- Set the Stack key to
lineItemRow.
Step 3: Add fields to the row template
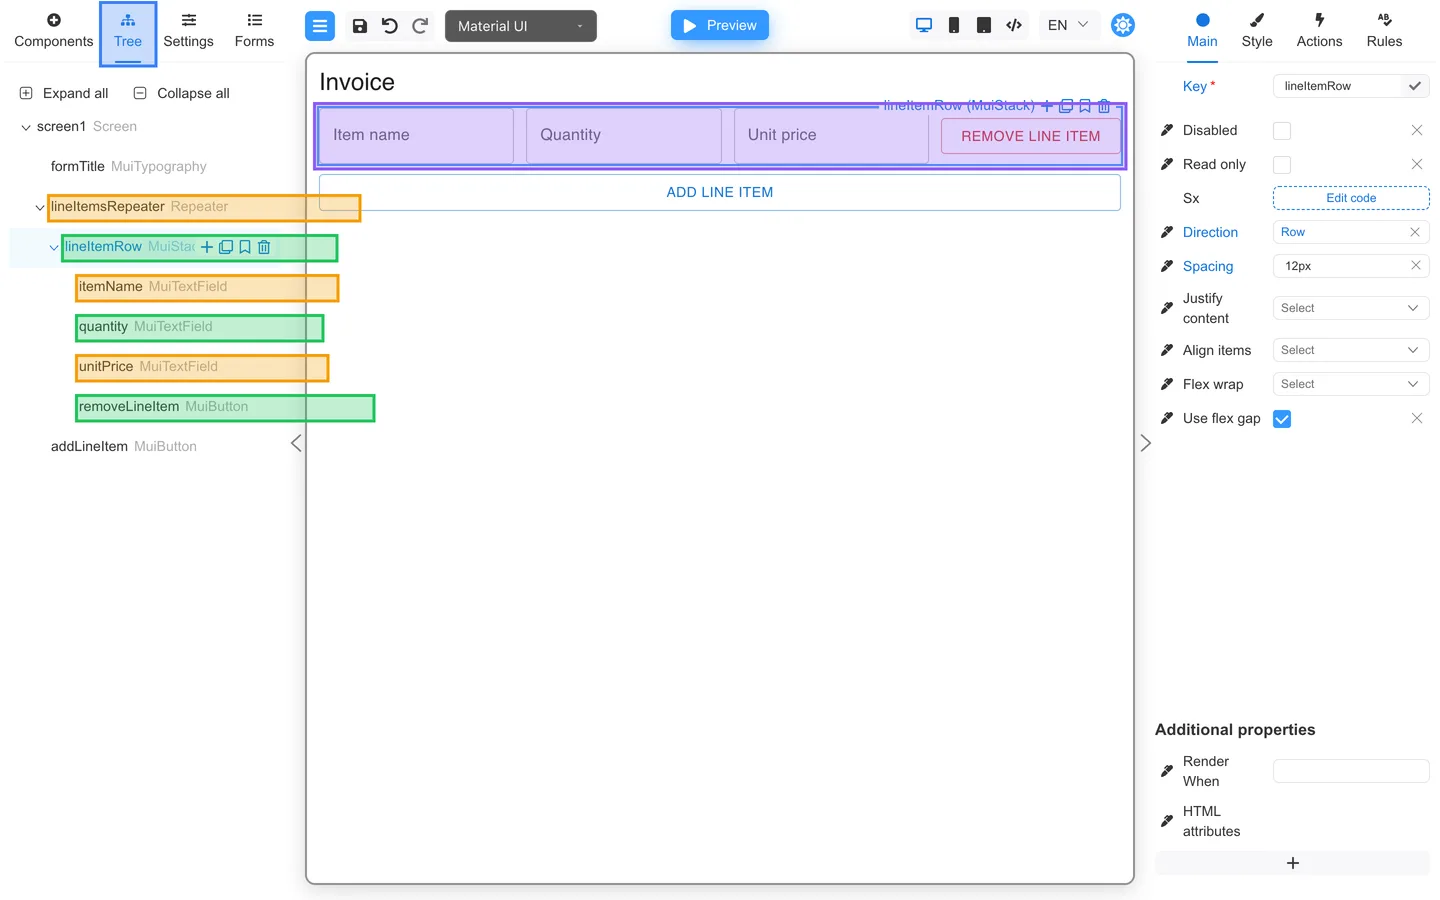
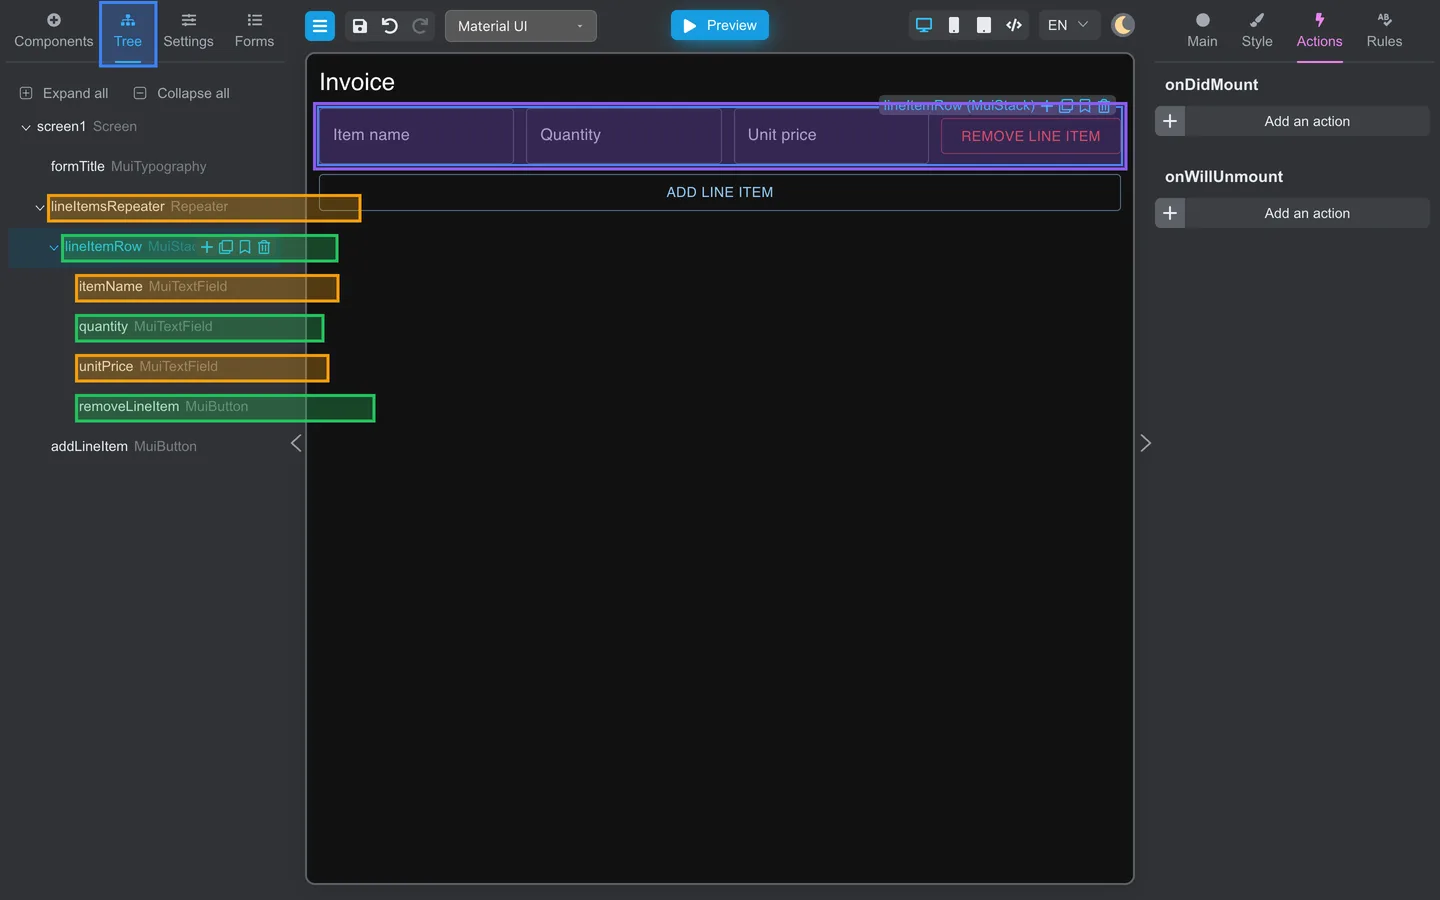
- Drag Text field components into
lineItemRow(Item name, Quantity, Unit price). - Open Tree → Expand all.
- Confirm nesting:
lineItemsRepeater→lineItemRow→itemName,quantity, andunitPrice.
Step 4: Add a Remove line item button inside the row
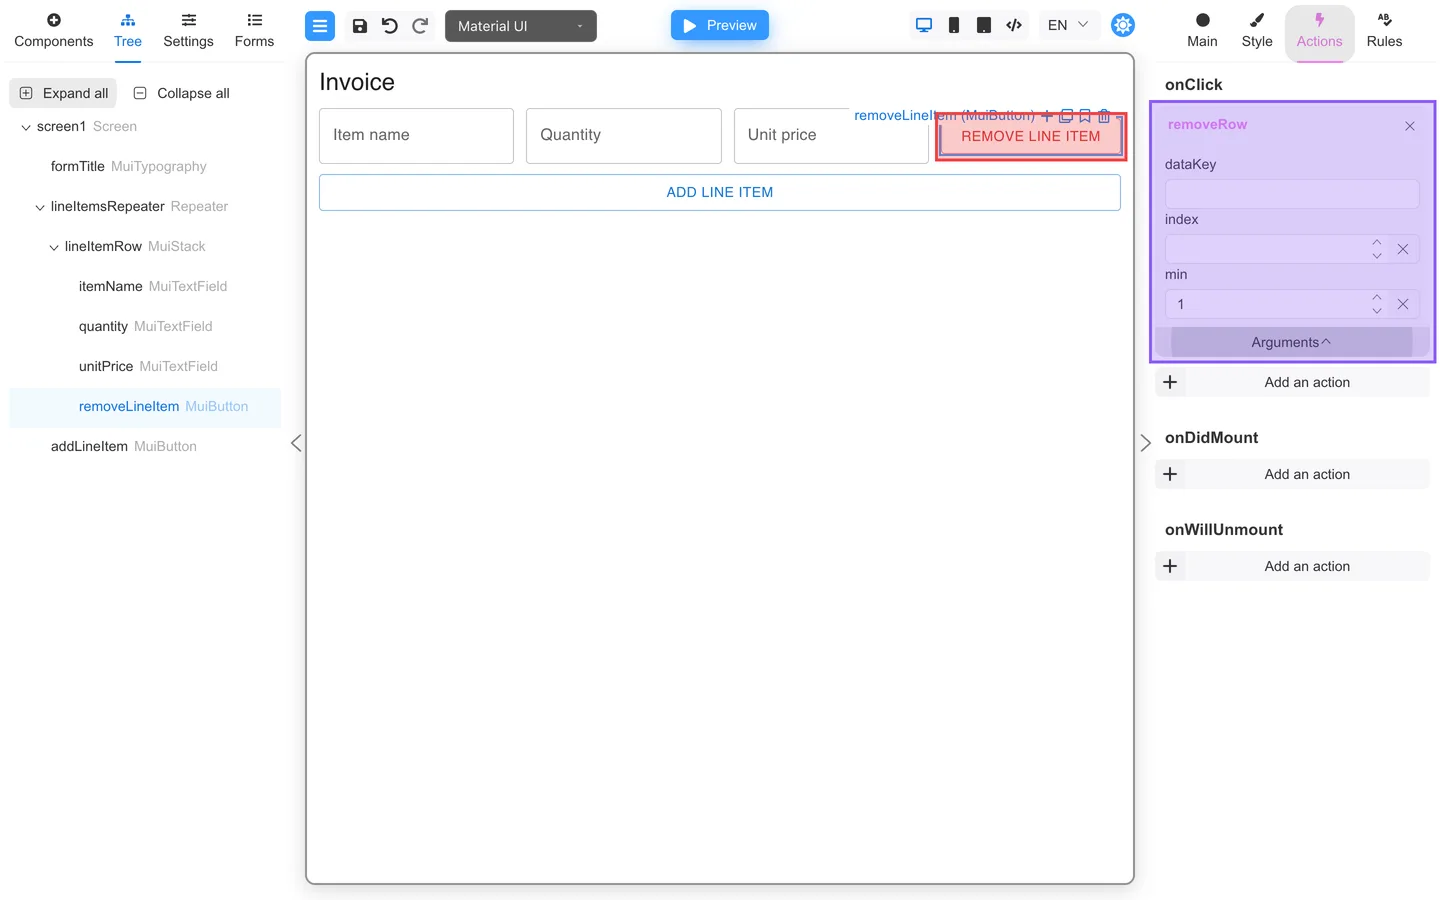
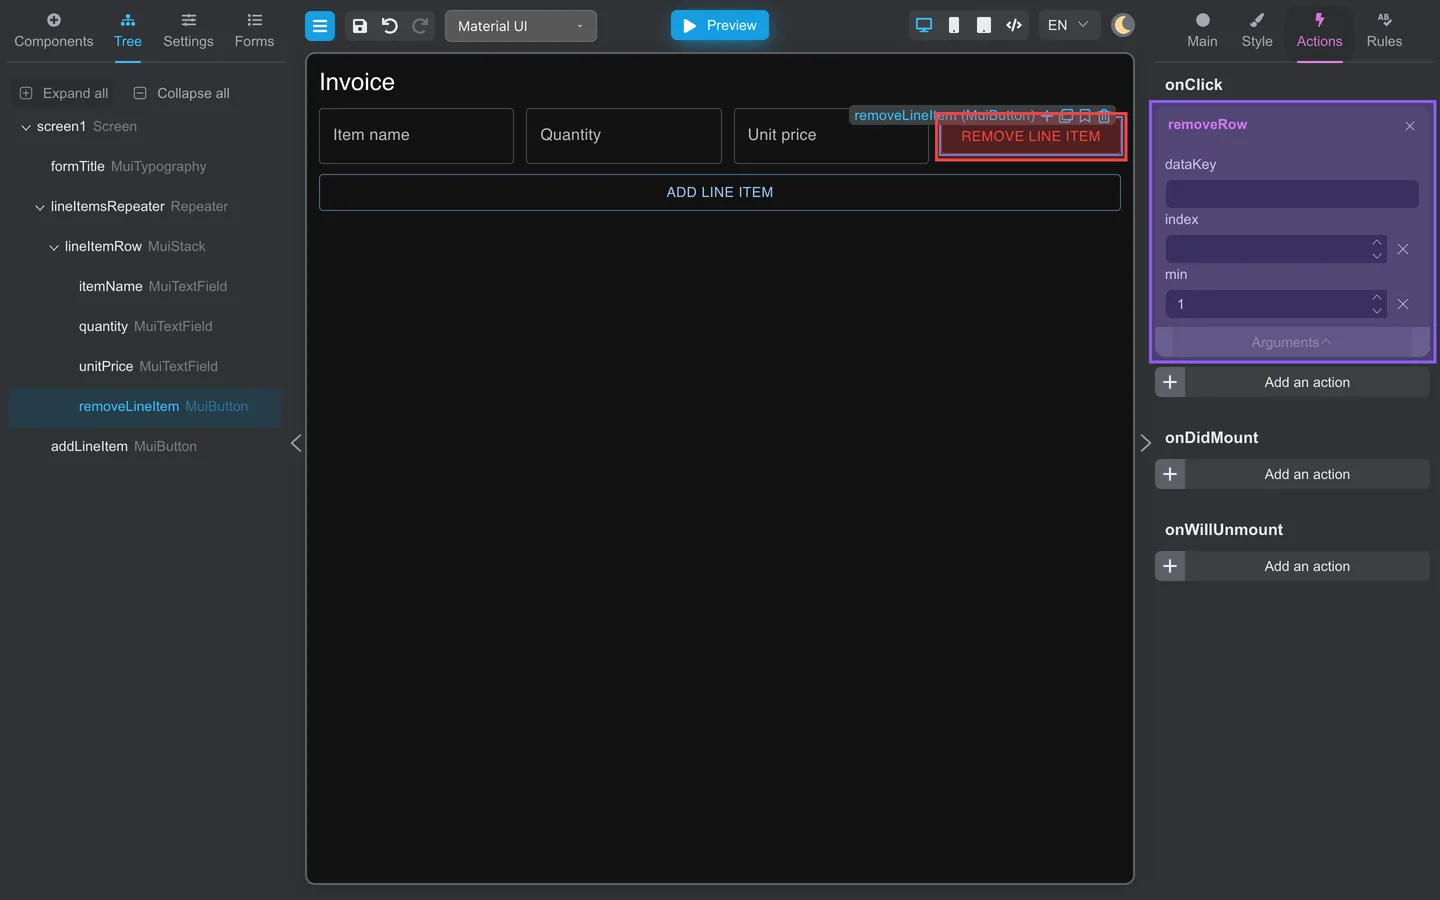
- Drag Button into
lineItemRow, after Unit price. - Set the label to Remove line item.
- On Actions → onClick, add the removeRow action.
- Leave dataKey and index empty. Because the button is inside the repeater,
removeRowfinds the parent repeater and removes the row that contains the clicked button. - Optional: set min to
1to keep at least one line item. The completed example uses this setting.
Step 5: Add an Add line item button
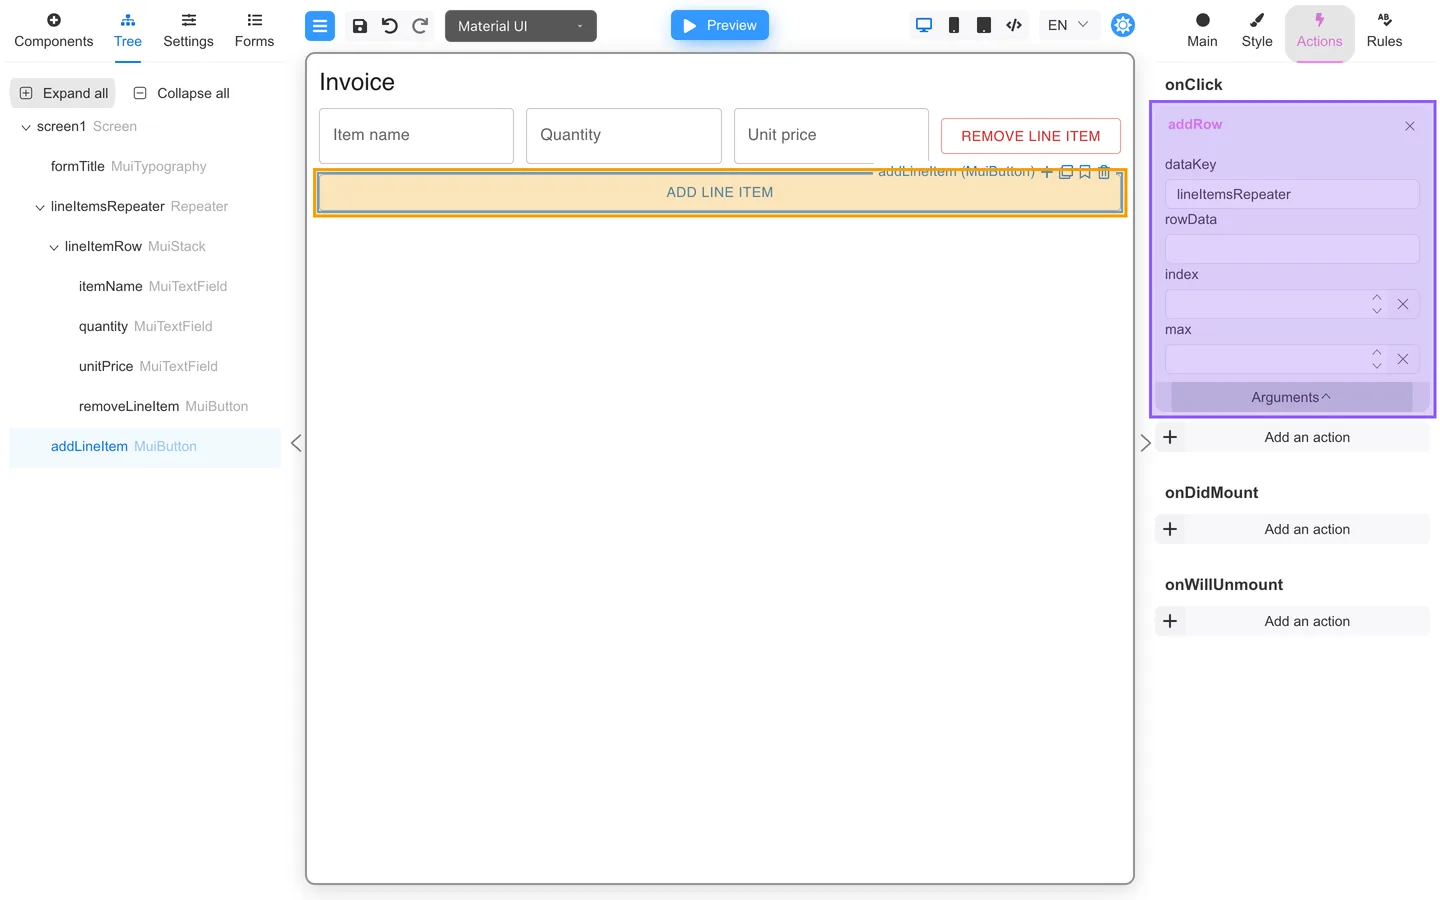
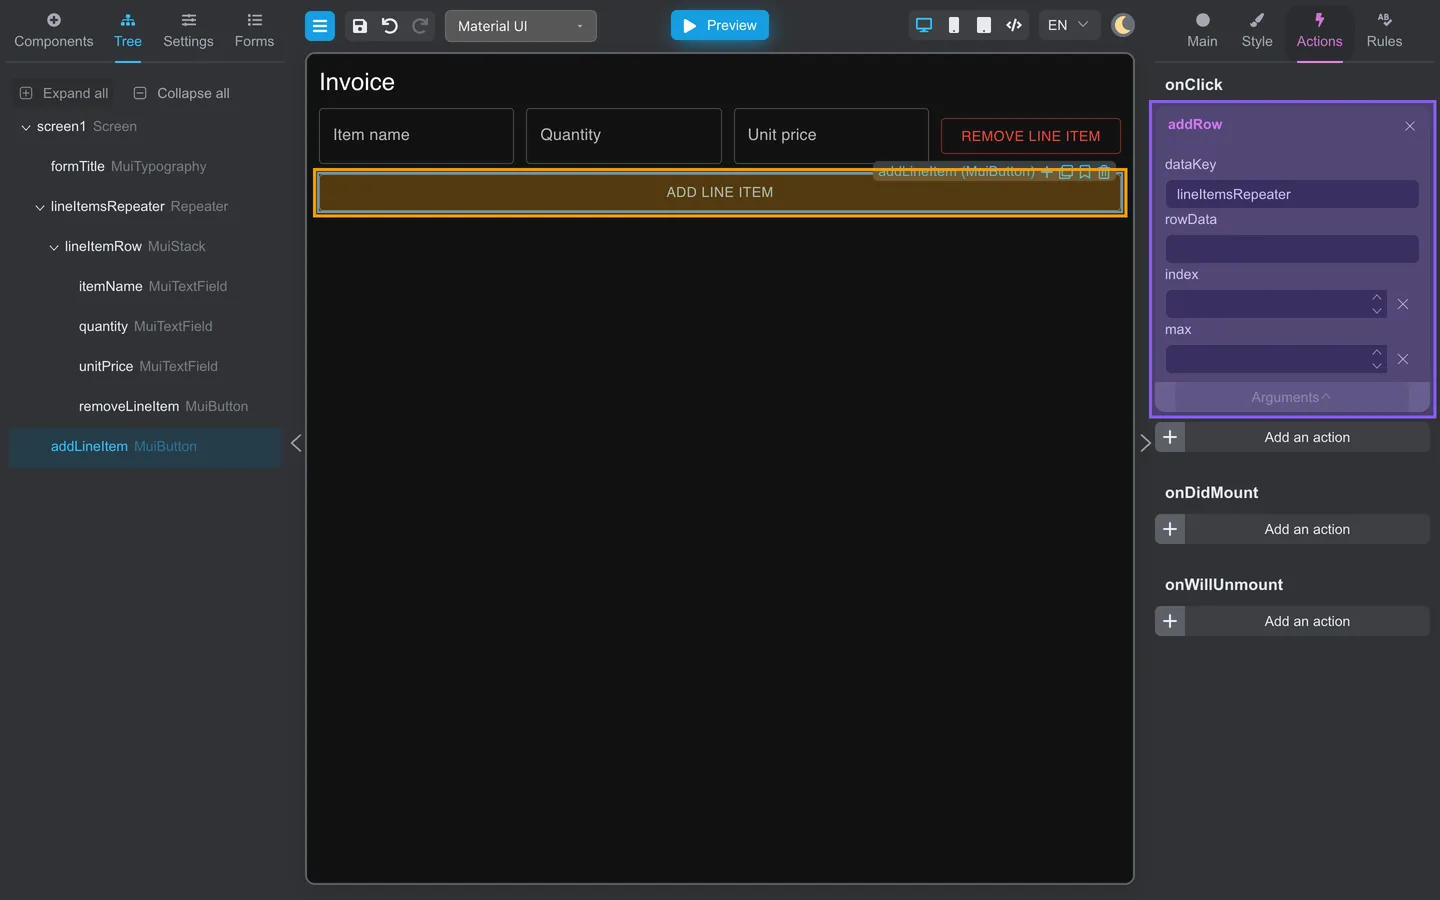
- Drag Button below the Repeater.
- Set the label to Add line item.
- On Actions → onClick, add the addRow action with dataKey set to the repeater key (
lineItemsRepeater).
Step 6: Verify the component tree
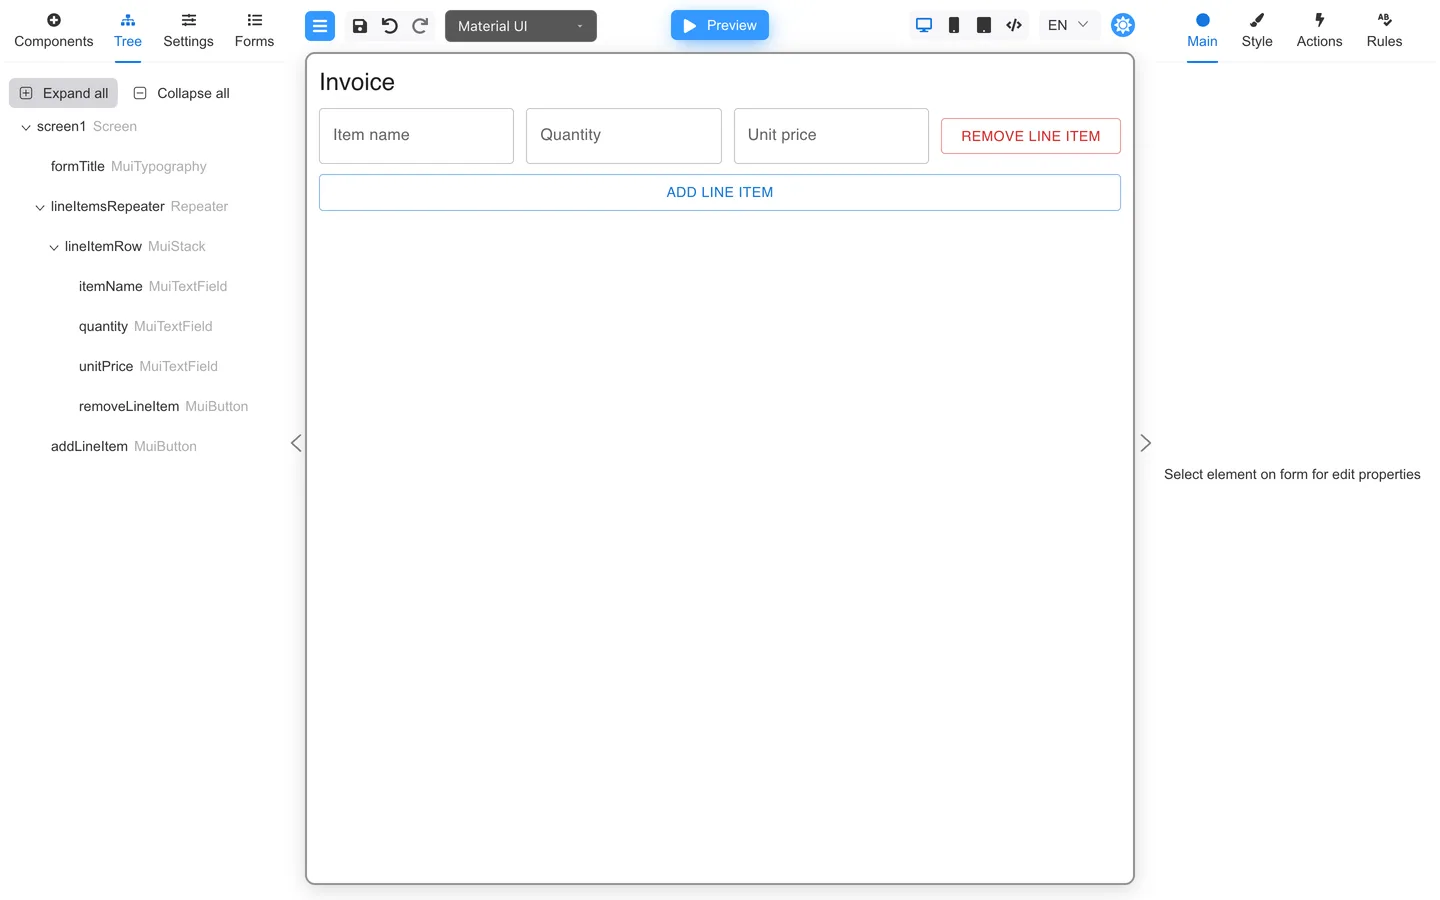
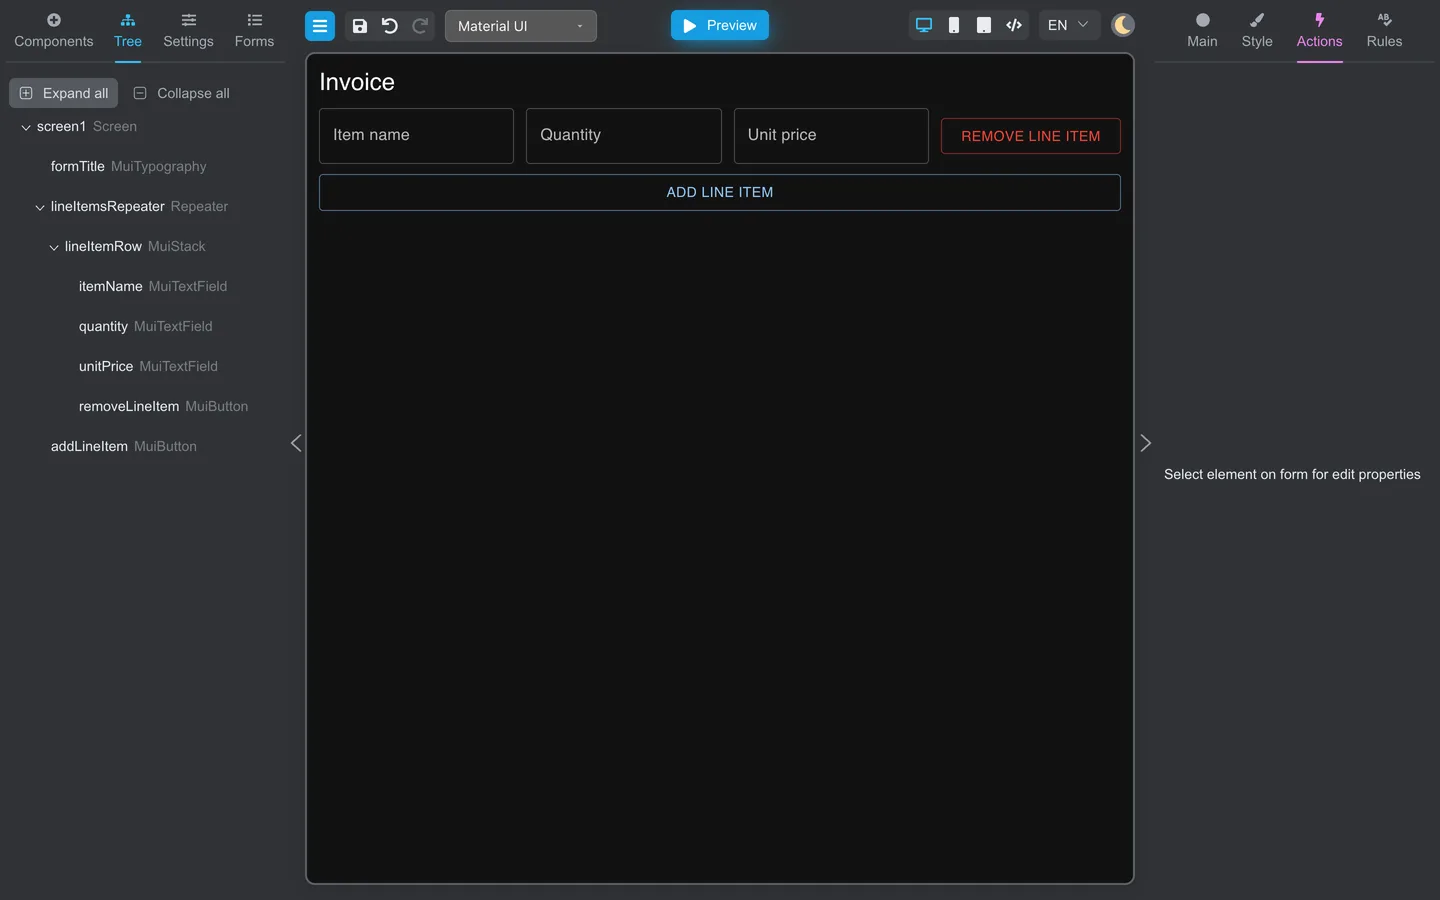
- Open Tree → Expand all.
- Confirm that
removeLineItemis nested underlineItemRowso every rendered row receives its own removal button. - Confirm that
addLineItemis outsidelineItemsRepeaterso it renders once below all rows.
Step 7: Test adding and removing rows in preview
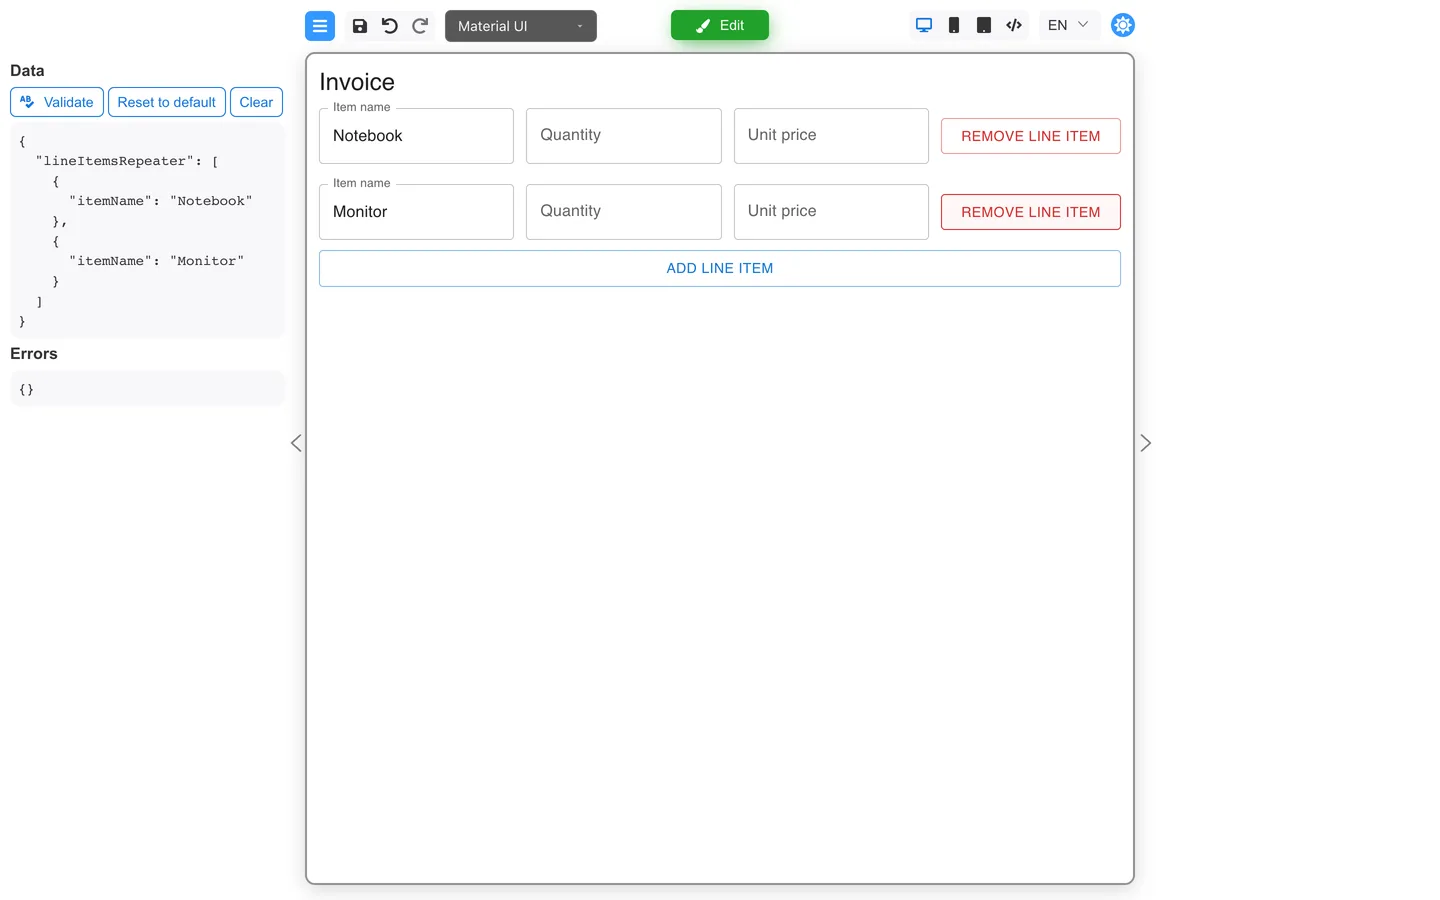
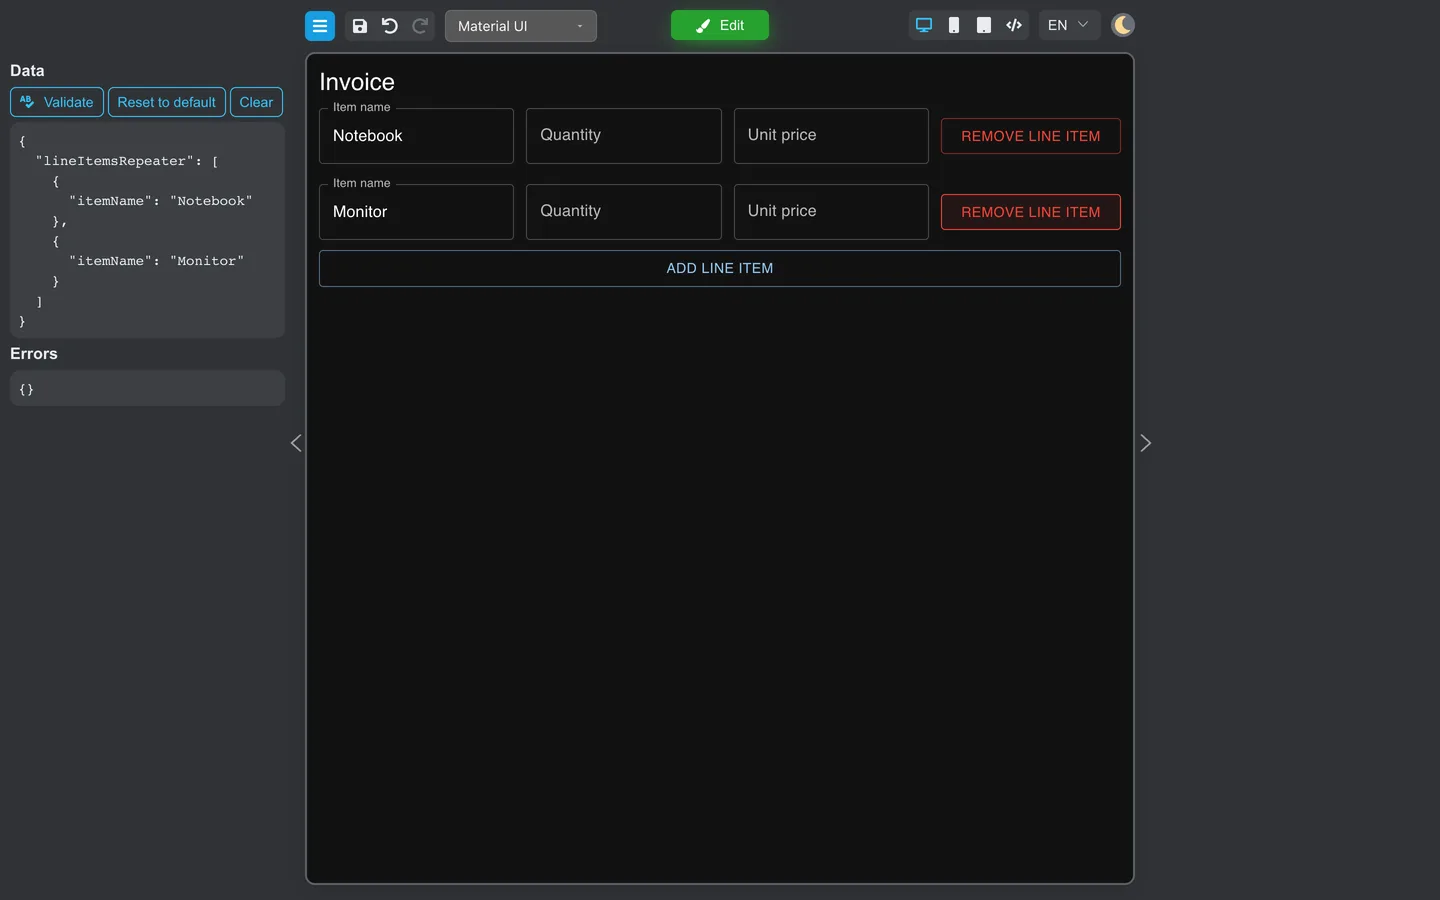
- Click Preview.
- Click Add line item twice. The repeater should now contain three rows.
- Enter different Item name values so you can identify each row.
- Click Remove line item in the middle row. Only that row should disappear, leaving the first and third rows.
- If you set min to
1, remove rows until one remains and confirm that the last row cannot be removed. - Run Validate from Preview mode tools.
Row template fields need distinct Keys inside the repeater. Confirm runtime behavior with developers when binding data.
Tables (RSuite)
Use a table when you need a column grid with headers and read-only or lightly editable cells. RSuite table components are available when RSuite UI inject is selected in the component library.
Example: team directory
This walkthrough builds a Team directory table with Name, Department, and Email columns.
Step 1: Select the RSuite component library
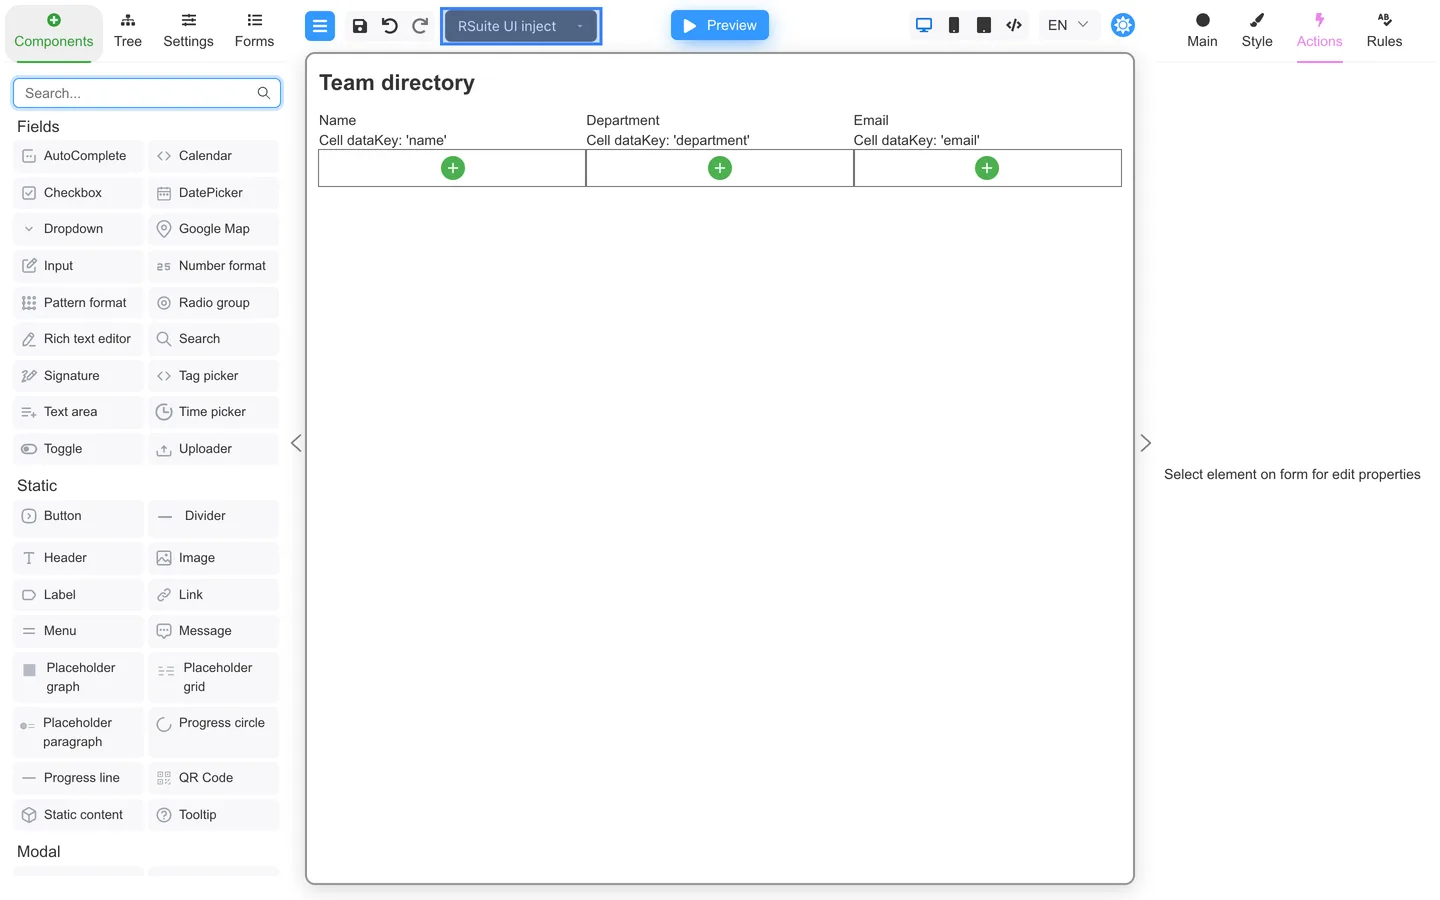
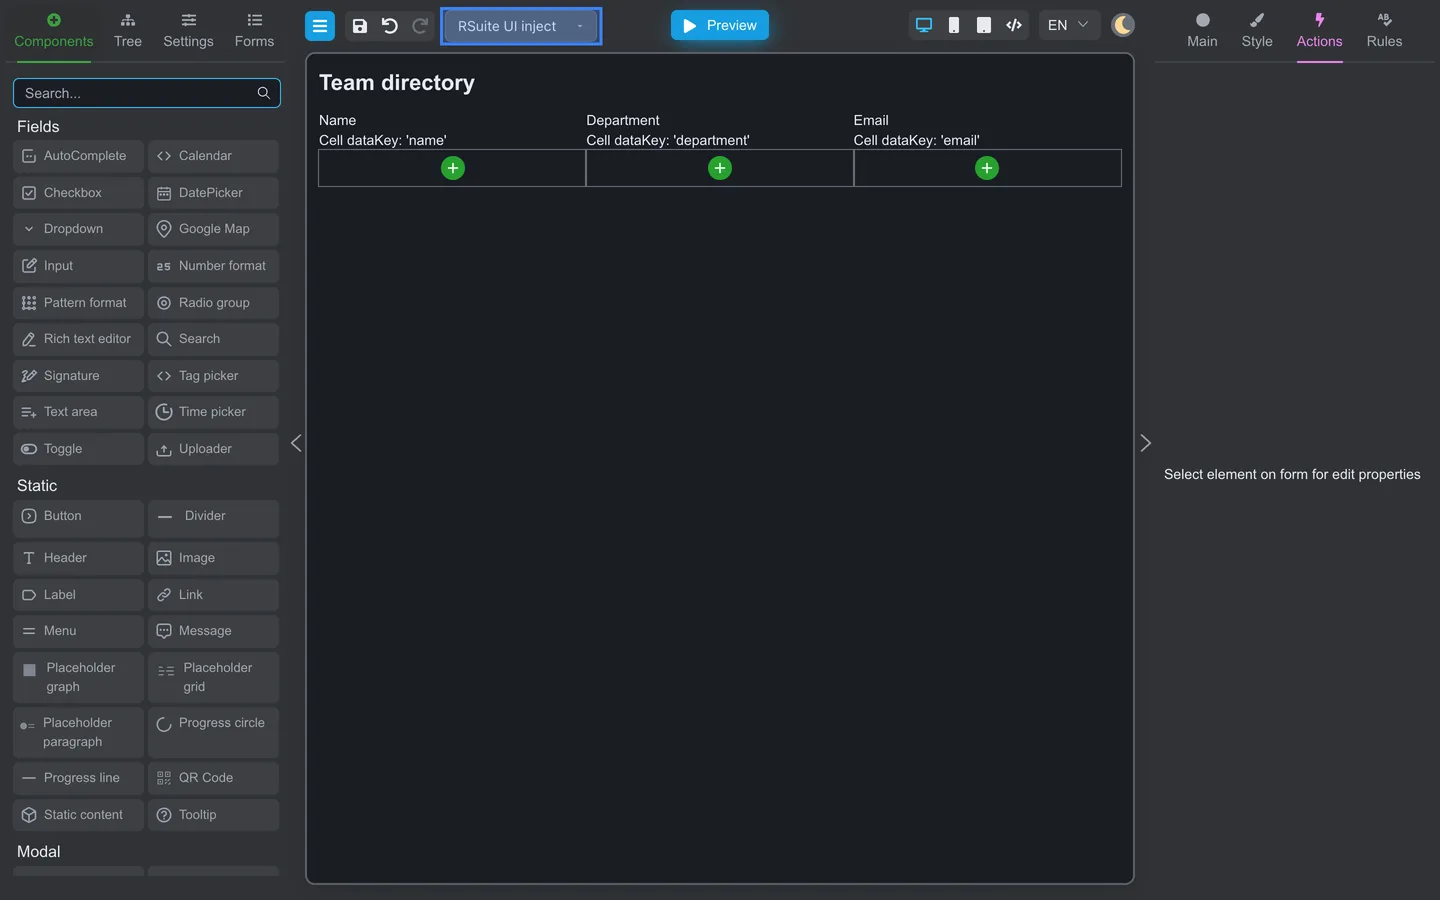
- Open the Component library menu.
- Choose RSuite UI inject (or RSuite UI).
Step 2: Add a Table component
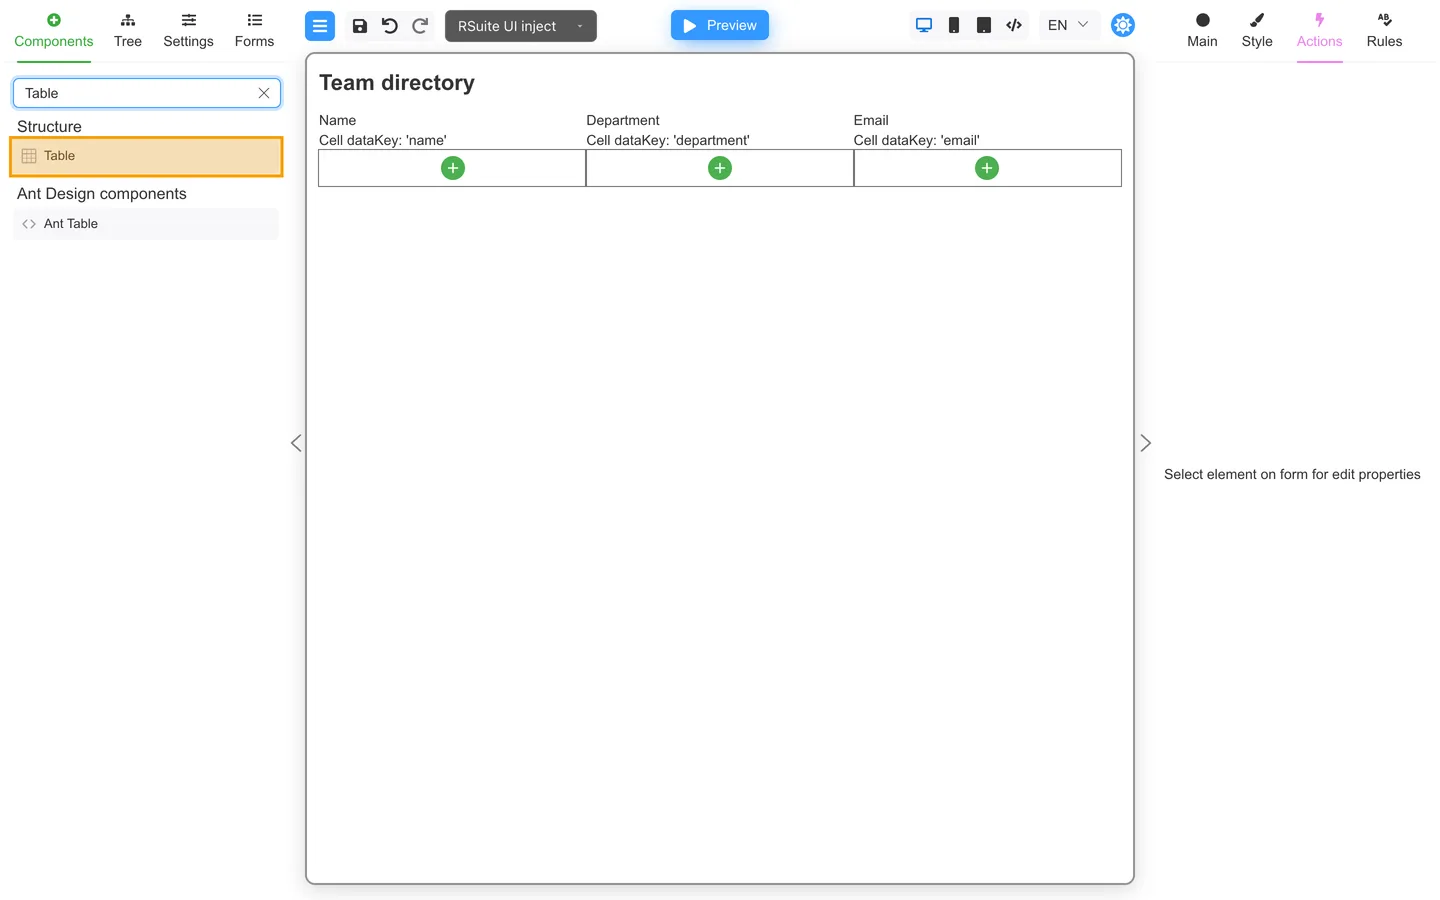
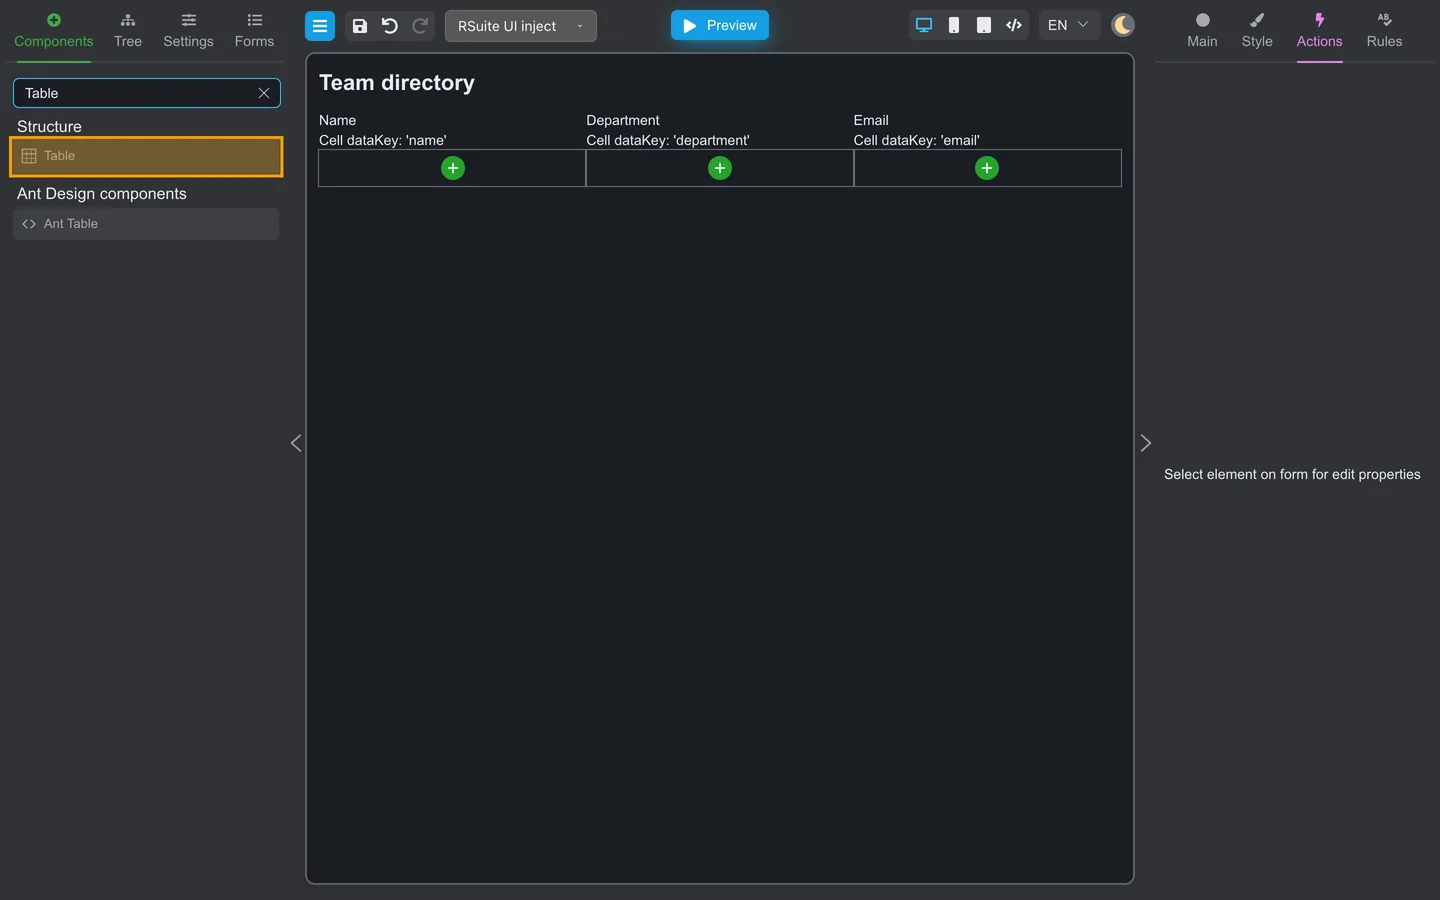
- Open Components.
- Search for Table.
- Drag Table onto the canvas below the form title.
Step 3: Add and configure columns
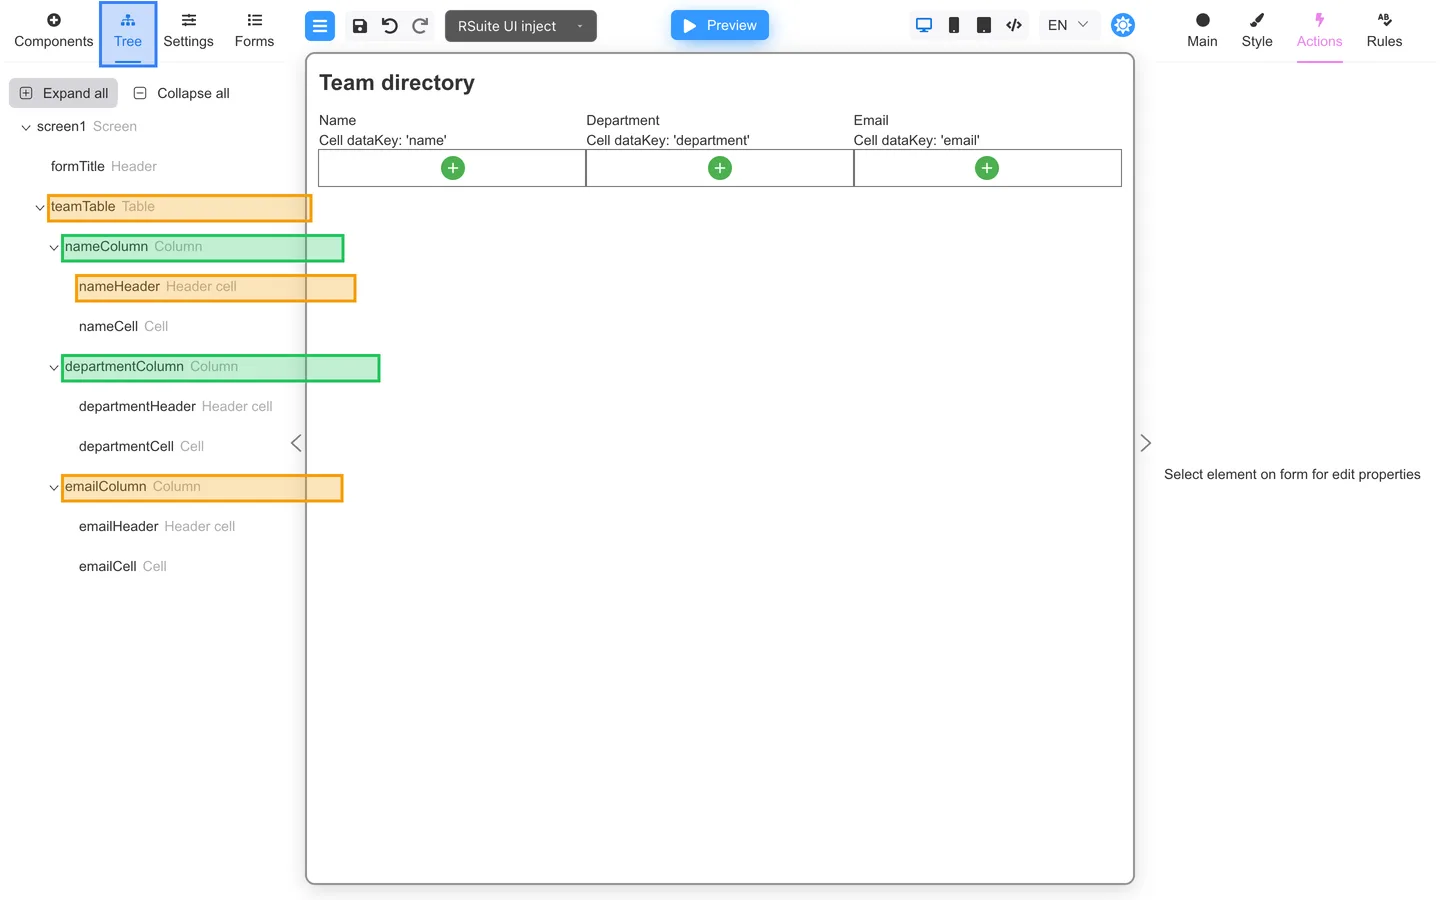
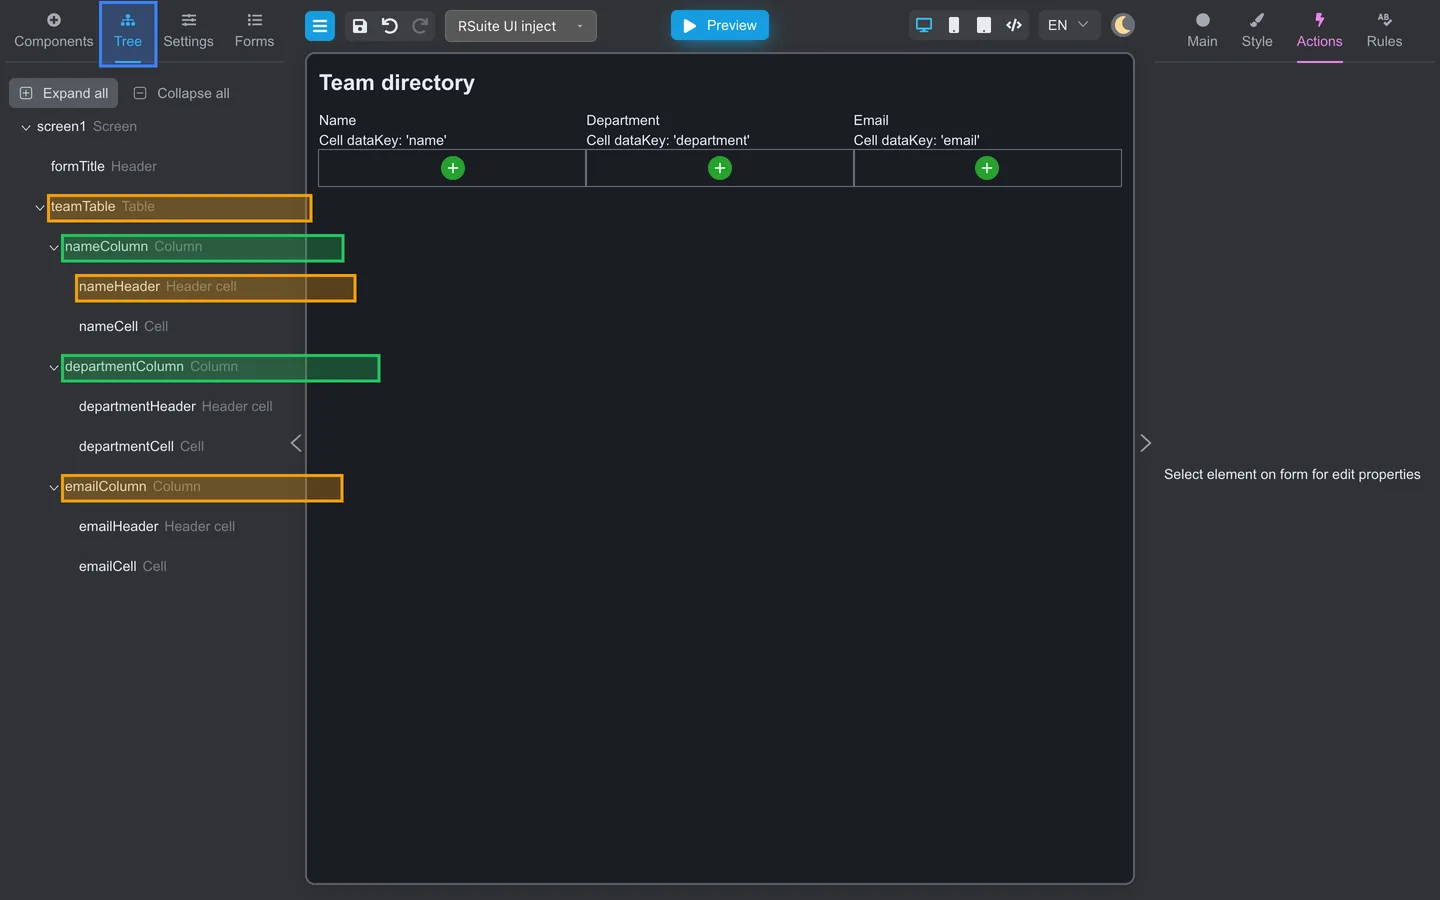
- Expand
teamTablein Tree. - For each column, add Column → Header cell (label) + Cell (dataKey matching row data).
- Set sample data on the Table in Main properties for preview.
Step 4: Check the canvas
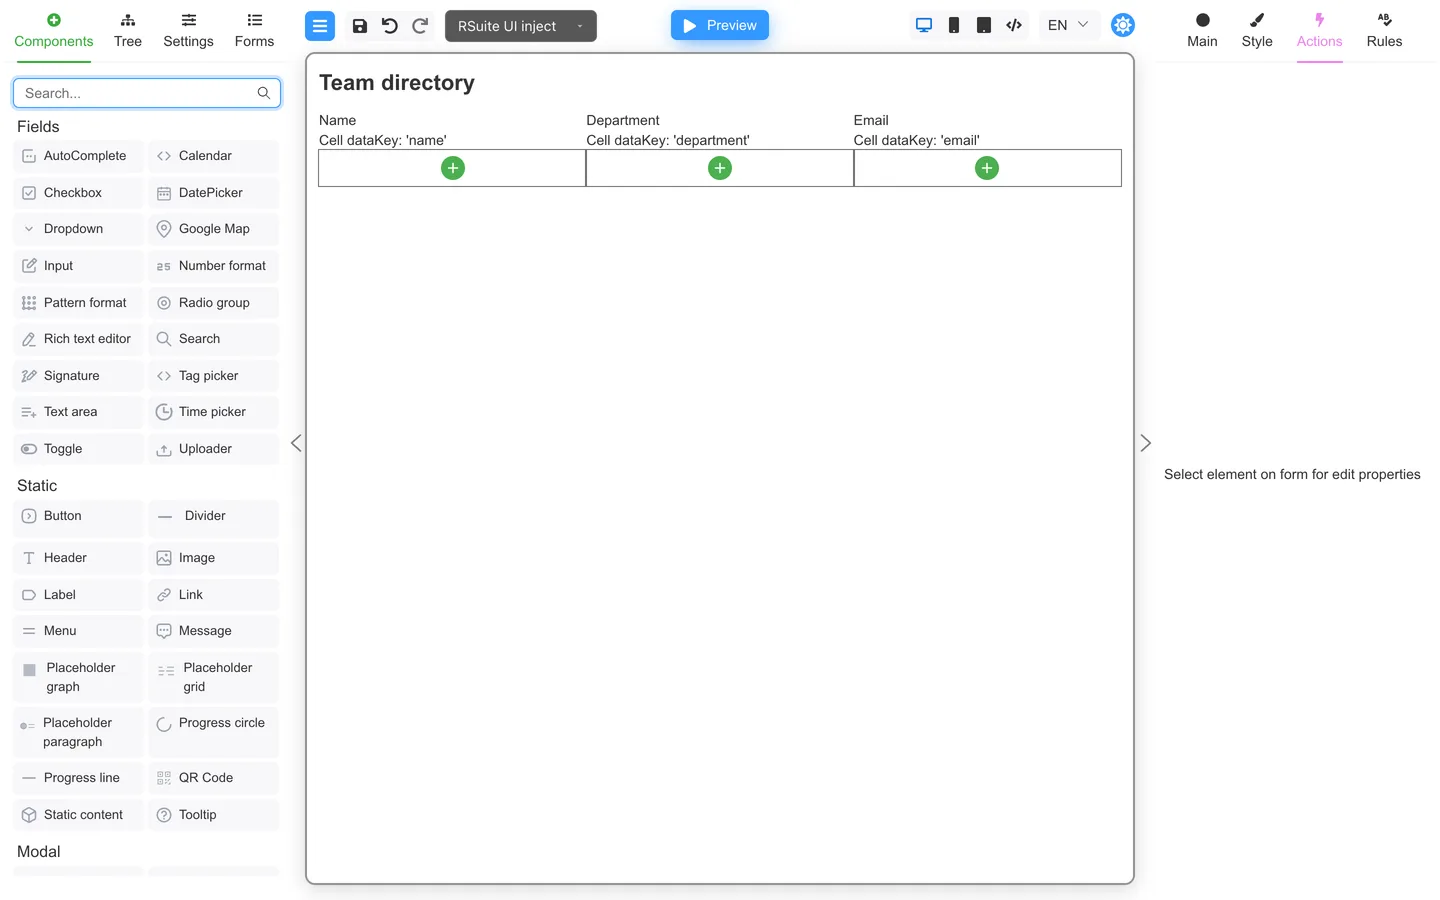
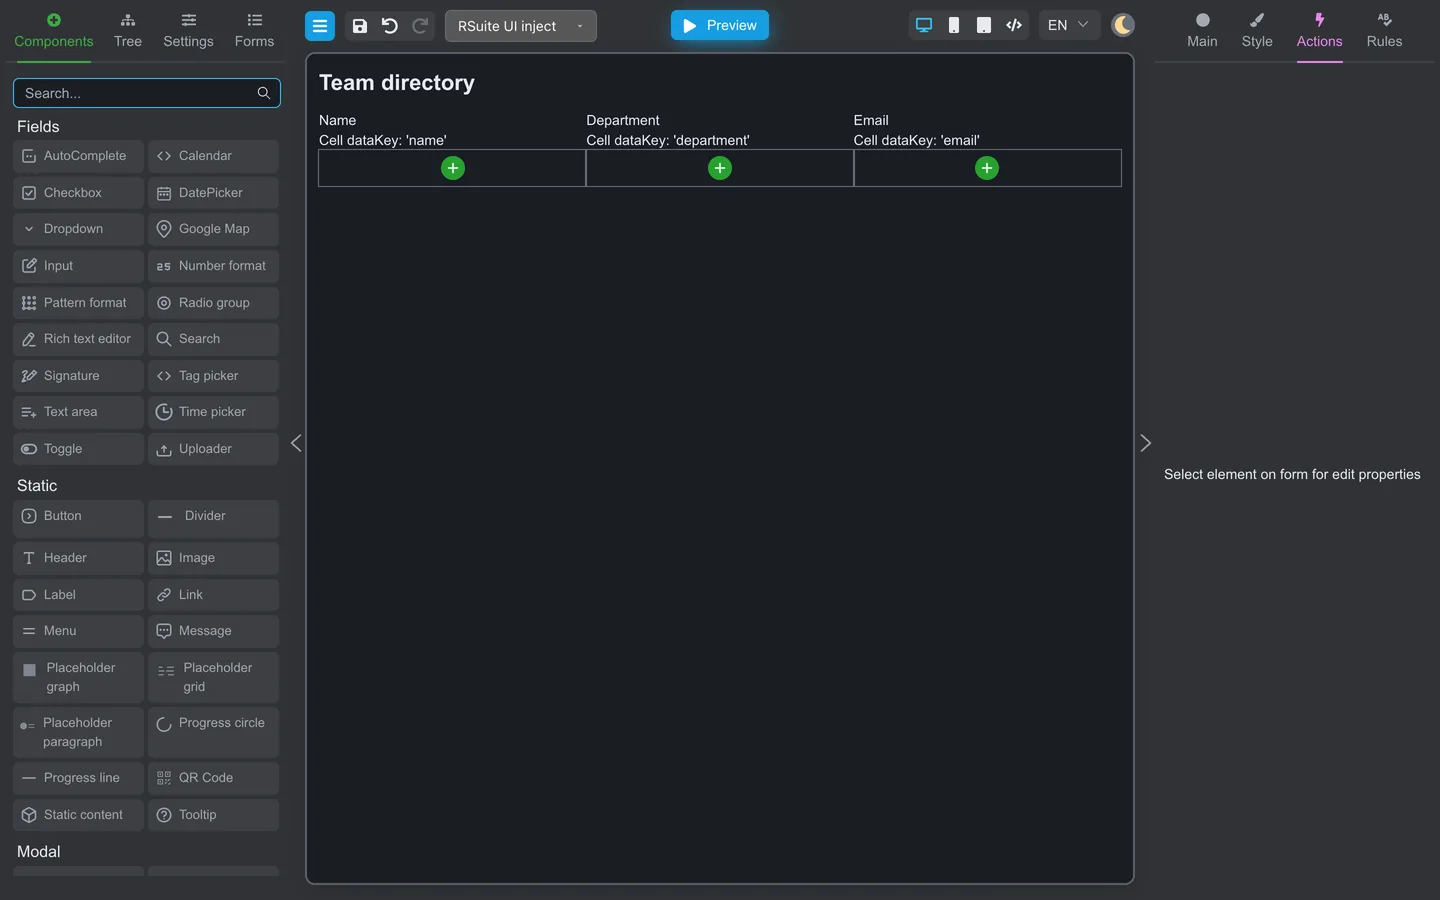
- Confirm column headers and sample rows render in Designer.
- Adjust column width in Main properties if needed.
Step 5: Test the table in preview
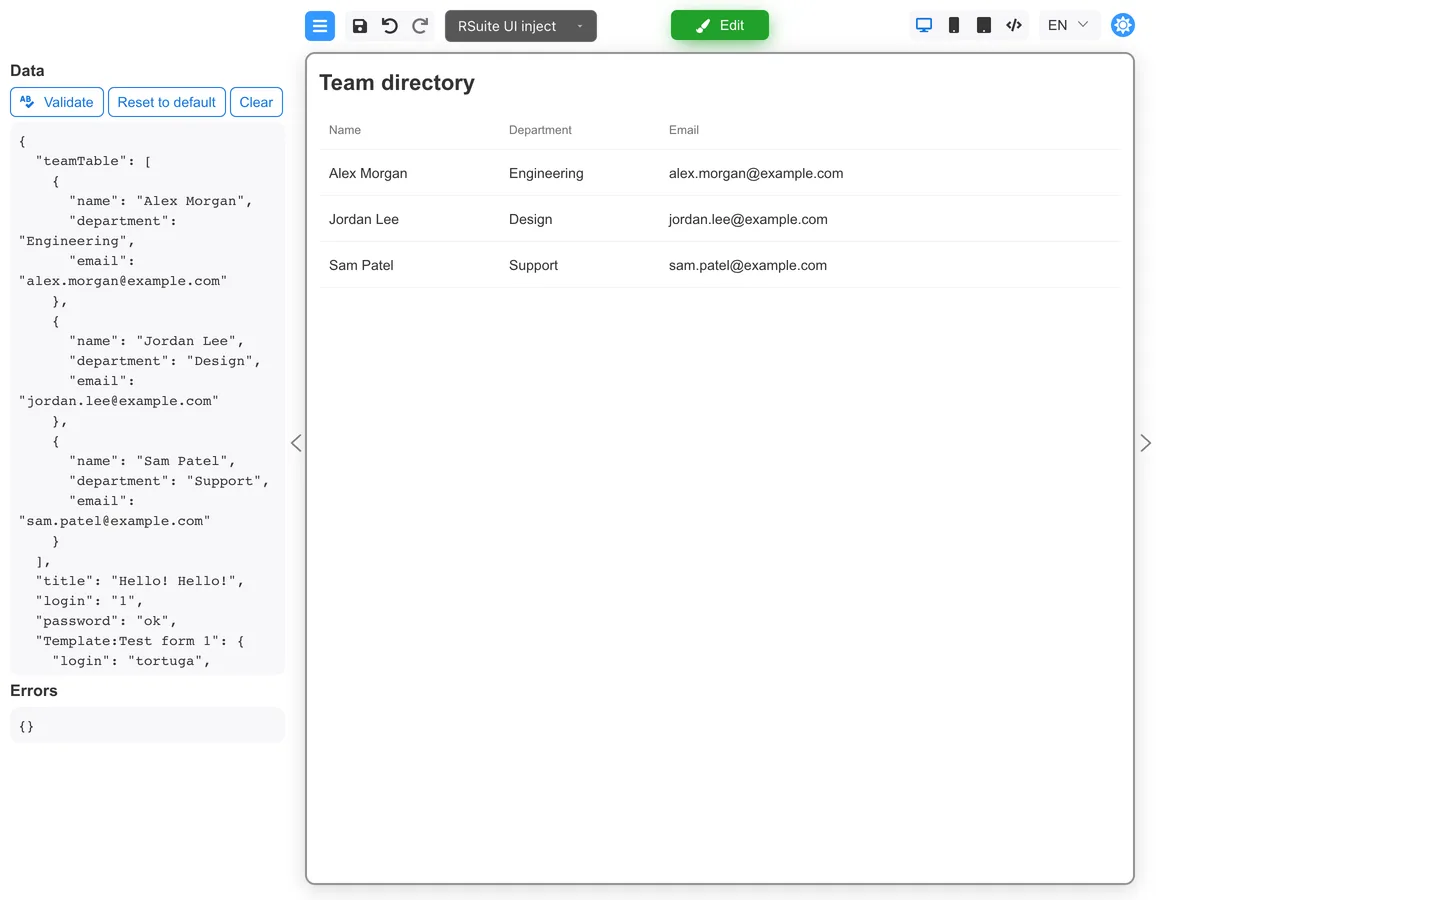
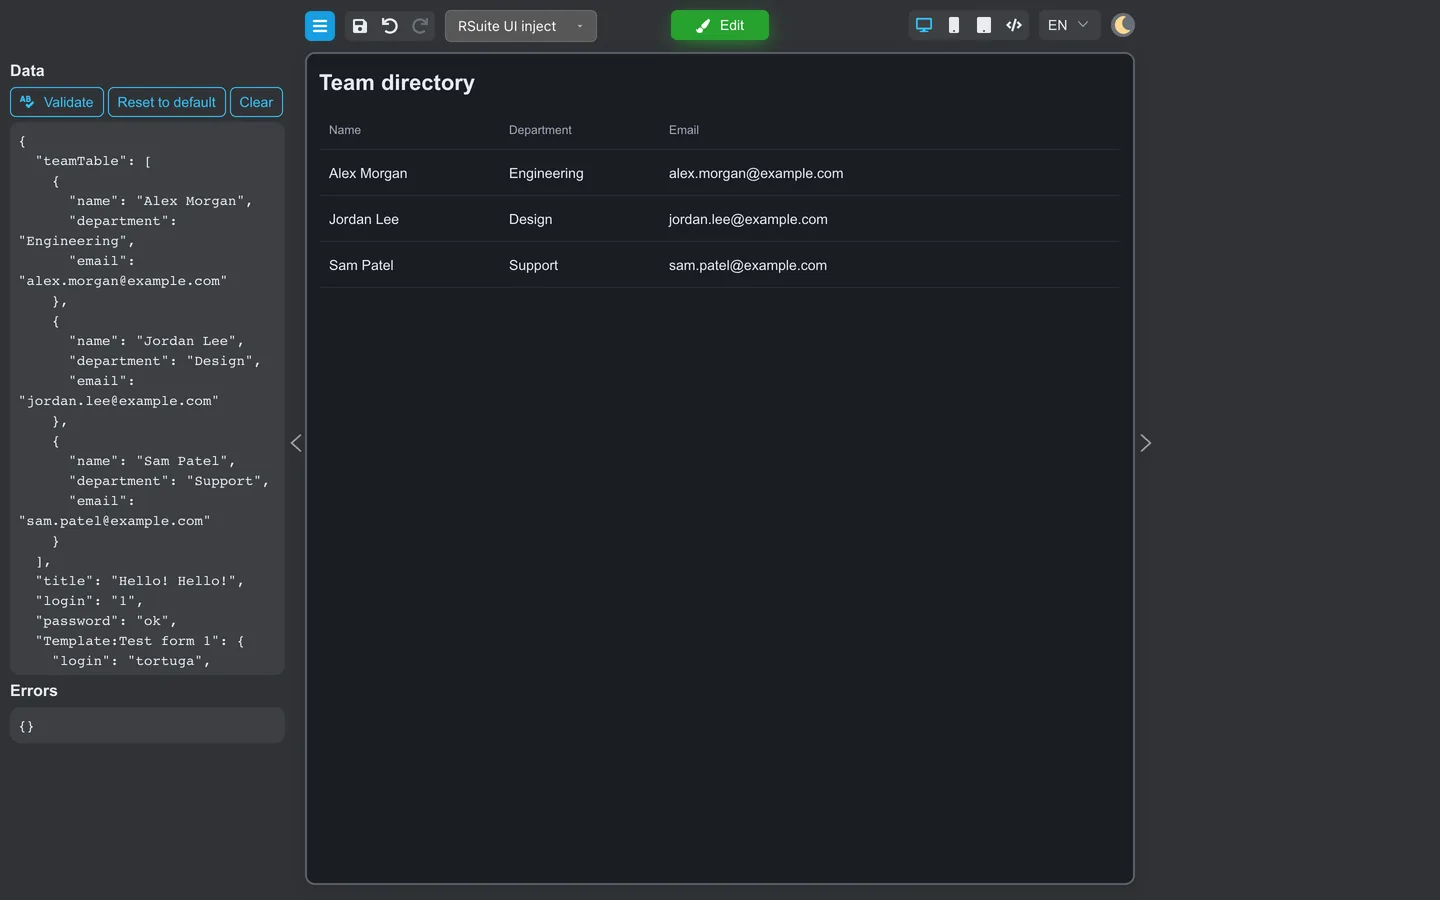
- Click Preview.
- Scroll and click rows if your form wires row actions.
Data tables with sorting, paging, or API-backed rows usually need developer configuration. Authors supply layout inside cells; developers bind data.
Developers: See RSuite table and List + detail pattern.
Summary
Use Repeater for dynamic “add another row” forms. Use Sortable list when users must also reorder rows. Use List for fixed
repeated blocks. Use RSuite Table for column grids. Build the repeater row template in Tree, wire removeRow to a button inside
the row, and wire addRow to a button outside the repeater. For tables, switch to RSuite UI and nest Column → Header cell +
Cell under Table.