


Read-only and disabled fields
Sometimes users should see a value but not change it (account ID, approved amount). Use Read only or Disabled on Main for the selected field.
Set
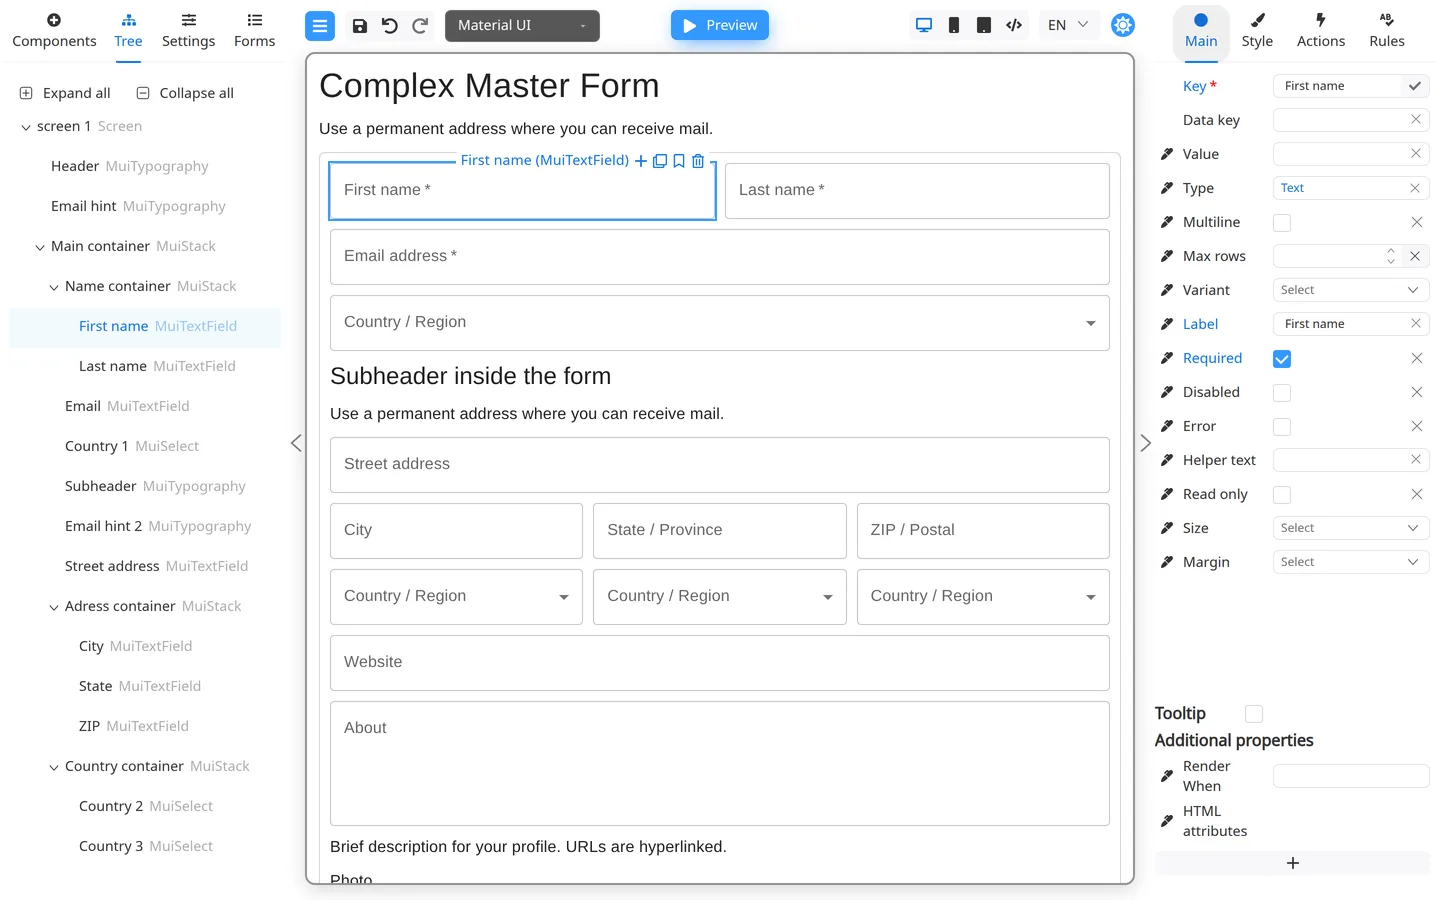
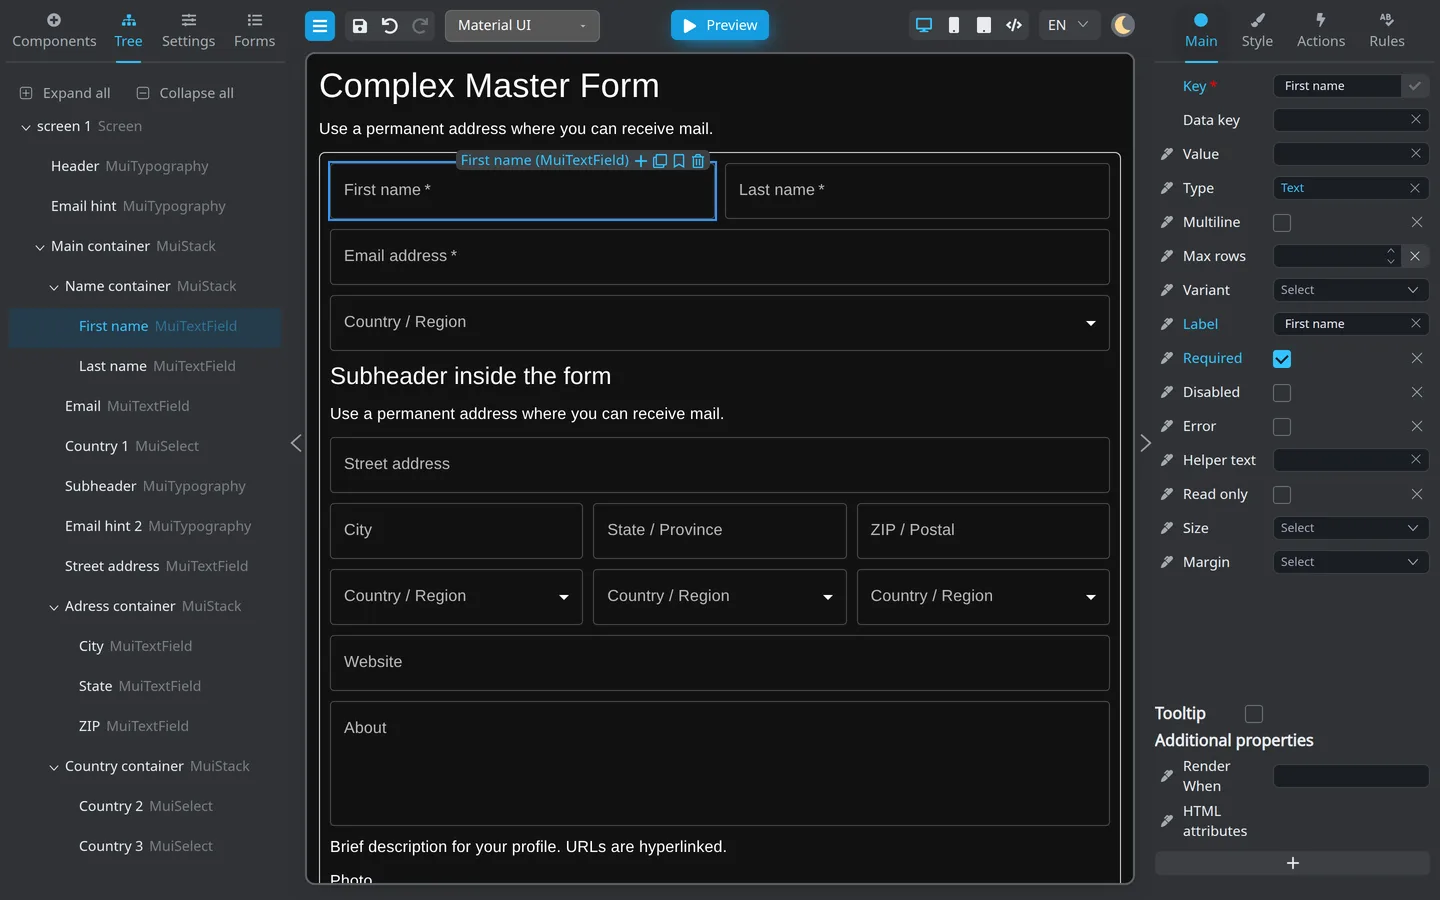
- Select the field.
- Open Main.
- Enable Read only or Disabled (checkboxes on many text fields).
Not every component supports both settings. If a setting is missing, check the component documentation or ask your technical team.
Understand the difference
| Setting | User experience |
|---|---|
| Read only | Shows the value but does not allow editing |
| Disabled | Blocks interaction and usually appears muted |
The exact appearance and keyboard behavior depend on the component library. Test the component your form actually uses.
FormEngine does not automatically remove a disabled field from form data. Both read-only and disabled values remain available to actions and calculations, so a submit action can include either value. The submit action or host app decides which keys are sent. If a value must be excluded, agree on that rule with your technical team.
When to use
| Situation | Typical setting |
|---|---|
| Display calculated or system value | Read only |
| Temporarily make a control unavailable | Disabled |
| Hidden until relevant | Show or hide fields |
Check in Preview
- Give the field a known value.
- Enable Read only or Disabled, then open Preview.
- Confirm the user cannot change the value and that the control looks appropriate for its state.
- Open Data and confirm the value is still present.
Developers: See Disabled and read-only.
Summary
Use Read only when users should see a value without editing it. Use Disabled when the control should be unavailable. Both states keep the value in FormEngine data; your submit action or host app controls what is sent.